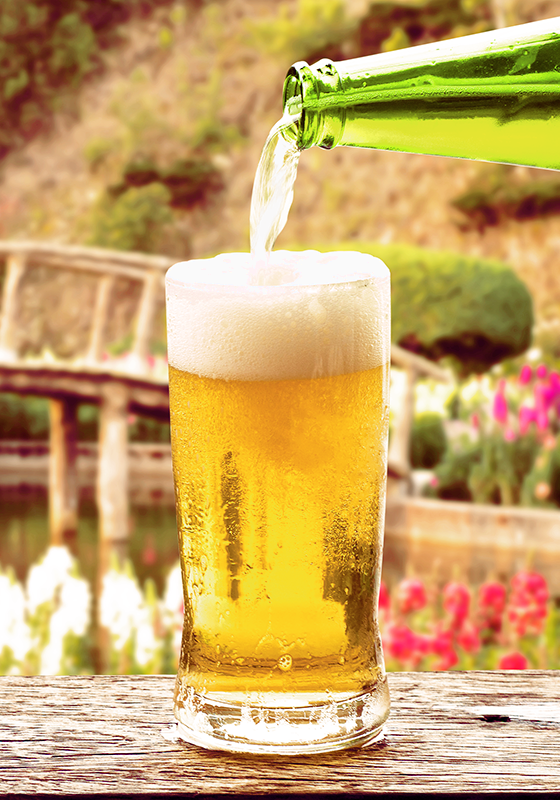
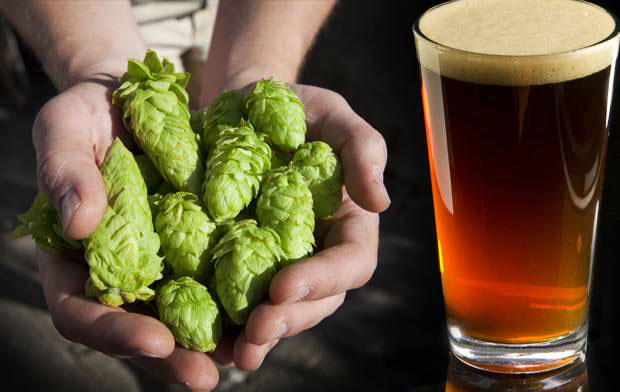
 As temperatures rise, spring offers a great time to transition away from malty stouts and porters and towards beers that suggest the beginnings of the growing season. As an ode to the flowers and the trees starting to bloom this month, consider paying tribute to every brewer’s favorite flower: the hop with these 3 single hop beer recipes!
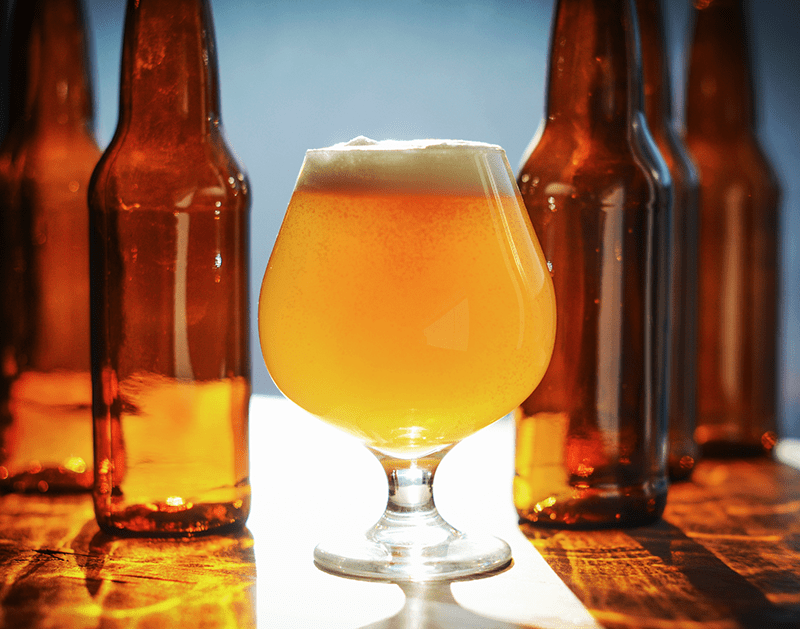
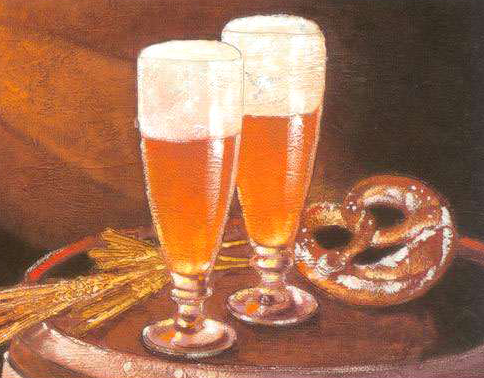
If you’re a hop aficionado, you’ve likely come across some single hop beers in your drinking explorations. Making beers that showcase a particular hop variety is a great way to learn the strengths and weaknesses of different hops. The warmer temperatures of spring suggest a lighter, paler beer, the perfect backdrop for experimenting with different hops.
Choosing Hops for Your Single Hop Beer Recipes
If you’ve shopped around for hops before, you’ve probably noticed that they are often labeled bittering hops, flavor/aroma hops, or dual-purpose. Single-hop beers will give you the chance to put these conventions to the test.
Super alpha hops have been developed to highlight their bittering potential, but you might be surprised how many of them work well aromatically. Bravo, Magnum, and Simcoe come to mind. Use restraint with these hop varieties in your single hop beer recipes – a little can go a long way.
Conversely, low alpha and noble hops are often celebrated for their aroma characteristics, but some brewers find that they provide a clean bitterness. East Kent Goldings is a versatile hop in this regard, often used as the single hop in traditional English beer styles.
Tips For Formulating Your Single Hop Beer Recipes
Of course, there are no hard and fast rules for single hop brewing, but you might want to consider the following as you develop a recipe for your single hop brew:
- Select a beer style that really showcases the hops. A golden ale, pale ale, or IPA are often good choices.
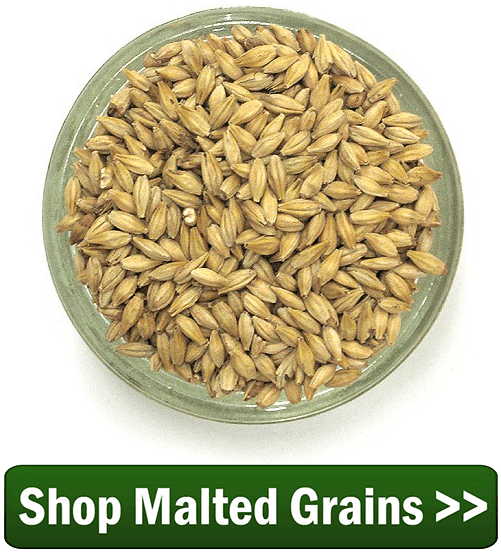
- Develop a simple grain bill that won’t cover up or distract from the hops. Try a base malt plus small amounts of one or two specialty grains for color and/or flavor.
- Choose a clean yeast strain, like Wyeast 1056, that will let the hops shine through.
- If brewing multiple single hop brews, consider using a constant base recipe, simply changing the hops for each one.
- You may wish to brew small batches to get the most experimentation out of your raw materials.
- Don’t be afraid to throw all these suggests out the window – feel free to try a single hopped stout or Belgian IPA!
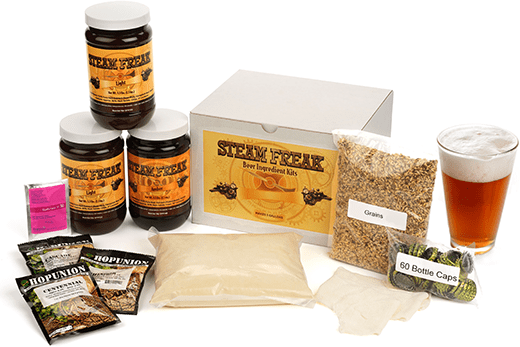
Single Hop Beer Recipes
Ready to try some single hop brewing? Give one of these recipes a try!
East Kent Bitter
(five-gallon batch, all-grain)
Specs
OG: 1.045
FG: 1.011
ABV: 4.4%
IBUs: 31
SRM: 9
Ingredients
8 lbs. Maris Otter malt
1 lb. Crisp Crystal 45L
1 oz. East Kent Goldings hops at :60
.5 oz. East Kent Goldings hops at :30
.5 oz. East Kent Goldings hops at :15
1 oz. East Kent Goldings hops, dry hopped for 5 days
Wyeast 1099 or Safale S-04 
Bravo IPA
(five-gallon batch, extract with specialty grains)
Specs
OG: 1.058
FG: 1.014
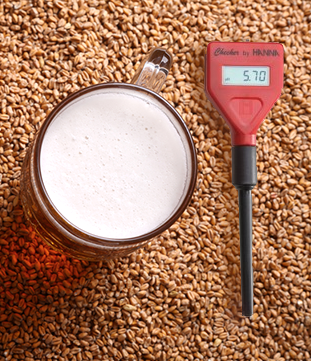
ABV: 5.7%
IBUs: 51
SRM: 8
Batch Size: 5 Gallons
Boil Volume: 6.5 Gallons
Ingredients
6 lbs. light dry malt extract
1 lb. Munich 10L malt
.5 lb. Caramel 40L malt
.33 oz. Bravo hops at :60
1 oz. Bravo hops at :15
.67 oz. Bravo hops, dry hopped for 5-7 days
Wyeast 1056: American Ale Yeast or Safale US-05 
Amarillo Wheat Ale
(5-gallon batch, extract with specialty grains)
Specs
OG: 1.053
FG: 1.013
ABV: 5.25%
IBUs: 23
SRM: 5
Batch Size: 5 Gallons
Boil Volume: 3 Gallons
Ingredients
3.3 lbs. light liquid malt extract
3.3 lbs. wheat liquid malt extract
.5 lb. torrified wheat
.5 lb. caramel 10L malt
.5 oz. Amarillo hops at :60
1 oz. Amarillo hops at :15
1 oz. Amarillo hops, dry hopped for 7 days
Wyeast 1056: American Ale Yeast or Safale US-05
Do you have any favorite single hop beer recipes? We’d love you to share in the comments below!
—–
David Ackley is a beer writer, brewer, and self-described “craft beer crusader.” He holds a General Certificate in Brewing from the Institute of Brewing and Distilling and is founder and editor of the Local Beer Blog.