My Air-Lock Is Going Backwards

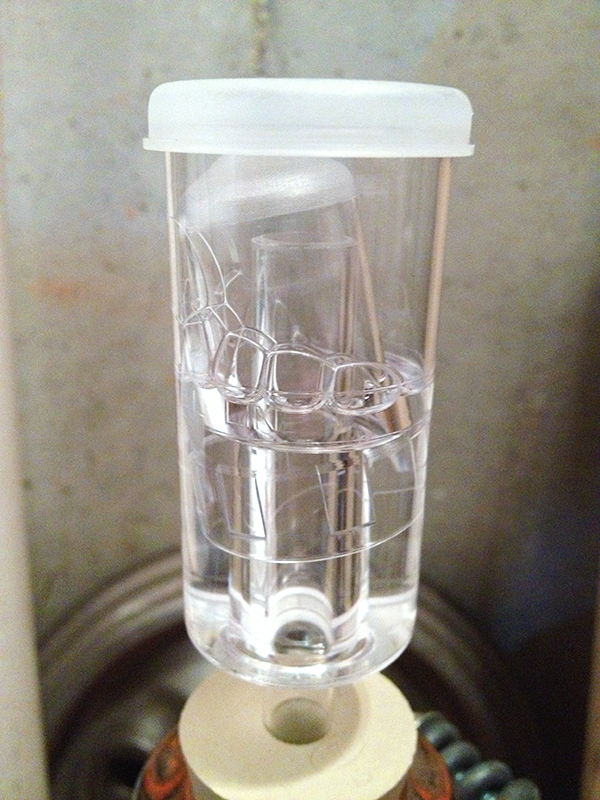
Air-lock that is bubbling backwards.Can you give me any information on how barometric pressure would affect the fluid level in an air lock. Some days they show negative pressure and a day or two later they are making bubbles again. I can’t tell if fermentation is done or not.

Thank you
Jerry
—–
Hello Jerry,

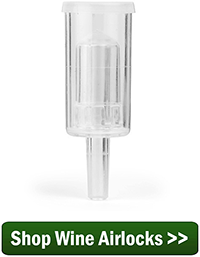
An air-lock is what seals the outside world from your wine during and after fermentation. It is a barrier that allows gases from the fermentation to escape while keeping little bugs and other intruders out.

You attach an air-lock to a fermenter with a rubber stopper. The stopper has been drilled with a hole into which the air-lock is inserted. These rubber stoppers can be purchased in many sizes, therefor you are able to use the air-lock on anything from a gallon glass carboy to a huge plastic fermenter.

The air-lock is filled half way with water. This is what actually creates the environmental barrier. As the fermentation creates gases inside the fermenter, the pressure rises and the gases escape by bubbling through the water in the air-lock.

Bubbles or air going backwards in an air-lock can be caused by a couple of things:

As you mentioned already, barometric pressure can play some role in this. If the barometric pressure increases you could notice a slight backwards movement or pressure on the water, but this would be nothing significant. It would not be enough to create more, than say, one bubble going backwards.

What is most likely causing the air-lock to bubble backwards is a temperature change of the wine. As a wine cools down it contracts or shrinks – much more so than the glass or plastic of the fermentation vessel.
Shop Wine AirlocksContracting wine sitting in glass jugs or even a plastic fermenter would cause a vacuum to occur in the head-space. This would cause reverse bubbling action within the air-lock, or a sucking in of air. Then as the wine warms back up you would see bubbles going through the air-lock in the right directions. This would make the wine appear as if it were slightly fermenting again, regardless if it was or not.

Your best defense against having an air-lock bubble backwards is to keep the fermentation temperature stable. This will give you a more healthy fermentation, as well. Yeast like to ferment at a steady 70° to 75°F.

Happy Wine Making

Some of Our Favorite Food and Alcohol Pairings

We recently wrote a blog about tips for wine and cheese pairings – and that got us thinking, why stop there!? All kinds of alcohol, not just wine (but also wine), pairs well with many different food combinations. The right match-up can enhance the flavors and experience of both and it can be fun to experiment and find new combinations that work. Food and alcohol are made for each other – think about every fancy dinner, barbeque, sports game viewing, live concert etc. that you’ve ever been to or seen, how did the food and alcohol combination impact the experience? Arguably, the food and alcohol helped make the experience and the enjoyment often happens subconsciously – we thought it would be important to call attention to this and why it is happening specifically.
people-clinking-drink-glasses-over-food

While we could write an entire book, because drilling down into the specifics of why certain alcohols and foods pair together is truly scientific – we wanted to call out a couple of our favorite food and alcohol pairings. Any of these your favorites too?

White Wine and Seafood
White wine and seafood is a go-to delicious food and alcohol pairing – the white wine is light-hearted and delicate enough to match the weight and substance of raw fish and light, briny shellfish. If you’re typically going with Pinot Grigio, why not try champagne the next time you have seafood?
Red Wine and Red Meat
Specifically steak, we hope everyone has gotten to enjoy (at least once) the delectable combination of a decent steak and a full-bodied red wine. The tannins from the wine help to soften the fat in the meat and further release its flavor. The enhanced flavor from the fat then helps to release more of the fruit flavor from the wine – it’s a winning combination to say the least.
Red Wine and Dark Chocolate
Heavy and heavy goes together – be sure to pair the chocolate weight with the wine weight, and in general, don’t go with a particularly dry red (like a Cabernet). Chocolate also has tannins and you should try and match like with like.
Beer and Pretty Much Any Food
Beer is great because it has a complexity of flavors and goes well with almost all foods to some degree. Like pairing wines, you should match strength with strength, but also don’t be afraid to break the rules. You’ll probably have a few poor experiences, but you could also discover your new favorite!
Japanese Lager and Sushi
Absolutely one of our favorites – there is nothing better than a crisp Sapporo, Kirin Ichiban, or Asahi to pair with a large plate of sushi after a long day at work. You don’t have to stick with Japanese beer, but the macro Japanese rice lagers have been strategically designed and brewed to achieve interesting flavors that pair well with adventurous sushi plates.
Pilsner/Lager and a Soft Pretzel
Think about the signature taste of a baseball game, need we say more?
Stouts and Desserts
Similar to red wine and chocolate, full-bodied and sweeter stouts pair well with a variety of desserts. Many stouts naturally have a chocolatey flavor so they accentuate the flavor of a chocolate dessert of any kind. Maybe try a dessert beer next time you’re looking to indulge?
Also, as a bonus tip, stop “enjoying” these food and alcohol pairings, they weren’t meant to be!
Pizza and IPAs – the intensity of the IPA will totally overpower and destroy the flavor of the pizza.
Spicy food and lagers – while a crisp lager does calm the spice in your mouth, you’d be better off enjoying an IPA that will help to enhance the spice and experience overall (looking at you hot wing and Miller Lite drinkers!).
Artichokes and anythingJust don’t do it.
Blue cheese – incredibly difficult to pair with any alcohol as it overpowers all other flavors it comes into contact with – skip the blue cheese on your next cheese board.
We hope that this quick list either confirmed, made you think, or inspired some food and alcohol pairings for your next event, evening at home, or next dining out experience. Be adventurous!
—–
Ed Kraus is a 3rd generation home brewer/winemaker and has been an owner of E. C. Kraus since 1999. He has been helping individuals make better wine and beer for over 25 years.
Featured Product [bigpres skus=”BCP120″ =”no” animation=”fade” direction=”top” show_img=”yes” show_name=”yes” show_price=”yes” show_arrow=”no” hide_button=”no” link_to=”product” per_row=”4″ size=”medium” type=”card” show_content=”no” drop_shadow=”yes” /]

4 Tips for Pairing Wine and Cheese

The marriage of wine and cheese is a food relationship we are all thankful for (along with peanut butter and jelly, bacon and eggs, hamburgers and fries etc.). A study published in Journal of Food Science showed that people actually perceive wine as tasting better when consuming it with cheese. These delicacies have many similarities in the variances between styles and types: textures, densities, and tastes – wet, dry, bitter or sweet. Both are unique to their maker and, while the sky’s the limit, it can be helpful to follow some loose guidelines for pairing the right bottle of wine with the right cheese to create an indulgent experience. Check out a couple of wine and cheese pairing tips we’ve picked up along the way.
pairing-wine-and-cheese-eckraus-blog
Tip #1 Taste the wine first.
Before you begin your combination adventure, try the wine. For those who don’t know already know their favorite wine, pick a bottle (hopefully recommended by your local wine store), take a sip, think about what you’re tasting – note about the flavor, smell, and texture. Sure you could pick any cheese, but think about your favorites and how a particular cheese could make this wine even better.
Tip #2 Pair funky cheese with sweet wines.
Sweet wines like Moscato and other desert wines pair perfectly with smelly and bold cheeses. The sweetness of the wine helps to balance out the “funky” smell in cheese and the smelly cheese helps to balance out the sweetness in the wine. Opposites attract!
Tip #3 Aged cheese pairs best with bold reds.
As cheese ages, the flavor becomes richer due to the fat content increasing over time. Aged cheese pairs well with bold reds because the high fat content counterbalances the high tannins in the wine.
Tip #4 Feeling overwhelmed? Go with a nutty cheese.
Sometimes we’re stumped with choices for pairing wine and cheese – be it unfamiliarity with both or simply facing too many options to choose from. When it doubt, it is always safe to go for a firm nutty cheese like brie, swiss, or cheddar. Nutty cheeses pair well with both reds and whites and they’re delicate enough to have the fat content that counterbalances high tannins.
Some other great wine and cheese combinations that you may not have known:

  • Pinot Grigio & Mozzarella
  • Sauvignon Blanc & Goat Cheese
  • Chardonnay & Gruyere
  • Riesling & Ricotta

Pairing different wines and cheeses should be fun and not daunting, at the end of the day you’re indulging in one of the greatest food relationships known to man. Be adventurous, creative, and find a style that works best for you. Have a favorite wine and cheese combination that we didn’t mention? Let us know!
—–
Ed Kraus is a 3rd generation home brewer/winemaker and has been an owner of E. C. Kraus since 1999. He has been helping individuals make better wine and beer for over 25 years.

How to Spot a Good Wine Store

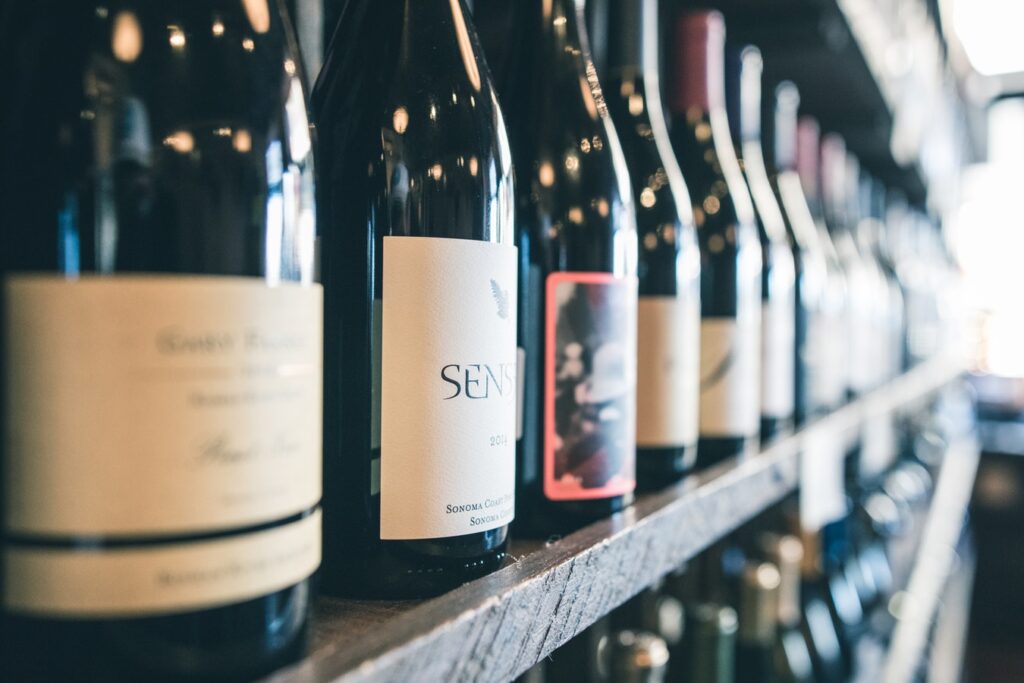
When you’re not making your own wine and shopping Adventures in Homebrewing for all your homebrew needs, you’re likely out looking for inspiration and new wine adventures from your local wine store. Note the emphasis on local – most often our favorite wine store or liquor store is the closest one to our house or work. You’ve probably not thought much about it because of the convenience, but is it really the BEST wine store you could be taking your business? “Best” of course is relative and open to opinions, but there are a few common elements of wine stores that serve as good indications to their wine knowledge and professionalism.
wine bottles in wine store
Aesthetically Pleasing
What is the first impression that your wine store gives off? Sleek, clean, and well organized? Or cluttered and chaotic? Be sure to pay attention to the details while you’re browsing – are things easy to find and well-labeled? Are the bottles dusty? Is the selection past its sell-by date? Are bottles being stored properly? If you answered “no” to any of these questions, it may be time to take a second look at where you’re shopping.
A good wine store is clean and well-organized – you want to feel good about shopping there and the owner should want to create an environment that encourages customers to stay and browse. Wine should be stored properly, out of direct heat or sunlight, and organized by region, type, etc. (some even by taste!) to help you easily find what you’re looking for.
Decent Selection
Do they have at least one of each type of wine from each region? Is it only box wine and wine coolers? Did you just now realize your favorite wine stores doesn’t have a bottle over $30? The various types and styles of wine are seemingly endless, so no store will ever be able to stock them all, but it is beneficial to both shop owner and consumer that they offer an array of options at different price points. The best curated stores have hand-picked selections that will make the dedicated customer or casual shopper satisfied with their purchase, regardless of the wine occasion.
You know you’re shopping at the right place if the owner (or employee) is passionate and knowledgeable about the different labels – being able to make recommendations is key for making happy customers and keeping them coming back. If you don’t remember the last time your local wine store suggested a wine to you, or if you haven’t bought anything that didn’t have a screw top recently, it may be time to find a new place to shop.
Prices for all Shoppers
We all want to be adventurous with our taste in wine and want to be able to afford to do so – it doesn’t have to be difficult to find a great bottle of wine for cheap and your local wine store should help to enable your journey to your next favorite label. VinePair says that if loosen the purse strings and be open to spending $20 or more – you’ll expand your options and find new, better wines to experience.
A good wine store will have a large variety of stock at every price point – they’ll offer loyalty programs, daily or weekly deals, and bulk discounts – excited for their customers to discover new wines. For both customer and owner, it is important to note the distinction between reasonably priced wine and cheap wine.. they are two very different things. There are a vast number of great wines between $15 and $35 and your wine store should help you on your journey to finding your favorites.
Breaks You from Your “Comfort Zone”
Sticking to what you know is comfortable, even if the quality of your go-to wine isn’t great. A good wine store will do things to encourage you to break away from what you know and be open to potentially discovering new tastes. They’ll offer events and wine tastings, bring in experts to talk about how the wines are made and what meals they pair best with, and be a warm/inviting space for shoppers to expand their pallet. Attending wine tastings is fun, insightful, and a great way to find new wine stores. They usually have a bottle discount on the wine their tasting too.
We didn’t set out to bash your local wine store, but rather we wanted to point out some common traits shared by passionate store owners and employees that might make you reconsider your current wine shopping experience. Just because something is local to you does not mean it is the best for you – we want our customers to be educated on how to find good wine and discover their new favorites through amazing tasting and shopping experiences. You are here because of our shared love of wine, and I’m here to help you recreate your newly purchased favorite with all of your winemaking needs.
Happy wine shopping,
Ed Kraus
—–
Ed Kraus is a 3rd generation home brewer/winemaker and has been an owner of E. C. Kraus since 1999. He has been helping individuals make better wine and beer for over 25 years.

The Power Of Taking Home Brewing Notes

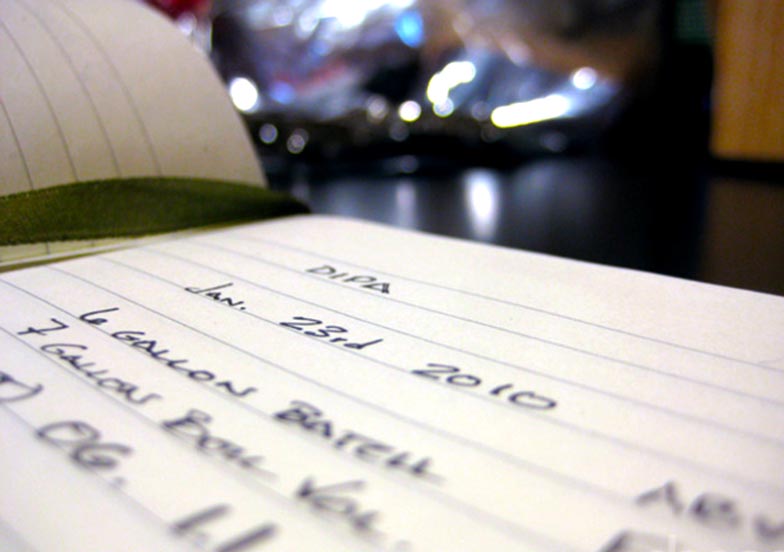
Home Brewing PressFor beginning homebrewers and casual hobbyists, taking home brewing notes may not be much of a priority. The most important thing, after all, is that it should be fun, right? But most brewers will reach a point when they want to enhance their craft and take their homemade beer to the next level. Taking good home brewing notes is one of the best and easy ways to accomplish this.
Keeping a home brewing log of some sort has several advantages, just a few of which are listed below. Among other things, taking notes while brewing allows you to:

  • Record your beer recipes
  • Modify recipes for future batches
  • Recreate beers that came out well
  • Improve beers that didn’t
  • Track procedures, recording methods that work and those that don’t
  • Record tasting notes to help remember some of your favorite brews and identify potential problems

Taking home brewing notes allows you to look back on a brew that came out well and recreate it. On the other hand, when something goes wrong, having a beer brewing log of some sort can provide insight as to what might have gone wrong. Either way, taking good notes will help you make better beer in the long run.

Tips for Taking Good Home Brewing Notes

  • Take notes while you brew, or immediately afterwards. I know that if I wait until the next day to take notes, I’ll without a doubt forget some details. (Was that 1 teaspoon or 1 tablespoon of gypsum I added to the mash?) The sooner you log these details the better.
  • Keep a notebook for writing down home brewing notes, then transfer to a spreadsheet or home brewing template with all your other beer recipes and notes. Having consistency in the way you log your home brew will make it easier and more routine for you with each passing brew.Shop Beer Recipe Kits

What to Record in Your Home Brewing Notes
Beginning brewers might want to start by recording the following basics:

  • Record the recipe and ingredients, including the weight and type of all the ingredients, the time of each hop addition, and the strain of beer yeast used.
  • Include dates for brew day, transfer to secondary (if applicable), and bottling/kegging date.
  • Record both original gravity and final gravity so you can calculate alcohol content.
  • Amount and type of priming sugar used for bottling.
  • Tasting notes – Record the date of the tasting and common characteristics: aroma, appearance, flavor, mouthfeel, and overall impression. (Tip: Save a bottle or two of your brew for a tasting at a later date. You might be surprised how beers can change over time!)

Partial mash and intermediate brewers may want to log a few more details in their notebook:

  • Specialty grains used, if applicable
  • Water to grain ratio if doing a partial mash
  • Temperature of mini-mash, if applicable
  • Water amendments, if applicable
  • Fermentation notes, including duration of fermentation and changes in the fermentation temperature
  • If kegging and force carbonating your beer, record the amount of CO2 used or amount of pressure, the temperature of the beer in the keg, and the length of time under pressure

Shop Homebrew BooksFinally, all-grain brewers should keep the most detailed home brewing notes of all. In addition to the items above, they may want to record the following:

  • Gravity of first wort runnings
  • Extract efficiency
  • Pre-boil gravity
  • Post-boil gravity
  • IBUs
  • Size and type of yeast starter

Do you take good home brewing notes? Do you keep a beer log of some sort? What items do you record that aren’t listed above? Do you have a home brewing note template you like to use? Share in the comments below!
—–
David Ackley is a beer writer, brewer, and self-described “craft beer crusader.” He holds a General Certificate in Brewing from the Institute of Brewing and Distilling and is founder of the Local Beer Blog.

Leigh Erwin: Wine Fermentation Temperature

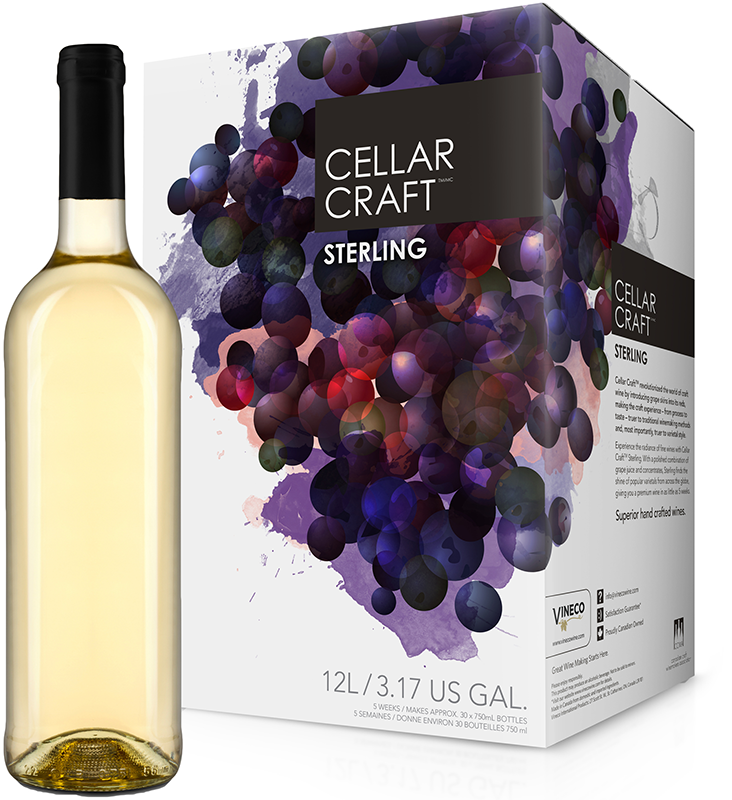
Cellar Craft SterlingHi everyone!
I am very excited to finally be starting some new wines! I ended up purchasing two more wine making kits: the Cellar Craft Sterling California Chardonnay and the KenRidge Classic Nebbiolo. I chose the Cellar Craft Sterling Chardonnay because I have yet to make a white wine using oak chips and I wanted the opportunity to do so. As far as the red goes, I chose the Ken Ridge Classic Nebbiolo because it is a red that did not come with the skins, nor does it use oak. It does contain a packet of dried elderberries, which I thought was a fun change-up for a wine making kit.
I decided to start with the Chardonnay first for no reason in particular. Just like all the other times, I drew off water the night before, just in case there was chlorine in there so it could dissipate. The day of fermentation, I first prepared and added the bentonite solution, then added the wine base. Then, I used about 8 cups of warm water to rinse out the bag.
At this point, I checked the specific gravity with my hydrometer as well as the temperature, which came out to 1.100 and 69oF.
Feeling satisfied with these values, I then sprinkled the yeast onto the top of the juice and loosely placed the lid on top. I decided not to place the lid on tightly or use an air lock because from what I’ve read about primary fermentations, they actually like and need to have some oxygen in order to successfully proceed through the process.
According to the instructions that came with the wine making kit, I was to leave the wine fermenting until at least day 6. So, I did just that.
On day 6, I went to check in on the specific gravity and was surprised to find it had barely moved and was at 1.080. I had forgotten to check the temperature of the wine, but I could feel in the room it was somewhat cool.
See, previously the heat was switching on regularly, as it was late winter and that’s what happens! Around the time I started the Sterling Chardonnay, however, it had actually been very warm outside, so I wasn’t using the heat at all. There were actually a couple of days where it was so hot that I needed to switch on the air conditioning, but didn’t think about the fact that the vents were open in the winery room and while I was making things nice and comfortable in the upstairs living areas, I was inadvertently making things very cold in the basement where the winery room is located.
Beginning to wonder if that had something to do with my ridiculously slow fermentation; I decided to try a couple things to get this wine making kit fermenting while simultaneously reaching out to ECKraus for advice. My next post will follow up more on that.
———————————–
Leigh Erwin Bio PictureMy name is Leigh Erwin, and I am a brand-spankin’ new home winemaker! E. C. Kraus has asked me to share with you my journey from a first-time dabbler to an accomplished home winemaker. From time to time I’ll be checking in with this blog and reporting my experience with you: the good, bad — and the ugly.
Homebrew Hacks: How to Figure Out How Much Fuel is Left in Your Propane Tank

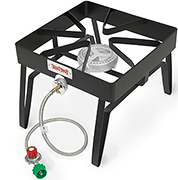
Propane burnerMany homebrewers enjoy using an outdoor gas burner and a propane tank for homebrewing. It’s usually faster than brewing on an electric stove and it allows you to brew outside. But how can make sure you don’t want to get caught halfway through your boil with an empty gas tank?
One method to prevent a frustrating situation is to have a spare propane tank on hand. This is definitely a good idea. But if you’re DIY-er or haven’t had that chance to exchange a tank, you might find it helpful to know whether you have enough propane to get through a brew day.
Here’s what you need in order to figure out how much fuel is left in your propane tank for homebrew day:

  • a propane tank
  • a scale with at least 40 lbs. capacity (for a 20 lb. tank)
  • records of how many brews you’ve done since the last fill up
  • a calculator

Here’s how to figure out how much propane is left in your tank:

  1. Weigh your propane tank.
  1. Check the rim of the propane tank, near the handles, for a stamp that shows the tare weight of the tank. This is usually labeled “TW.” The tare weight is the weight of the tank when it’s empty.
  1. Subtract the tare weight from the weight of the tank to find the weight of the fuel left in the tank.

Now, to calculate whether you have enough propane to get through a brew day:

  1. Determine how much fuel has been used so far by subtracting the remaining fuel from the fuel tank capacity. For example, you find that you have 5 lbs. of fuel left in the tank. Assuming the tank was a full 20 lbs. to begin with, that means you’ve gone through about 15 lbs. of fuel. (For best results, you will have weighed the tank right after you bought it to have an accurate starting point.)
  1. Take the amount of fuel that has been used so far and divide by how many brews you’ve done on that tank. Checking your homebrew notes, you know that you’ve done five brews with this tank. Divide the total fuel used (15 lbs.) by the number of brews (5) to arrive at how much fuel you typically use per brew (3 lbs.).
  1. Estimate how many brews you have remaining. Continuing with the example above, if you have 5 lbs. of fuel left and you use an average of 3 lbs. of fuel per brew, you have about 1.67 brews left in that tank (5 / 3 = 1.67). After your next brew, you should definitely refill or exchange your propane tank!

Are you curious whether propane burners save time over electric stoves when homebrewing? Check out Bryan Roth’s Water Boil ExBEERiment.
————————————————————————
David Ackley is a beer writer, homebrewer, and self-described “craft beer crusader.” He holds a General Certificate in Brewing from the Institute of Brewing and Distilling and is founder of the Local Beer Blog.

Refractometers Let You Know When To Pick

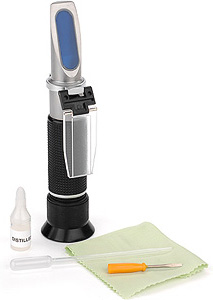
For anyone operating a vineyard, large or small, refractometers are an invaluable tool. They help take the guesswork out of knowing when to pick by indicating when the grapes have become sufficiently sweet–a vital part of any vineyard operation.Wine Refractometer
Maximizing the sugar level is important, particularly if the grapes are to be used for wine making. Refractometers measure the sugar level (or brix) of the grapes without requiring a large sample size. All the vintner needs is two or three drops of juice from a grape placed on a refractometers prism window, and it will instantly tell him the sugar level of that sample.
This is why refractometers are so important. By simply going randomly throughout the vineyard and testing a few grapes, it can be accurately determined if it is time to pick.
Even though you may only have a few vines and do not have a large vineyard in your backyard, refractometers are still important to you as a home winemaker. Regardless of the size of the batch, you always want to make the best batch you can. And that’s exactly what refractometers help you to do.
We offer a refractometer that is perfect for wine making, and it’s very affordable when compared to some refractometers out there on the market. It comes with its own carrying case, complete with directions and it’s simple to use.
———————————————————————————————————
Ed Kraus is a 3rd generation home brewer/winemaker and has been an owner of E. C. Kraus since 1999. He has been helping individuals make better wine and beer for over 25 years.