How Do You Make Non-Alcoholic Wine?

Non-Alcoholic Wine
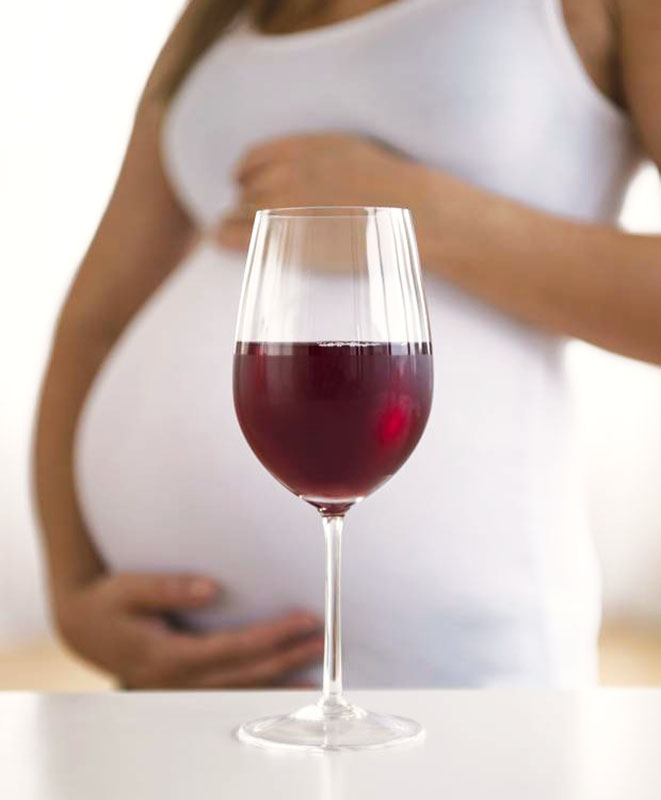
How do you make non alcohol wine? I am interested in doing this. Do you have information that can tell me how to do this?
Thank You!
Lloyd
_____
Dear Lloyd,
Unfortunately, making non-alcohol wine is something that requires special equipment and a little technical know-how.
You could mix up some Welch’s grape concentrate and call that non-alcohol wine, but the non-alcoholic wines you buy at the store are different. They aren’t syrupy sweet. The sugars have been removed allowing the body and tannins to come forth and be the core of the juices character – just like an alcoholic wine would.
By far, the easiest way to remove the sugars from the juice is to have a fermentation that will turn the sugars into alcohol. This is what the commercial producers of non-alcoholic wines do. They ferment the juice and start out with an actual wine. Then the alcohol is removed. So when you ask: how do you make non-alcoholic wine?, the answer is: start with some alcoholic wine.
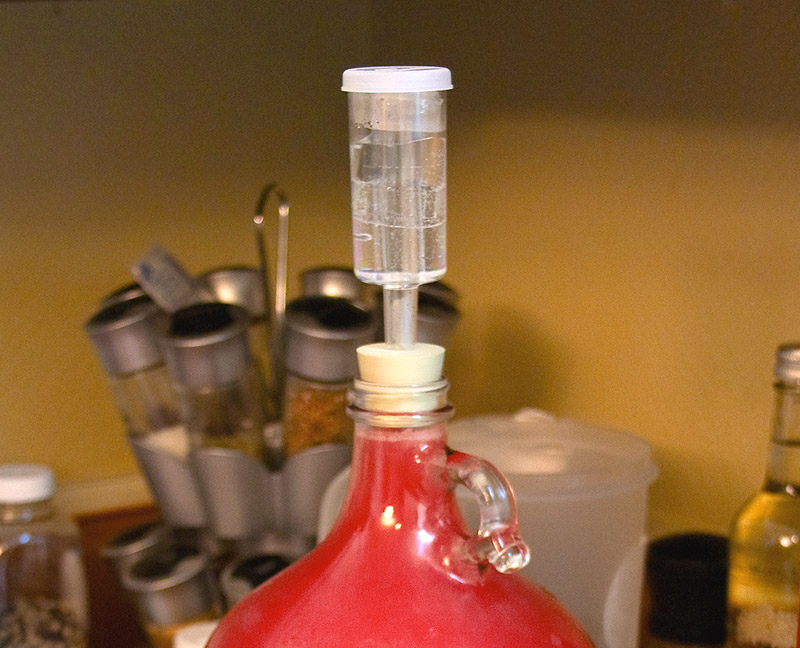
Anyone can take a juice and turn it into wine. That’s not the hard part. You make the wine as you normally would. The hard part is removing the alcohol from the wine. There are a couple of ways that the commercial producers of non-alcoholic wines go about doing this. Unfortunately, neither of them are practical for the home winemaker:

  • Distillation Shop Grape Concentrate
    The first way is to distill the alcohol off the wine. Steam it away. This would work okay for the home winemaker except that heating up the wine causes it to oxidize and turn brown very quickly. The wine becomes caramelized to an extent. Commercial producers have learned how to get around this by putting the wine in a very strong vacuum. As the vacuum increase, the steaming or boiling temperature of the alcohol becomes lower. They create a vacuum that is so strong that the boiling point of the alcohol is down into the 70°F. In effect, they can distill the alcohol off the wine without ever heating it up and causing the wine to oxidize.
  • Filtration
    The second way commercial producers make non-alcohol wine is through filtration. The wine is forced under high pressure against a membrane that is so fine that only the water and alcohol can seep through it. The wine is ran past the membrane over and over again until the wine becomes a concentrate. Water is then added back to bring the wine to its original concentration – only now, there is little to no alcohol present.

So as you can see, when you ask” how do you make non-alcohol wine?, there is no simple answer for the individual home winemaker. It requires both extensive apparatus and inside knowledge. It is technology that is way beyond the realm of what the typical home winemaker could accomplish at home.
Happy Wine Making,Shop Wine Making Kits
Ed Kraus
—————
Ed Kraus is a 3rd generation home brewer/winemaker and has been an owner of E. C. Kraus since 1999. He has been helping individuals make better wine and beer for over 25 years.

What Size Rubber Stopper Fits What?

Rubber Stopper That Is The Right SizeOne of things that almost every home winemaker uses is a rubber stopper. It’s used to attach an airlock to a plastic fermenter or wine carboy. The rubber stopper is tapered in shape, has a whole in it for the airlock, and comes in various sizes.
Knowing what size of rubber stopper to purchase can be of some issue. Whether you are using a gallon glass carboy or plastic fermenter makes a difference as to the size rubber stopper you need. I thought it would be nice to go over, “what size rubber stopper fits what”, since we offer 25 different sizes to choose from.
I should start of by saying that any bucket fermenter we offer takes a size #2 rubber stopper. This may not be the case with a fermenter purchased elsewhere. It depends on the size of whole the supplier decides to put into the plastic fermenter.
Glass carboys come in an array of sizes and take a different sized rubber stopper as the size changes. There are 6.5 , 6 , 5 and 3 gallon sizes. The rubber stopper size for each is as follows:
6.5 Gal. Glass Carboys (Size #6.5) Shop Carboys
6.0 Gal. Glass Carboys (Size #6.5)
5.0 Gal. Glass Carboys (Size #7)
3.0 Gal. Glass Carboys (Size #7)
7.0 Gal. Large-Mouth (Size #10)
6.0 Gal. Large-Mouth (Size #10)
You may need to size a plastic wine carboy with a rubber stopper as these have become more popular over time. A plastic carboy takes a size #10.0 rubber stopper regardless of its size.
Other sizes of rubber stopper you may need to know is are:
Wine Bottle Opening (Size #2.0)
Beer Bottle Opening (Size #2.0)
Large-Mouth Gallon Glass Jugs, Quick Quarter Turn Lid (Size #8.0)
Small-Mouth Gallon Glass Jugs, Thread-Down Lid (Size #6.0) Shop Wine Airlocks
Visit our website. It lists all of these rubber stoppers and more along with their dimensions.
———————————–
Ed Kraus is a 3rd generation home brewer/winemaker and has been an owner of E. C. Kraus since 1999. He has been helping individuals make better wine and beer for over 25 years.

My Homemade Wine Has Bubbles And Sediment. What Should I Do?

Wine GrapesI made 36 gallons of wine last year, a Alicante and Zinfandel mix. This was my first attempt at winemaking. I followed the instructions from a winemaking book. I racked the wine three times put in the proper extra ingredients then bottled it over the correct period of time. The wine turned out terrible. There is still sediment and it must have not fermented properly because the wine still has bubbles. Is there anything that I can do? I’m thinking of emptying all the bottles into my 35 gallon container. Maybe letting it set and rack it again. I don’t know what to do because it really doesn’t taste good at all. Any suggestions would be really appreciated. Even throw it all out!
Thanks Frank
Name: Frank S.
State: Colorado
—–
Hello Frank,
Most of the time when I hear about bubbles and sediment in the wine it’s because the wine is still fermenting in the bottle. The fermentation causes CO2 (carbonation) to form in the wine and sediment to drop out (dead yeast cells). But, in this cause I am also concerned about the wine having spoiled, as well.
Shop Degassing PaddlesSpoilage is best determined by the wine’s smell. Does it have a fingernail polish or paint thinner odor? Does it have a cooked cabbage or rotten food odor? Do you smell something like rubber or band-aids in the wine? Any of these would indicate potential spoilage. The only smell that would be acceptable, other than the fresh bouquet of the wine, would be a sulfur or yeasty smell. This would be expected from a freshly fermented wine and will lessen with time.
If it seems that the wine has spoiled, there is little you can do about it other than to discard it. There is nothing you can do to reverse such a wine fault. But, if the wine is not giving off any of these off-odors, then there is hope.
From you description you gave of bubbles and sediment in the wine, it may be very likely that your wine is still slightly fermenting or has fermented in the bottles. If this is the case – then just as you have suggested – decanting all the bottles of wine back into a fermenter would be the first plan of action. Try not to splash the wine anymore than necessary. This can cause the wine to oxidize.
The whole idea behind putting the wine back into a fermenter is to allow it time to finish fermenting, if necessary, and/or to clear up. Take a hydrometer reading of the wine. If the Specific Gravity is above .998, then some fermentation time is needed.Shop Bentonite
Once any fermentation is done, you will want to degas the wine. This is done simply by agitating the wine so as to release all the CO2 gas from the wine. You can use a tool call degassing paddle to help degas your wine as well.
The wine will need some time to clear. This is something that can only begin to happen after any fermenting has completed. A fining agent such as bentonite may be added to help speed up the settling process. Being patient with this step will be in the wines favor. Just keep it under air-lock and give it plenty of time, even months. There is nothing wrong with bulk aging a wine. If you do plan on waiting more than a couple of weeks to bottle the wine, you should add a half-dose of potassium metabisulfite to the wine. (1 teaspoon to every 32 gallons).
When the wine is ready to be bottled, you will want to siphon it off the sediment, first. You will also want to add another full-dose of potassium metabisulfite right before bottling. Shop Potassium Bisulfite
Happy Wine Making
Ed Kraus
———————————–
Ed Kraus is a 3rd generation home brewer/winemaker and has been an owner of E. C. Kraus since 1999. He has been helping individuals make better wine and beer for over 25 years.

Brewing A Coffee Stout Beer Kit – Part IV

Glass Of Coffee Stout From A Beer Recipe Kit
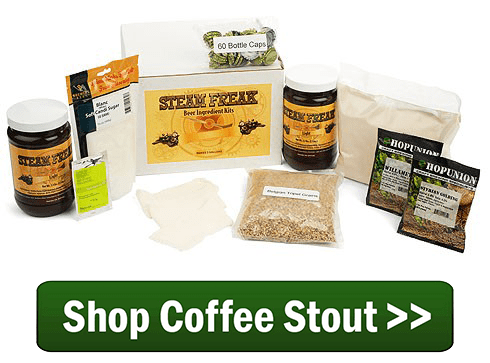
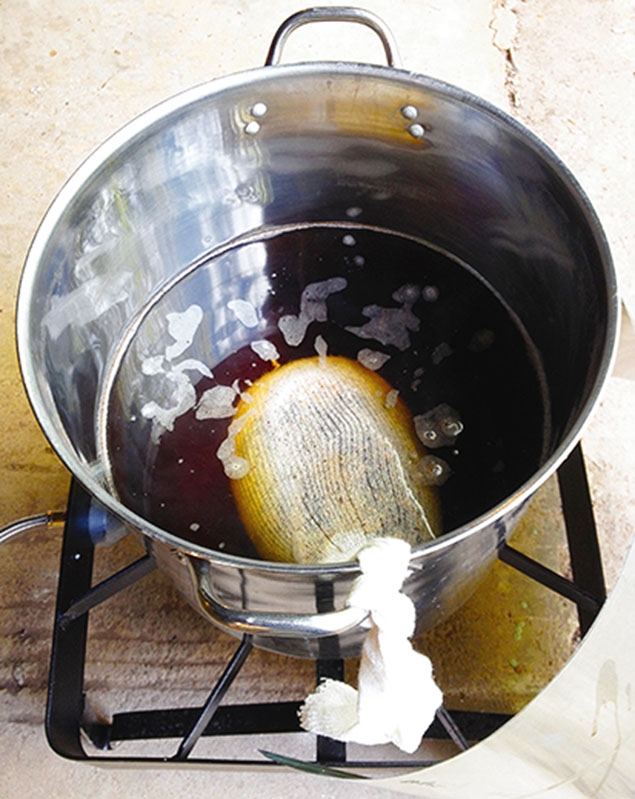
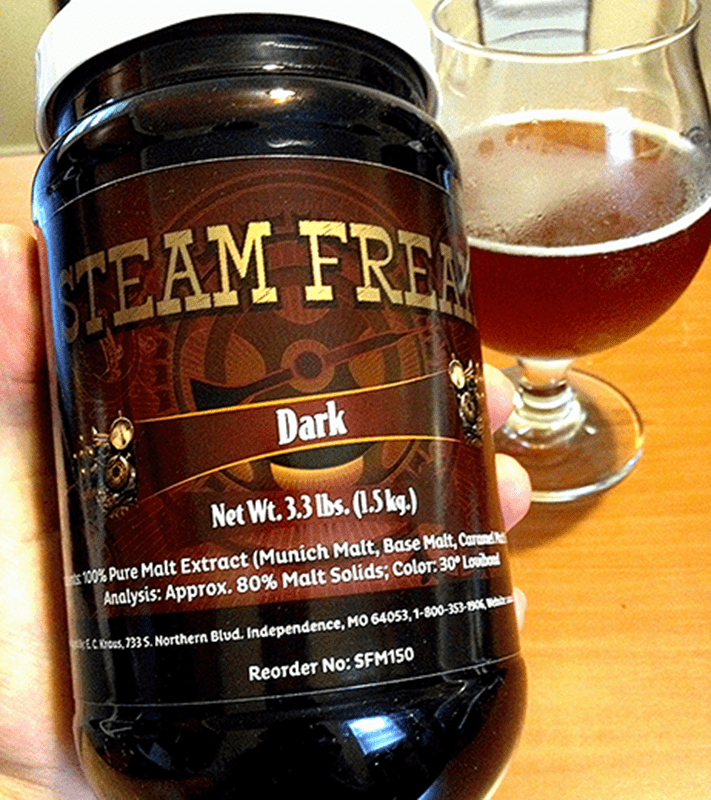
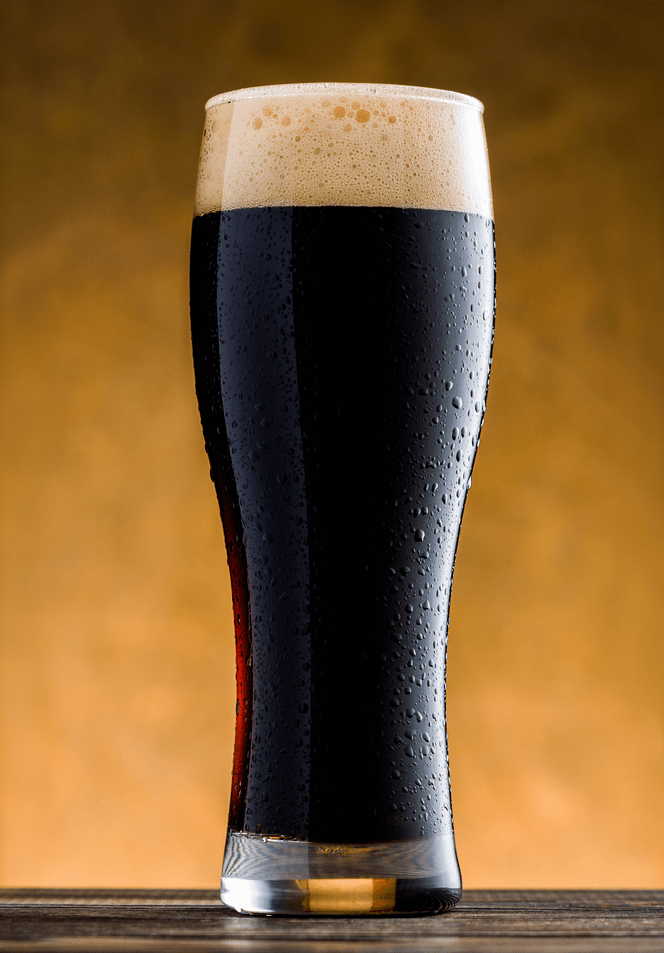
Over the past several weeks, I’ve been making a coffee stout partial mash beer kit: Captain Cogsworth Coffee Stout. First, I reviewed the ingredients and made a plan about how to add the coffee to the beer. I then brewed the beer, guided it through fermentation, and bottled it with the coffee. Now we can taste the coffee stout and see what changes might be made next time around.
Here are the notes from my taste test of the Steam Freak’s Coffee Stout beer kit.

Tasting Notes: Steam Freak Captain Cogsworth Coffee Stout
Final Stats:
OG: 1.059
FG: 1.020
ABV: 5.1%
IBUs: ~44
SRM: ~35

  • Aroma – Soft malt aroma, primarily roasted malt, with just a touch of caramel sweetness. Some notes of chocolate and coffee, but not too bitter or astringent. Some subtle esters from the American ale yeast, which combined with the malts come across as dark fruit. A wildly inviting aroma.
  • Shop Steam Freak KitsAppearance – Dense, tan head that holds over time fairly well. Very dark brown color, nearly opaque. Some light brown highlights around the edges, just as a stout should be.
  • Flavor – Primarily roasted malt and coffee flavors, supported by subtle malty sweetness. The beer is bitter without being over the top or astringent. Hop flavor is minimal. Some ester character is present. The beer tastes a little young, so it will be interesting to see how it changes over the coming weeks. (Added Note: It has now been 5 weeks since bottling, and the flavors have come together beautifully. The maltiness rolls into the roasted/coffee, then finishes with the hops.)
  • Mouthfeel – Medium bodied. Slight astringency from roasted malts.
  • Overall – This beer’s pretty darn good! It’s a flavorful dark beer with subtle coffee flavors, but not as heavy as something like Guinness. I look forward to sharing it with family and friends!

So would I make any changes to this partial mash recipe kit? Two things come to mind:

  1. Shop Wort AeratorThis is more of a personal preference than anything else. I wouldn’t mind a little American hop character in the aroma. Maybe just dry hopping for a few days with a half-ounce or so of Cascade or Nugget hops would do the trick.
  1. I’d also like to explore how to get a more assertive coffee aroma. Would brewing the coffee hot make a difference? Several brewers recommend the cold-brew method, so I’m not sure whether that would be an improvement. Maybe increasing the roasted malt from 8 ounces to 12 would help. Another option would be to increase the amount of coffee added to the coffee stout, or even try aging the beer directly on the ground or whole beans.

All told, I think this coffee stout partial mash beer kit turned out great! Luckily I have these comments in my homebrewing notes, so the next time I brew a coffee stout, I’ll know exactly what to do to make it even better.
Which Steam Freak homebrew beer kit would you like to try?
Part I – Brewing a Coffee Stout
Part II – Brew Day, Partial Mash Shop Liquid Malt Extract
Part III – Adding Coffee, Priming
Part IV – Final Tasting Notes
———————————–
David Ackley is a beer writer, homebrewer, and self-described “craft beer crusader.” He holds a General Certificate in Brewing from the Institute of Brewing and Distilling and is founder of the Local Beer Blog.

Brewing A Coffee Stout Beer Kit – Part Three

Bottled Homebrew Two CasesLast night I bottled the Steam Freak Captain Cogsworth Coffee Stout. This brew requires a somewhat unusual bottling process, so I’ll walk you through it. The objective: add the coffee and the priming sugar at the same time.
Luckily, both can be done without a major modification to the bottling process. Basically, instead of mixing the priming sugar with water, the instructions that came with this coffee stout beer kit call for mixing the priming sugar with coffee. I like to do things differently, so instead of making a regular cup of coffee, I decided to make cold brew.
Cold brewed coffee is simply ground coffee steeped in cold water. The idea is that this avoids extracting harsh, burnt flavors from the coffee. The only catch is that it takes longer to brew than traditional coffee brewing methods, about 24 hours instead of a few minutes. Here’s how I went about adding cold brewed coffee to my coffee stout:

  1. Shop Coffee StoutAbout 24 hours before bottling, pre-boil the steeping water. For the sake of sanitation and to remove any chlorine in the water, I boiled my steeping water for about 20 minutes. I placed the lid of a mason jar in the boiling water for several minutes to sanitize it.
  1. Pour the boiled water into a quart-size mason jar. I poured the water into the jar when it was still very hot, so this should have sanitized the jar.
  1. Cool the water in the refrigerator. I set the jar in the fridge for a few hours while I did some work around the house.
  1. Mix the ground coffee into the water. I poured off about half of the water and added the coffee to the jar. I sealed it up and mixed the coffee around a bit.
  1. The next day, get ready to bottle. One of the first things I do when bottling a beer kit is move the fermenter into position. This gives sediment a chance to settle while I clean and sanitized bottles, caps, the auto-siphon, tubing, and the bottle filler.
  1. Shop Bottle CappersMix coffee and priming sugar. First, I used a priming sugar calculator to find out how much priming sugar to use. Then I strained out the coffee using a sanitized French press. I poured the coffee into a small pot and mixed in the priming sugar, heating the mixture to just short of boiling.
  1. Transfer beer into bottling bucket and mix in priming sugar/coffee mixture. I gave the coffee/sugar mixture a moment to cool, then got ready to transfer. I started transferring the beer and poured in the coffee/sugar mixture once there was about an inch of beer in the bottling bucket. The swirling motion of the beer as it filled the bottling bucket was enough to mix things together.
  1. Bottle. Fill bottles and cap as usual!

Ideally, using the cold-brewing coffee method will bring a smooth, aromatic coffee character to beer, without adding much bitter astringency. Stay tuned to see how it this coffee stout beer kit turns out!
Interested in other coffee-flavored beer recipes? Try this Sierra Nevada/Ninkasi Double Latte Clone and check out these tips for brewing beer with coffee.Shop Fermenter
Part I – Brewing a Coffee Stout
Part II – Brew Day, Partial Mash
Part III – Adding Coffee, Priming
Part IV – Final Tasting Notes
———————————–
David Ackley is a beer writer, brewer, and self-described “craft beer crusader.” He holds a General Certificate in Brewing from the Institute of Brewing and Distilling and is founder of the Local Beer Blog.

Brewing A Coffee Stout Beer Kit – Part Two

Partial Mash BrewingThis weekend I brewed my latest homebrew recipe kit from E. C. Kraus: Captain Cogsworth Coffee Stout.
Though I often brew all-grain, I enjoy other methods of making beer. For example I like partial mash brewing for a number of reasons. For one, partial mash brewing takes less time. I can usually do a partial mash brew in about four hours, as apposed to six for all-grain, cleaning and sanitation steps included. Most of the time savings come from eliminating the mash and lauter steps. Bringing the wort to a boil is faster too, since you’re dealing with about half as much liquid. It’s also nice that after steeping the grains you only have to dispose of half a pound of grain, not twelve, and there’s no mash tun to clean out.
When I brew partial mash brewing kits, I will sometimes make small adjustments to the recipe in the box. For this coffee stout beer kit, I added a little extra base malt to the steeping grains for a more grainy malt flavor and a little diastatic power. The extra grains may contribute some extra body and mouthfeel as well.
The first step in partial mash brewing (after cleaning and sanitation, of course) was steeping the specialty grains. I used pure RO water from the store. After about 20 minutes at 150°F, it was time to bring the wort to a boil.Shop Steam Freak Kits
This is the point where malt extract is added to the wort. Regardless of whether brewing on the stove or on a gas burner, I always turn off the heat before adding the malt extract. This helps prevent a boil over. After adding the malt extract, the wort smelled glorious! A lot like hot cocoa.
After bringing the wort to a boil, I added the first round of hops, in the case of this Cogsworth coffee Stout, one ounce of Northern Brewer. Thirty minutes later, I added the rest of the hops: one ounce Tettnanger. With 15 minutes left in the one-hour boil, I added a couple additional ingredients that weren’t called for in the beer recipe with this kit: Irish moss and yeast nutrient. In my experience, these can help with clarity and fermentation, and I’ve simply gotten into the habit of adding them to every brew.
As with bringing wort to a boil, chilling a wort with the partial mash brewing method is much faster. I was able to chill the wort with my immersion wort chiller in basically half the time compared to doing a full wort boil. After that, all I did was pour about two gallons of water into my sanitized fermenter, pour the wort on top, top off to five gallons, and then stir to mix and aerate. Sometimes I will top off a little more than five gallons just to account for losses in trub.
Shop Wort ChillersSo far, the partial mash brewing directions that came with this brew kit have worked well. I took a quick hydrometer sample (1.059 – right on target!), pitched the yeast, and in a couple weeks I’ll be ready to add the coffee! Based on how the coffee smells…I’m excited!

Part I – Brewing a Coffee Stout
Part II – Brew Day, Partial Mash
Part III – Adding Coffee, Priming
Part IV – Final Tasting Notes
———————————–
David Ackley is a beer writer, brewer, and self-described “craft beer crusader.” He holds a General Certificate in Brewing from the Institute of Brewing and Distilling and is founder and editor of the Local Beer Blog.

Brewing A Coffee Stout Beer Kit – Part One

Coffee Stout Beer KitCoffee and beer have become a natural combination in the beer world. There are versions by Sam Adams, New Belgium, and nearly every other craft brewer out there. In the Sierra Nevada Beer Camp Across America 12-pack, a coffee milk stout was one of the most highly rated beers in the variety pack.
In brewing, coffee is most often paired with stout. It’s a style that’s robust enough for winter, and if you enjoy coffee as much as I do, it’s a beer you can drink again and again.
Which leads me to why my next brew is the Steam Freak’s Captain Cogsworth Coffee Stout Beer Kit. Here’s the recipe from the ingredient kit I’ll be brewing:

Steam Freak Captain Cogsworth Coffee Stout Beer Kit
(Extract with specialty grains, five-gallon batch)
Specifications
Style: American Stout with Coffee
Target OG: 1.060
Target FG: 1.016
Target ABV: 5.5%
IBUs (Bitterness): 46
SRM (Color): 36
Ingredients
6.6 lbs. Dark Liquid Malt Extract Shop Coffee Stout Beer Kit
1.0 lbs. Dark Dried Malt Extract
4 oz. Caramel 60°L malt
4 oz. Roasted barley
8 oz. Chocolate malt
1 oz. Northern Brewer hops at :60
1 oz. Tettnanger hops at :30
1 packet Fermentis Safale US-05
Also included in this kit:

Planning How To Brew This Beer Ingredient Kit

You might be wondering how exactly the coffee should be added to this coffee stout beer kit recipe. Should it be added to the boil? To the fermenter? There are several ways to do it. Each will give the beer a different coffee character. I’d advise against adding the coffee to the boil, unless throwing it in at the very end. It probably won’t ruin the beer, but adding the coffee during the boil might give the beer too much of a bitter, astringent taste.
The E. C. Kraus kit directions recommends adding the coffee at bottling time. Though making hot coffee will be the quickest and easiest way, cold brewed coffee offers an opportunity for rich coffee flavor while minimizing added bitterness. To do this, I’ll need to prepare the coffee in advance.
To make cold brew coffee, mix the ground coffee with water about 24 hours in advance. You generally mix cold brew coffee with 1/2-1/3 less water than you would making a regular batch. I’ll plan on mixing the 3 oz. of coffee that comes with this coffee stout beer kit with about 18 oz. of pre-boiled, pre-chilled, filtered water.
Shop Fridge MonkeyI’m no barista, but I like to think I have a pretty good nose for coffee. I opened the bag of coffee to give it a whiff – boy am I excited to brew this batch! Stay tuned to see how this coffee stout beer recipe goes!

Part I – Brewing a Coffee Stout
Part II – Brew Day, Partial Mash
Part III – Adding Coffee, Priming
Part IV – Final Tasting Notes
———————————–
David Ackley is a beer writer, brewer, and self-described “craft beer crusader.” He holds a General Certificate in Brewing from the Institute of Brewing and Distilling and is founder and editor of the Local Beer Blog.

6 Brew Year’s Resolutions

2017The New Year is a great time to reflect on accomplishments from the past year and think ahead to the next twelve months. While contemplating your goals and objectives for 2017, don’t forget to consider your brewing habits!

Below are my six “Brew Year’s” Resolutions:

  1. Brew more – For starters I want to brew more beer. Not necessarily more frequently, but certainly more volume. Looking back on my homebrewing notes, I know that in 2016, I brewed 18 batches of beer, plus one batch of cider (two are still in progress). I do a lot of small batches: I yielded roughly 68 gallons of beer, for an average of about 3.75 gallons per batch. In 2017, I intend to brew more five-gallon batches and fewer small batches to make the most of my time and effort. At some point in the year, I plan to invest in a larger boil kettle and more fermenters to achieve this goal.
  1. Get a keg system – I’ve been bottling my homebrew for four years now. It’s time for an upgrade! A kegging system will help me save time, allow me to drink my beer sooner, and make it easier to transport my homebrew to festivals and events.Shop Draft System
  1. Get control over fermentation temperature – Looking back over 2016, there were one or two batches that could have benefited from stricter fermentation temperature control. In the coming year, I intend to monitor fermentation temperatures more closely and go the extra mile to make sure fermentations happen in the correct temperature range.
  1. Enter more homebrew competitions – I had a few batches that turned out very well (last spring’s Saison, for example). I’d like to submit more of my beers into homebrew competitions to get feedback and see if I can’t win a prize or two.
  1. Brew more classic styles – As a homebrewer, I love to experiment, brewing crazy batches with unusual ingredients. In 2017, I plan to brew more of the classic styles: pale ales, stouts, Belgian ales. The fewer unusual ingredients, the easier it will be to evaluate my homebrew and make the necessary changes and improvements.
  1. Shop Temp ControllerRepeat past brews – My final objective for next year is to redo a few of my beer recipes to see if I can improve them. I believe I’ve developed a good American pale ale recipe, it just needs some minor tweaking. With repetition, I’ll figure out how to make it turn out well on a consistent basis. This will ultimately be the best way for me to become a better brewer.

What changes do you want to make in 2017?
—————————————————–
David Ackley is a beer writer, homebrewer, and self-described “craft beer crusader.” He holds a General Certificate in Brewing from the Institute of Brewing and Distilling and is founder of the Local Beer Blog.

Last Minute Guide For Wine Making Gifts

Santa With Wine Making GiftsWe are in the midst of the holiday season, and the days to purchase gifts for your friends and loved ones are going by quickly.  But there’s still time!  Place your order with us by noon, December 19th, 2016, and you’ll have it in time to place your wine making gifts under the Christmas tree.
Perhaps you know someone who is an avid home winemaker, or maybe you know someone who keeps talking about making their own wine at home but hasn’t gotten around to getting started.  Regardless if they’re an expert home winemaker or a beginner home winemaker; there are great wine making gifts to fit every level of expertise! And to help your out, here is a little wine making gifts guide to help you out.

Wine Making Gifts for the Beginner:

  • Wine Making Kits:  Shop Wine Making KitsThere’s no better wine making gift than a wine making kit that has everything you need in one place.  There are many different types of winemaking kits, from very basic kits to more complex kits. Winemaking kits can also come all ready to make a particular type of wine, such as Johannisberg Riesling or a Red Bordeaux.

Wine Making Gifts for taking it to the next level:

  • Wine Presses:  A wine press is a great wine making gift for the home winemaker who has been perfecting his or her art using packaged juices but is now ready to go to the next level and make wine using the fruits themselves.  Buying a Table- Top Fruit Press in conjunction with a Wooden Fruit Crusher will surely make the home winemaker on your list giddy with joy!
  • Motorized Crusher/De-Stemmer:  This wine making gift is perfect for the home winemaker that has been making wine for fruit for some time and is hoping to increase the volume of wine that they are producing.  Shop Wine PressThe Motorized Crusher/De-Stemmer is a grape crusher and grape destemmer all rolled up into one. It can handle a significantly greater amount of grapes than a fruit press and is perfect for someone looking to grow their home winemaking outfit.

Wine Making Gifts for Gadget Lovers:

  • The Brew Belt: This great little device is designed to keep fermentation batches nice and warm, in order to keep the fermentation going a desirable rate without over-heating the yeast. This is great for someone who needs help regulating the temperature of the fermentation, without having to turn up the heat in your entire home.
  • Winery-Grade Floor-Corker:  This device is great for someone who has many bottles to cork and don’t have time to use the smaller hand-held corkers. It is easy to use and gets you through many bottles quickly!

Shop Wine Bottle CorkersNot Finding What You’re Looking For?
We have a larger gift guide on our website. There you will find more gifts and ideas to wrap under the tree this Holiday Season.
——————————
Ed Kraus is a 3rd generation home brewer/winemaker and has been an owner of E. C. Kraus since 1999. He has been helping individuals make better wine and beer for over 25 years.

4 Killer Tips For Kegging Homebrew!

Kegging HomebrewToday’s guest post is from beer blogger Heather Erickson. Heather takes us through 4 tips that she has found to be important while transitioning from bottling to kegging homebrew.
—–
Let’s be honest beer lovers, there is just something about having a freshly poured pint of beer at your local watering hole. Don’t get me wrong, I love the portability of beer bottles and cans. However, beer from a keg just provides a little something more. If you homebrew and have a beer kegging system or a kegerator, it’s time to have that sought after fresh pint at home. Below are my four “must-do” tips for kegging homebrew:

  1. Beer choice is critical when kegging homebrew.
    Having your homebrew on tap at home will automatically make you popular with friends. That being said, choose a beer style that is a mix between a crowd-pleaser and a daily drinker for you. The first beer I kegged, a Honey Lemon Blonde, was a definite crowd-pleaser. Yet, I never reached for it. That keg took up precious kegerator real estate for far too long.
  1. Proper equipment is key when kegging homebrew.
    For homebrew, I like having a couple cornelius kegs on hand. These 1/6 barrel containers hold five gallons which is just the right amount for a homemade batch. If you already have a kegerator equipped Shop Homebew Kegging Systemwith a CO2 tank and regulator, you just need to add some vinyl gas and beer tubing, hose clamps in stainless steel, and two quick disconnects (one for gas and one for beer). Even if you don’t have a kegerator on hand, for under $300, you can score all of the equipment above plus a picnic squeeze faucet for pouring and have that draft brew in no time!
  1. Cleaning is important when kegging homebrew.
    Now that you have all your kegging equipment, it is time to start sanitizing. While you won’t be stuck with laborious task of soaking, sanitizing, and removing labels from dozens upon dozens of beer bottles, you still need to be conscious of the proper sanitation of your keg. I prefer using Five Star’s Star San Sanitizer. Be sure to include your vinyl hoses in the mix. You want everything that will come into contact with your brew to be bacteria free. Follow the instructions for cleaning a keg, don’t skip on any steps, and you will be guaranteed that keg is ready for beer.
  1. Be patient with carbonation when kegging homebrew.
    Much like sparging on a brew day, patience is needed to appropriately carbonate your brew. Rushing the process with a carbonating stone, while effective, doesn’t really give you that pub-like fresh pint. Not keeping track of the pressure you put on the keg can also alter the end result of your hard work. When kegging homebrew, I find that putting 30 lbs. of CO2 pressure on the keg and letting those little gas bubbles work their magic for three days is the way to a perfectly carbonated pint.Shop Temp Controller

There you have it, homebrewers! You too can have freshly poured draught beer at your fingertips from the comfort of your home. Why settle for a pint of someone else’s creation, when you can have one of your own? Get brewing, start kegging homebrew, and enjoy!
———————————–
Heather Erickson is a homebrewer with three years experience and has competed in the GABF Pro-Am Competition. She writes the blog This Girl Brews and is a regular contributor to homebrewing.com and kegerators.com. Find her on Twitter at @thisgirlbrews.