I made a blend of apple and plum wine from fruit from my trees in the backyard. I followed a very commonly used wine recipe on the web and it was bottled at 6 mo old in April. We drank the wine and it tasted good up until this week. The wine bottle we opened exploded like champagne and was a little sour. We opened the final 4 wine bottles left and they all exploded. What could be causing this? I used Campden tablets as recommended by the wine recipe to prevent spoilage. Your help is appreciated!
Connie — WI
—–
Hello Connie,
Your wine bottles exploding was caused by either one of two things: 1) the wine started fermenting again after being bottled, 2) the wine started spoiling, producing a bacterial growth. Without question it was one of these two things. The bigger question is why…
- If you added more sugar before bottling, then more than likely it is a matter of the fermentation starting up again — even if you added Campden tablets at bottling time. Campden tablets are not enough to guarantee that a re-fermentation will not occur again sometime down the road. Whenever sugar is added to sweeten the wine, potassium sorbate should also be added along with the Campden tablets.
- If you did not add more sugar before bottling, it is possible that the original fermentation did not finish completely. In other words, the fermentation stopped prematurely. This can happen for a number a reasons — the most common being a temperature change of the wine must. This is known as a stuck fermentation. The yeast did not finish the job completely before stopping. Then, weeks or month later, after the wine has been bottled it decides it will start up again. The result is your wine bottle exploding.
Again, the fermentation can stop and start for a number of reasons, but the most common one is because of a change in temperature. The wine bottles probably warmed up a bit making it easier for the wine yeast to start fermenting again. Just 5° or 10° is all that is needed. Just as before, Campden tablets added at bottling time is not enough to guarantee that you won’t have your wine bottle exploding.
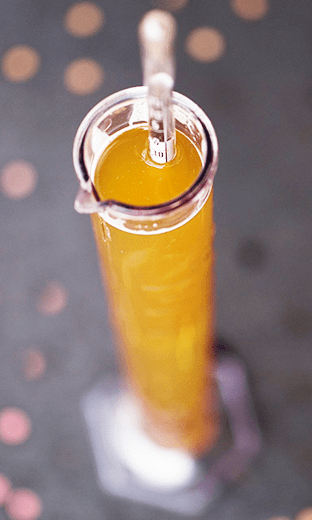
 In the future, the easiest way to make sure that you don’t have a stuck fermentation is to check it with a hydrometer. The hydrometer will tell you if there are more sugars in the wine must to be fermented, or if all the sugars are gone, and the fermentation has actually completed the job at hand, and using a hydrometer is very easy.
If none of the above is ringing any bells or if you did check your wine with a hydrometer before bottling, then it is possible that the wine bottles exploding was caused by a bacterial infection of some sort. This is not the likely scenario, but it can happen.
If you know that there was no sugar in the wine at bottling time, whether it be leftover from the fermentation or sugar you added for sweetening, then a bacterial infection could be what’s going on. The one paramount factor that would rule this out is if you added Campden tablets right before bottling. Campden tablets or sulfites of any kind would easily preserve the wine from such a bacterial infection.
Wine bottles exploding is something that nobody wants to have happen, but it is completely preventable. Just be sure that if there’s sugar in the wine at bottling time — whether it be from leftover from the fermentation or sugar you’ve added — that you add potassium sorbate to the wine. This would be in addition to the Campden tablets that should always be added. Do these things and you will not have wine bottles exploding.
Best Wishes,
Ed Kraus
—————————————————————————————————————–
Ed Kraus is a 3rd generation home brewer/winemaker and has been an owner of E. C. Kraus since 1999. He has been helping individuals make better wine and beer for over 25 years.
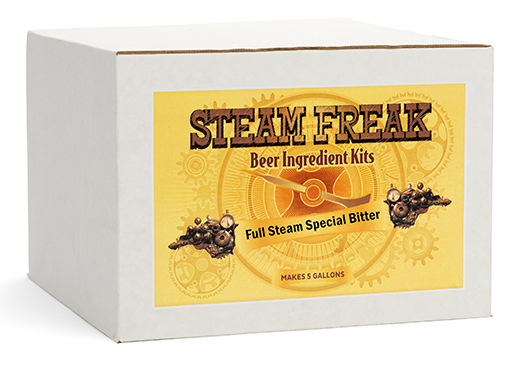
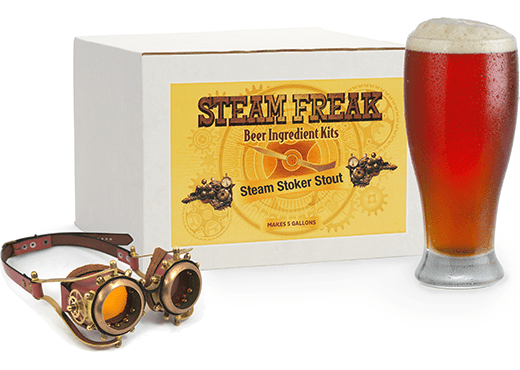
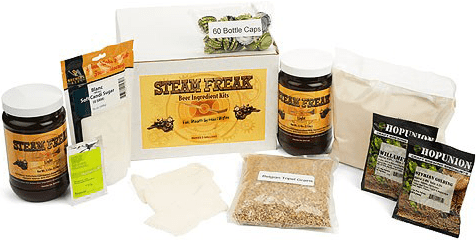
 Finally – one of my favorite parts of homebrewing! It’s time to package the Steam Freak Special Bitter. I will be kegging this homebrew with priming sugar.
 If you’ve had the chance to pick up one of Sierra Nevada’s Beer Camp Across America 12-packs, then you’re in for a treat when you open up the collaboration beer they made with Ninkasi Brewing Company. Many of the people I’ve talked to and
 Hey guys!
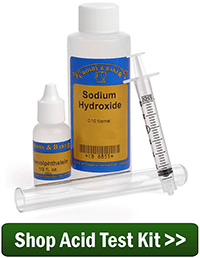
 My name is Leigh Erwin, and I am a brand-spankin’ new home winemaker! E. C. Kraus has asked me to share with you my journey from a first-time dabbler to an accomplished home winemaker. From time to time I’ll be checking in with this blog and reporting my experience with you: the good, bad — and the ugly.
 In several earlier posts, we introduced a few home winemaking terms that you may or may not be familiar with. There are many terms to learn in home winemaking, and this post, like all the previous posts, gives you a short introduction to a few of those terms to help you get started in home winemaking, or perhaps brush up on some of the terms you may not have seen in a while.
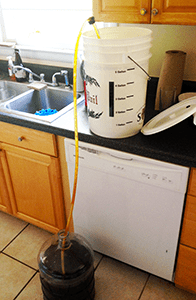
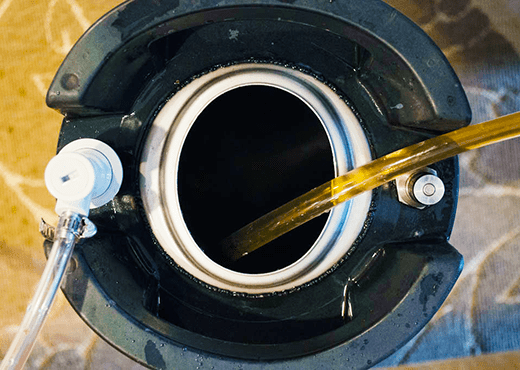
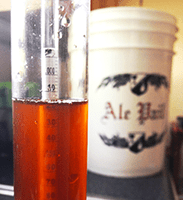 Two days later, I checked the gravity again…a touch lower at 1.018. I decided to go ahead and transfer. If you’ve never racked to secondary before, an auto-siphon is the easiest way to transfer your beer. Just put it in the bucket, attach your tubing, and pump the siphon once or twice to start the flow. Just make sure your primary fermenter is higher than the secondary, and you’ll have no issues moving the beer from one container to the other. Don’t forget to clean and sanitize all of your equipment before transferring!
 Hi everyone!
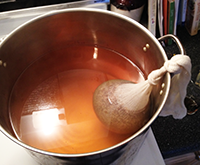 If applicable, steep your crushed grains in the hot water using the grain steeping bag for about 20-30 minutes. Just like making tea. I recommend tying the grain bag to one of the handles on the kettle to keep it from touching the hot bottom. After the steep, remove the grains from the kettle, letting the liquid drain from the bag. I tossed my “spent grains” in the compost heap. The water is now
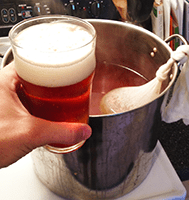
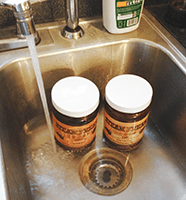 After the steep, remove the kettle from the heating element and mix in the liquid malt extract. Having soaked the canisters of LME in hot water, I was able to pour the contents into the kettle pretty easily. Keeping the burner turned off during this step helps to keep the extract from sticking to the bottom of the kettle.
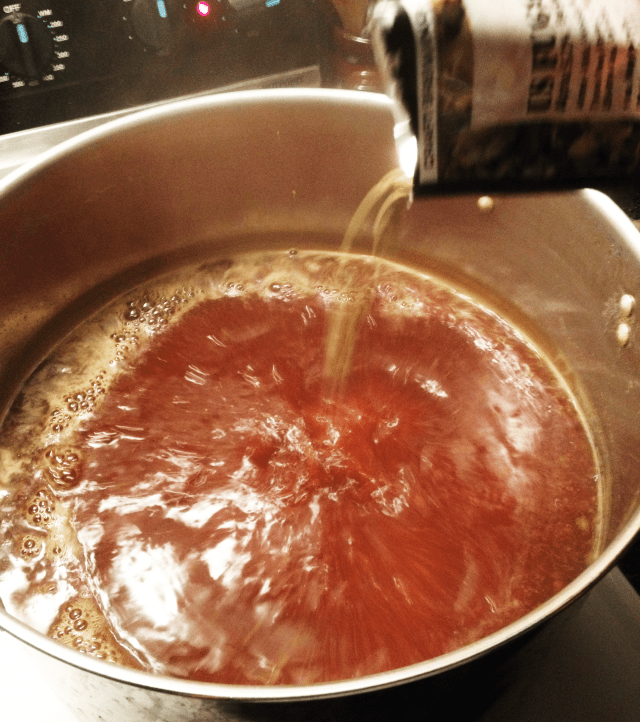 From the start of the boil, add hops depending on your homebrew recipe. For the Full Steam Special Bitter, the recipe called for 1 oz. of Willamette hops. All you have to do is pour in the bag of hops and give them a quick stir. Since this is a 60-minute boil, I call this the 60-minute hop addition. We’ll then count down as the boil progresses. With 30 minutes left in the boil, I added the Fuggles hops.
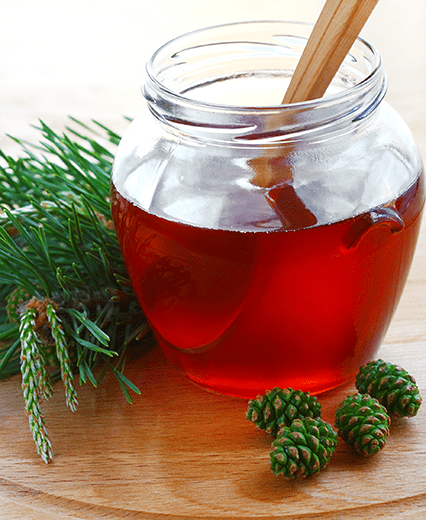 I made an apple-honey-raspberry wine that tasted fine at bottling. Now 2 months later, it smells like pine. What chemical is that?