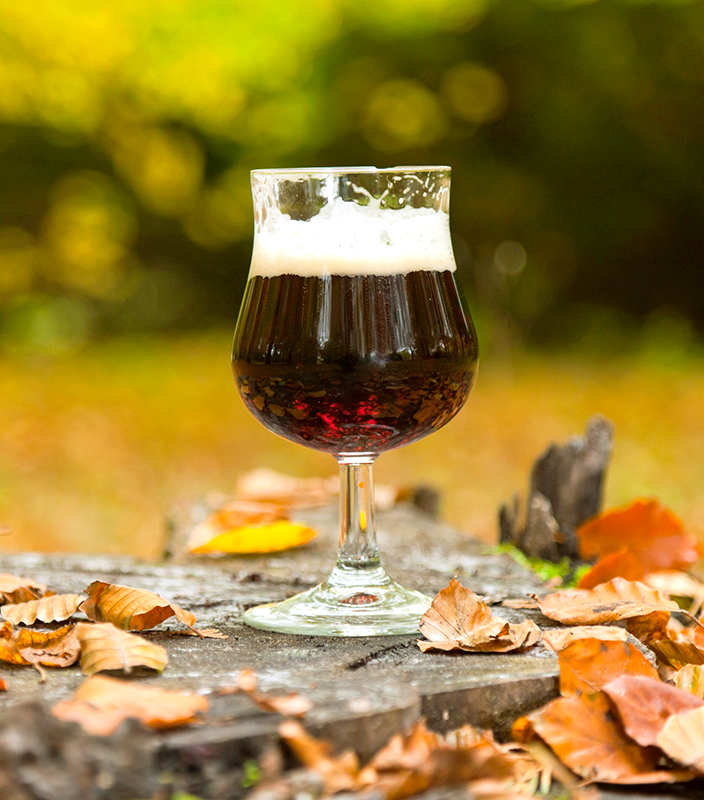
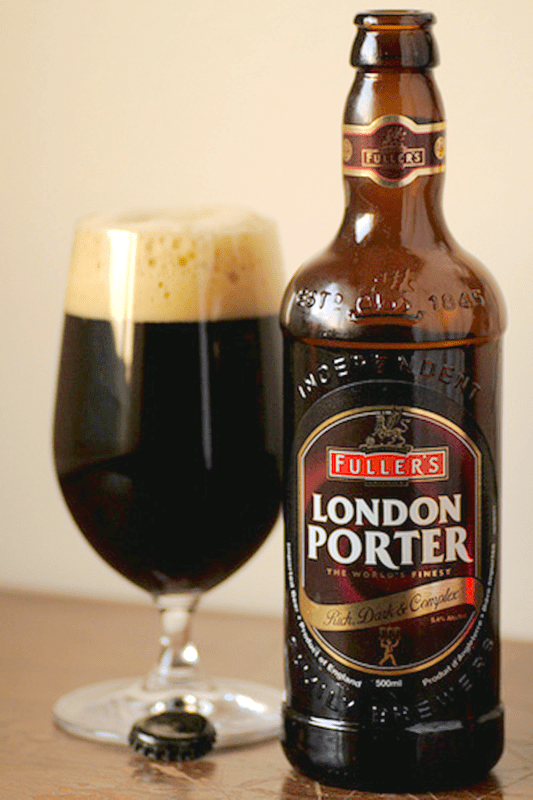
 When I was living out of the country in 2012, I was desperate to find good beer. Luckily, the grocery store carried a good number of imports from Germany, Belgian, and Great Britain. This is where I discovered Fuller’s Brewery of London. The ESB and London Pride were both excellent, but I really fell in love Fuller’s London Porter. Paired with chocolate or grilled meats, it’s a real winner. In fact, I’d go as far as to say that Fuller’s London Porter is one of the best porters I’ve had.
So I was happy to stumble upon these Fuller’s London porter clone recipes, both extract and all-grain, from Brew Your Own magazine.
Fuller’s London Porter Clone Recipe
(5 gallons, all-grain recipe)
Specs:
OG = 1.056
FG = 1.014
IBUs = 35
SRM = 62
ABV = 5.4%
Ingredients:
9 lb. 12 oz. British 2-row pale ale malt
14 oz. Crystal malt (60L)
7 oz. Chocolate malt
7 oz. Black patent malt
4 oz. Roasted barley
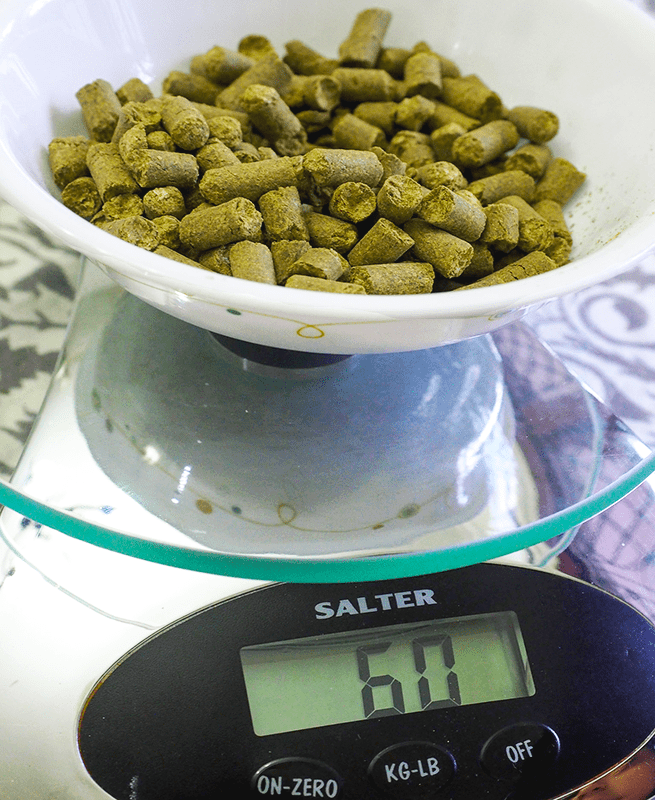
1.7 oz. Kent Goldings hops at 60 mins (8.5 AAU)
.25 oz. Kent Goldings hops at 15 mins (1.25 AAU)
.25 oz. Kent Goldings at 5 mins
.25 oz. Kent Goldings 0 mins
1 tsp. Irish moss at 15 mins
Wyeast 1968: London ESB Yeast (w/ 1.5L yeast starter)
0.75 cups corn sugar (for priming)
Directions
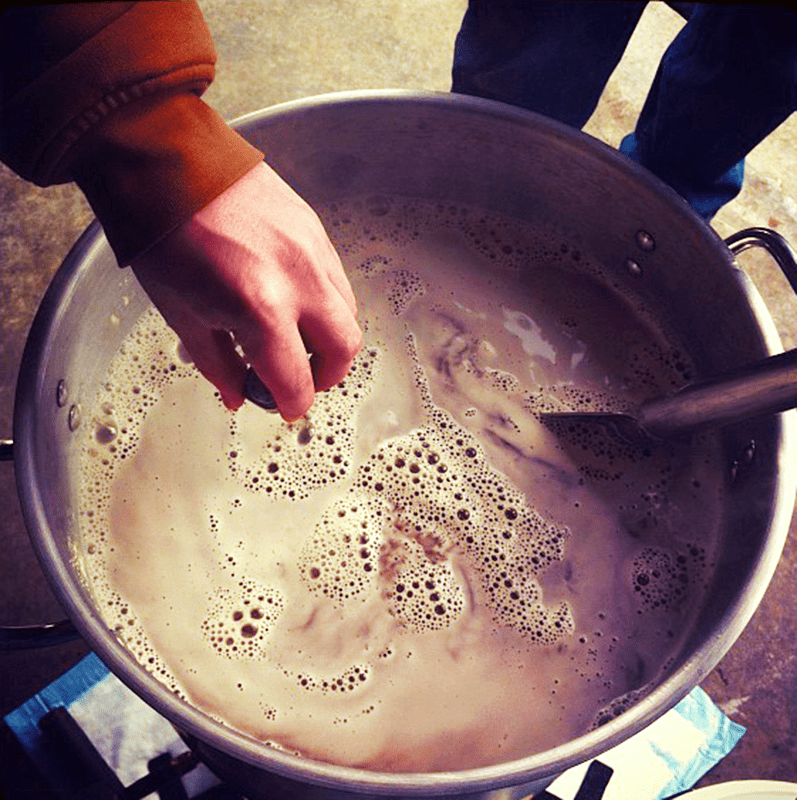
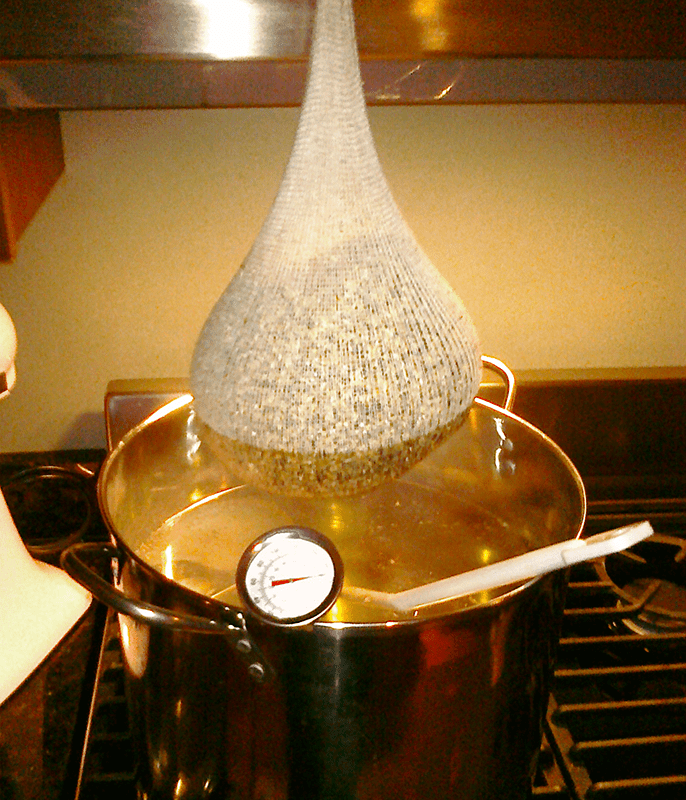
Prepare a 1.5L yeast starter in advance of brew day. Using fairly hard water (something resembling the London water profile), mash crushed grains for 60 minutes at 152-156°F in 4-4.5 gallons of water. Sparge to collect ~6.5 gallons of wort. Boil for 90 minutes, adding hops and Irish moss according to schedule. Chill wort and transfer to fermenter. Pitch yeast and ferment at 70˚F.
Fuller’s London Porter Clone Recipe 
(5 gallons, extract w/grains)
Specs:
OG = 1.056
FG = 1.014
IBU = 35
SRM = 62
ABV = 5.4%
Ingredients:
1 lb. 10 oz. Light dried malt extract
4 lb. 5 oz. Light liquid malt extract (late addition)
1 lb. British 2-row pale ale malt
14 oz. Crystal malt (60L)
7 oz. Chocolate malt
7 oz. Black patent malt
4 oz. Roasted barley
1.7 oz. Kent Goldings hops at 60 mins (8.5 AAU)
.25 oz. Kent Goldings hops at 15 mins (1.25 AAU)
.25 oz. Kent Goldings at 5 mins
.25 oz. Kent Goldings 0 mins
1 tsp. Irish moss at 15 mins
Wyeast 1968: London ESB Yeast (w/ 1.5L yeast starter)
0.75 cups corn sugar (for priming)
Directions
Steep crushed grains in 1 gal. of 152-156˚F water for 45 minutes. Strain and rinse grains with hot water, collecting the wort in a brew kettle. Mix in DME and top off with enough water to make ~6.5 gallons of wort. (If brewing in a smaller kettle, I recommend increasing each of the hop additions by 25%.) Bring wort to a boil. Add 1.7 oz. of Kent Goldings hops and boil for 45 minutes. Remove kettle from heat and stir in LME. Bring back to a boil and add .25 oz. Kent Goldings hops and Irish Moss. Boil for ten minutes, then add .25 oz. Kent Goldings hops. Boil for five more minutes, turn off heat and immediately add remaining hops.
Do you have a killer porter recipe? What tips would you share for brewing a Fuller’s London Porter clone recipe, or any English Porter for that matter?
—–
David Ackley is a beer writer, brewer, and self-described “craft beer crusader.” He holds a General Certificate in Brewing from the Institute of Brewing and Distilling and is founder and editor of the Local Beer Blog.