 While many of us consider homebrewing a worthwhile expense, some people are just plain busy to brew. I don’t recommend cutting corners, but there are a few ways to make sure the hobby doesn’t take up a ridiculous amount of time. By cutting down on the time an labor, you are putting yourself in a position to brew more often. With that in mind, here are some homebrewing tips that are sure to save you time:
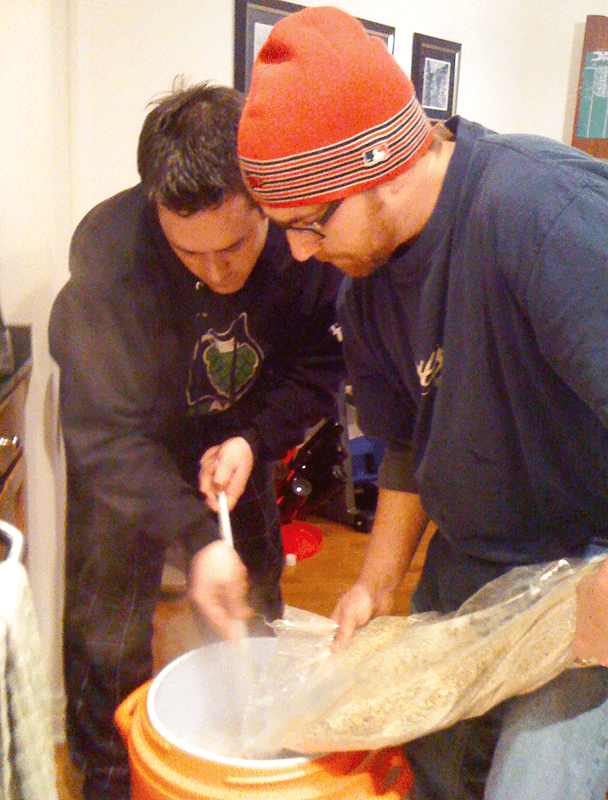
- Brew with a friend – This is my favorite homebrewing tip of all. That’s why it’s first. Enlist the help of a friend and share the workload with another pair of hands. This is especially helpful when it comes to cleaning and bottling. And, you’re introducing a new face to the hobby.
- Brew with extract – Eliminate the mash process, and you’ve just saved yourself an hour. Don’t let anyone tell you can’t make good beer with malt extract – the quality of malt extracts these days is very good. Many award-winning home brewers have won medals using malt extract – and so can you – so don’t take this homebrewing tip too lightly.
- Brew smaller batches – Brewing smaller batches will: A) Shorten the amount of time it takes for water to heat up, and B) Reduce the time it takes to bottle the beer. The trade-off, of course, is that you end up with less beer. This is a great idea if your time is booked up with no big breaks.
- Brew bigger batches – On the other hand, if you get a whole weekend off, brew a larger batch. You’ll end up with more beer and won’t have to brew as often! By going for volume, the time spent to produce a bottle of beer will be less.
- Use a gas burner – This is a time-saving, homebrewing tip that many overlook. A gas or propane burner, whether on the kitchen stove or outdoors, will heat up water and wort much faster than an electric stove. A good gas burner can save an hour or more on brew day over an electric one!
- Prepare a yeast starter – Among its many benefits, a yeast starter will ensure that fermentation happens sooner and more rapidly. A faster fermentation means the beer gets in your glass that much more quickly!
- Rinse your bottles – This is one I think most homebrewers learn quickly, but I’ll mention it anyway. By rinsing your bottles when you’re done drinking from them, you reduce the likelihood of scum growing inside. This makes it much easier to clean your bottles, come bottling day. I will often just give them a quick soak in cleaner and then run them in the dishwasher on the sanitize cycle. The heat will sanitize the bottles and the dishwasher will allow you to do other things.
These are just 8 time-saving homebrewing tips. I’m sure there are many others. What methods have you figured out to save time when making your beer at home?
—–
David Ackley is a beer writer, brewer, and self-described “craft beer crusader.” He holds a General Certificate in Brewing from the Institute of Brewing and Distilling.
I have been thinking about brewing two 5 gallon batches on the same morning, maybe starting the second one about 30 minutes apart. I figure it will take about an hour extra, and I will have twice as much beer.
Cooling the wort after boiling can eat up time. Wort chiller coils are great, but only if the tap water is cold. For that reason, I give up on homebrewing when the weather warms for summer and the tap water temperature gets above 65 F. I’ve tried a feeder coil in an ice bath connected to the wort chiller, but I don’t recommend it unless you have a very large feeder coil in a very large ice bath. Otherwise, to get the water exiting the feeder coil really cold, you have to run the tap water slowly, which defeats the purpose.
When the tap water is cold, I run at full tap volume. If the water coming out the other end is barely warm or, towards the end, cold, I know I’m keeping the chiller coils cool enough for good heat transfer.
BIAB (brew in a bag) saves a lot of clean up time. Just fewer things to clean.
Another technique I really love is No Chill brewing. Basically, you tap off your hot wort into s foodgrade plastic, airtight container and let it cool on its own, usually overnight. This also allows you to make a real wort starter by tapping off a pint or two before tapping out the remainder into your no-chill container. You make your starter right after it cools, pitch your yeast, and the next day your starter is ready to pitch, your wort has cooled enough, and you had no cooling related cleanup (or water use). Australian methods just catching on in the US.
I was wondering if you freeze some half milk jugs and then just add cold water to this putting the wort in that?
Charlie, that’s a great one. Does anyone else have tip they’d like to share?