 With spring already here, it’s time yet again to start thinking about the summer brew schedule. Want that homebrew ready for the canoe trip in June? Better start brewing by the end of April or early May. One good candidate for a warm weather beer is a honey blonde ale.
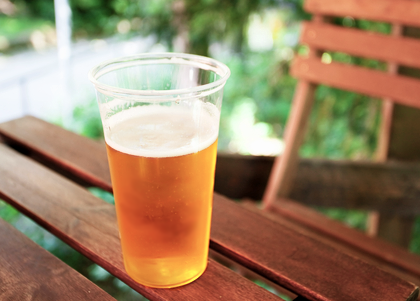
A blonde ale is simply that – a beer that’s golden straw in color, and for BJCP purposes, includes such styles as Kölsch and cream ale. Blonde ales are typically low to moderate in gravity, often resulting in an ABV of about 4% to 5.5%. Bitterness is usually on the low end, around 15-25 IBUs. Flavor wise, blonde ales feature notes of pilsner malt, often serving as a good backdrop for flavor additions. I’ve had a few good strawberry blonde ales, but in this case, honey offers the suggestion of sweet floral character, while the beer remains crisp and dry — perfect for warm weather.
The honey blond ale recipe below yields a brew that’s very pale in color, light in body, yet supported by malty flavor and notes of honey. Bitterness is fairly low at just 20 IBUs, with just a little hop flavor and aroma from the English classic, East Kent Goldings hops. This is a low alcohol brew that will be perfect for lounging outdoors or enjoying on the boat. (If you’re looking for something a little stronger, you might try this imperial blonde ale recipe kit.)
As for the honey, the best thing to do is to add at the end of the boil. The idea is to preserve some of the delicate aromatics and flavor components in the honey (same idea as adding hops in at the whirlpool). The honey flavor is supported with half a pound of honey malt in the mini-mash. Feel free to also use honey for priming.
Be sure to ferment this one within the temperature range of the yeast, maybe giving the beer a little extra time at cooler temperatures to help it clean up. Kölsch yeast is a good alternative to the Ringwood ale yeast in this particular beer recipe.
Ready to brew? Go get ‘em!
Honey Blonde Ale Recipe (Partial Mash)
(5-gallon batch)
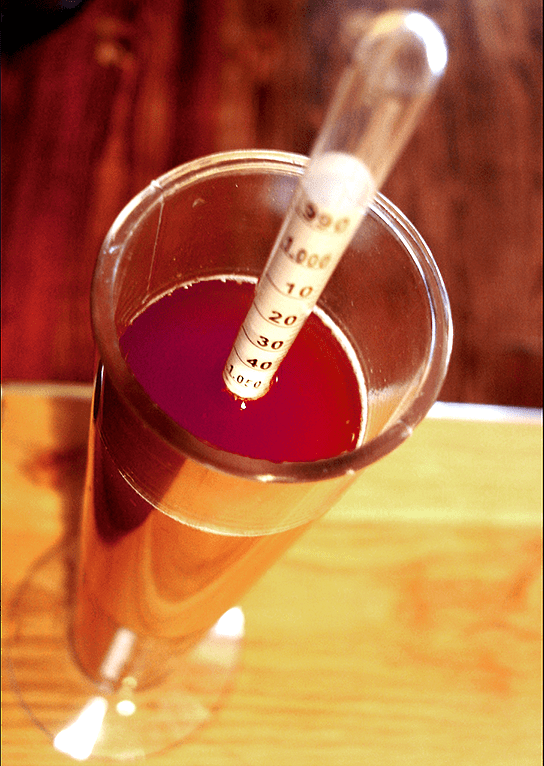
Specs
- OG: 1.044
- FG: 1.013
- ABV: 4%
- IBUs: 20
- SRM: 5
Ingredients
- 3.3 lbs. light liquid malt extract
- 2 lbs. pilsner malt
- .5 lb. honey malt
- .5 lb. wheat malt
- 1 lb. honey (added post boil)
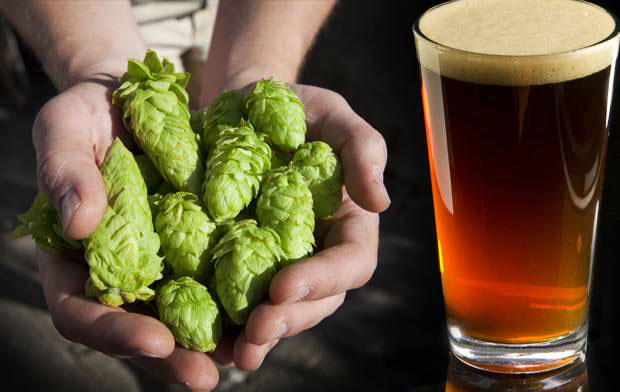
- 1 oz. East Kent Goldings hops at :60
- .5 oz. East Kent Goldings hops at :15
- \.5 oz. East Kent Goldings hops at :0
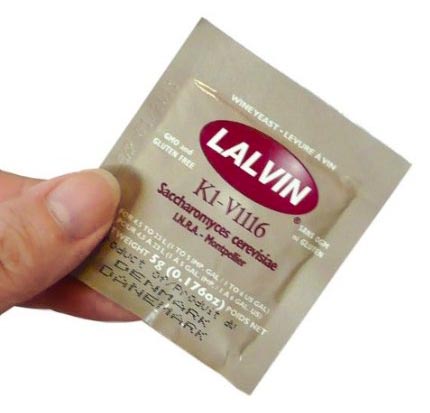
- Wyeast 1187: Ringwood Ale Yeast
Directions
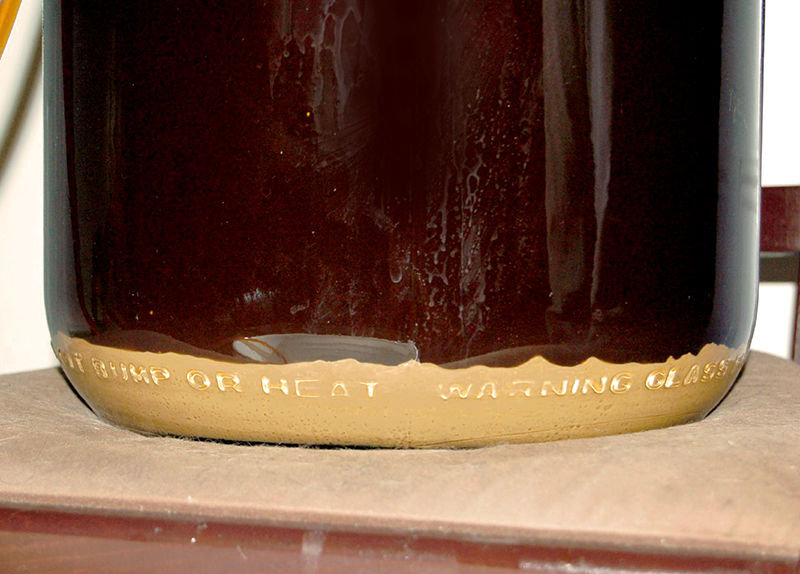
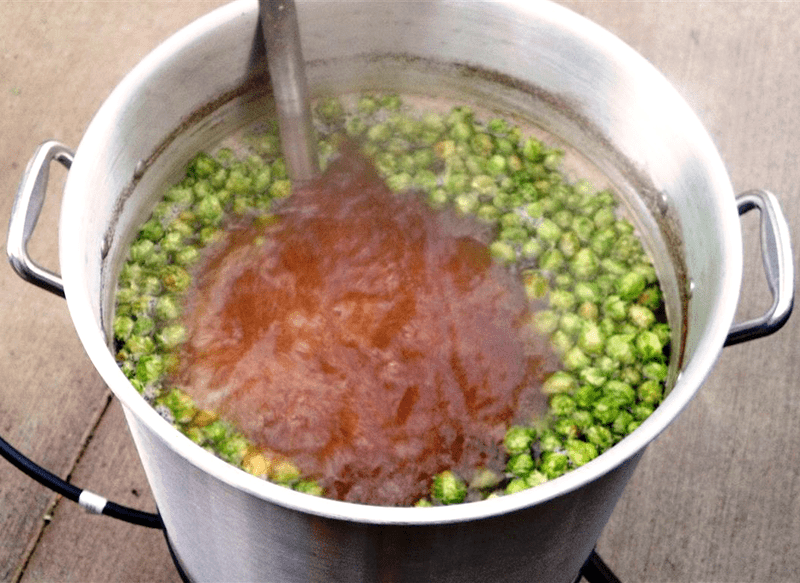
 This is a partial-mash recipe, so start off my mashing the crushed grains in about 4 qts. of clean water for 60 minutes at 148˚F. Strain wort into the brew kettle and sparge with about half a gallon of 170˚F water. Add enough clean water to make about 3 gallons. Bring wort to a boil, remove kettle from heat, and mix in the liquid malt extract. Return to a boil and boil for 60 minutes, adding hops according to schedule above. At end of boil, turn off heat and mix in the honey. Cool wort and transfer to a clean, sanitized fermenting bucket. Mix in enough clean, chlorine-free water to make 5.25 gallons. Pitch yeast when wort is at 65-70˚F. Ferment at 65-70˚F for about three weeks, then bottle or keg.
Do you have a favorite beer recipe you like to brew in the spring? Do you have a Honey Blonde Ale recipe? Share them in the comments below!
—–
David Ackley is a beer writer, homebrewer, and self-described “craft beer crusader.” He holds a General Certificate in Brewing from the Institute of Brewing and Distilling and is founder of the Local Beer Blog.