Pickle Beer: A Sour Summer Favorite

Pickle beer in the summerAhh summer. 

There’s nothing like a cold, refreshing drink on a hot, sunny day in the thick of this beloved season. 

As the country slowly begins to reopen, our summer is off to a sluggish start. But that doesn’t mean your favorite summer drink has to be put on hold.

So, let’s crack open a cold pickled beer.

What is Pickle Beer?

We admit, pickle beer sounds… weird. 

But it is a surprising new trend that is loved by many. This sour beverage has the taste and aroma of pickles. 

Here are some popular pickle beers, and recipes to make your own!

Sweet and Sour

We all know pickles can taste sweet or sour depending on the fermentation of the cucumber. This also applies when crafting your pickle beer. The most popular version of pickle beers are the ones that are sweet, but pack a sour punch. 

Here are our personal favorites:

El Gran Pepinillo

  • ABV: 5.8%
  • Mexican-style beer made with Best Maid pickles and Mexican chili peppers. This beer has a spicy kick, but is light and refreshing.

Best Maid Spicy Pickle Beer

  • ABV: 4.7%
  • This beer has spice at first sip! This is best for those who really like a kick. 

Urban Artifact Pickle 

  • ABV: 4.3%
  • German-style goose beer using cucumber, fresh dill, sea salt, and coriander. Try this beer with a burger or rueben to enhance the flavor. 

New PKL FKR Pickle Berliner  

  • ABV: 3.2%
  • This brew uses refermented Berliner weiss ale with bacteria and wild yeast. Pickle juice is added to the blend after fermentation.

Making Pickle Beer

There are many different ways you can make your pickle beer ranging from quick and easy, to long and challenging. 

Depending on time and skill level, give one of these two recipes a try!

Just Add Pickle Juice

The easiest way to make pickle beer is adding pickle juice to your favorite beer.

If you’re brewing your own batch at home, simply add the pickle juice to your mixture. This is the most common way home brewers make their pickle beer. 

*Pro tip* – Add spices such as coriander, chili pepper, etc to give your beer some extra flare.

Fermenting Cucumber

If you want to get really creative, make your pickle juice from scratch! 

Here is a step by step on how to create various types of pickles and pickle brine

After making your own pickle juice, you can add it to your beer’s fermentation process. This creates a stronger aroma and taste. 

If you’re new to brewing beer, check out our blog just for beginners!  

Cheers!

Nut-Flavored Beer: The New Trend Worth a Taste

Stuck at home? Pass the time with a new brew.

Woman reading and drinking beer

Spending time at home can get a little stale, which is why you need a new companion by your side as you organize your closet or watch mindless hours of television (no judgments). 

We recommend taking this time to try something new, daring, and exciting, like… nutty beer. It’s a rising trend in the beer community, definitely worth a taste, and a great way to pass the time. 

Of course, if you or a family member has a peanut allergy, please do not try this at home. Check out our other ideas instead here.

Popular Peanut Butter Beers

It’s important to note that many breweries craft their nut beer differently, so you can’t go wrong as you experiment. There are a variety of nut types, textures, and flavors to use, so grab whatever you have at home!

Here are some popular peanut flavors from breweries around the United States to help you get an idea of where to start:

Rusty Rail Brewing | Fool’s Gold

Fool’s Gold is Rusty Rail’s best-selling beer in Pennsylvania. It’s an imperial peanut butter hefeweizen combining banana esters and peanut butter to make a distinct, popular nutty brew.

If you’re ever in Pennsylvania, try it out. They are the largest brewpub in the state too!

Mast Landing Brewery | Gunner’s Daughter

Gunner’s Daughter is a best-seller for a reason. With peanut butter and milk stout flavors, this brew pays homage to a beloved Halloween candy – Reeses’ Peanut Butter Cups.  This beer was supposed to be a one-time special release, but it quickly became a year-round staple. 

If you have Reeses’ at home, consider adding them to your recipe.

Lakewood Brewing | Peanut Butter Temptress

Peanut Butter Temptress was a popular brew that constantly sold out because it was delicious, but difficult to make. They used a combination of dry peanuts and milk stout to capture the rare taste.

DIY Nutty Brew

Since you can’t go to the brewery, we’re bringing the brewery to you. Let’s look at how a couple different breweries make their batches so you can see how to replicate it at home. 

Remember, making the perfect nutty brew takes time, so be patient.

Tin Whiskers Brewing Company

Tin Whiskers uses PB2 powdered peanut butter by pressing the nuts to remove most of the oil. It’s important to get the oil out so the head retention does not reduce. 

Once the peanuts are powdered, this brewery adds the mixture into the brew after fermentation when the temperature of the brew is cooled. 

Key Ingredients: Nut Goodie Porter and Salted Nut Roll Ale candy from Pearson’s Candy Company. 

If you don’t have this candy at home, no problem. Although it’s a little messy, you can use organic peanut butter as a substitute, and add it after fermentation. (Just make sure it’s not too hot!)

O.H.S.O Eatery & Nano-Brewery

This brewery does a three step process when making their nut-flavored beer. You can choose to do all three or just one! 

The team uses powdered, whole, and extract peanuts for their three layer nutty beer. The first step they take is adding honey, lactose, and sea salt to the boil, and then finish by adding PB2. 

Similar to dry hopping, the next step is to add dry honey roasted whole peanuts after fermentation, and then let this mixture sit for no more than five days. After this, they add a little bit of peanut extract to enhance the aroma of the beer. 

If you don’t have peanut extract or PB2, regular peanut butter and nuts will work fine for this recipe. Just add the peanut butter to the boil, and the nuts after fermentation. You can also substitute the peanut extract with vanilla extract and see how that goes! (Either way, it will be fine without it). 

There are many different combinations of nuts and methods you can try in order to achieve the brew you want, just keep trying different flavors from your pantry!

Stay safe, always practice good kitchen hygiene, and let us know how you’re enjoying your nutty brews in the comments below. 

Happy brewing!

What are Hops? A Guide to Adding Hops to your Beer

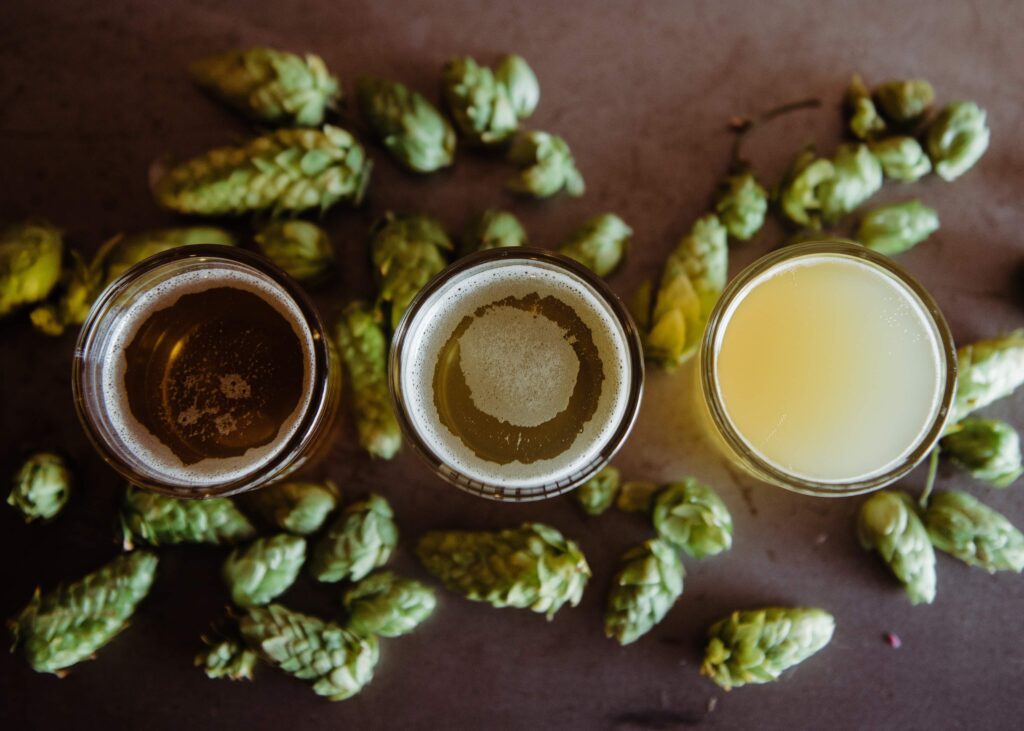
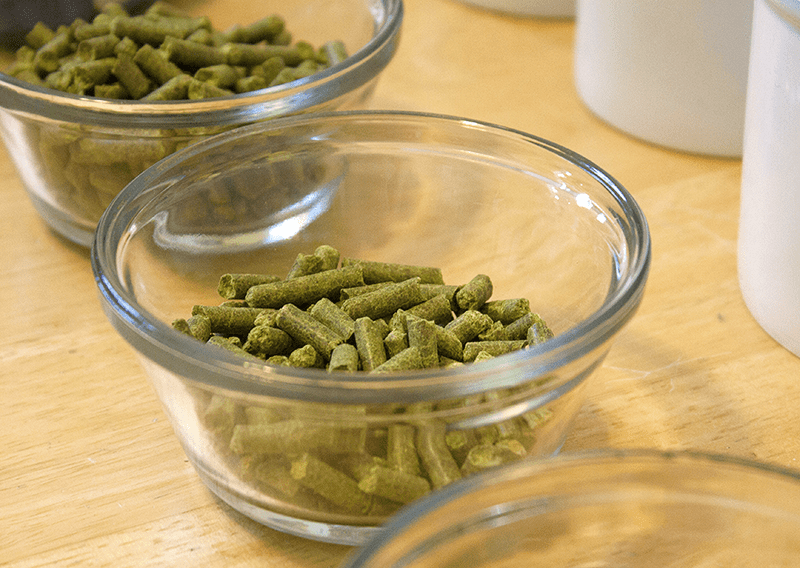
Hops in beer“I said a hip, HOP…”

Today, we’re talking about hops, and it’s not the kind Rapper’s Delight told us about.

Hops are a popular ingredient used to give the beer a certain smell and taste. You might have heard people refer to a beer as “hoppy” before, but what does that really mean?

The Hop Plant
A hop is a flower used for bittering, flavoring, and adding aromas to your beer.

Each hop has elements that can intensify smell, sweeten, or strengthen the bitterness of beer. There are different types of essential oils that control the aroma and flavoring of a hop, and different levels of alpha acids that control the bitterness.

You can use a variety of hops to achieve the smell and flavor of your choice!

Hoppy Strains

There are 3 main types of hops: Noble, American, and English. And each type offers a variety of options for your brew.

Noble Hops

Noble hops are found in Germany and the Czech Republic. They have a high amount of essential oils that intensify flavors and aromas, and a low alpha acid level that reduces bittering. Here are some of the classic Noble hops:

Saaz
­          Acid level: 3-5%
­          Style: Traditional Noble hop
­          Flavor Profile: Earthy, spicy, herbal

Lubelski
­          Acid level: 3-5%
­          Style: Substitution to Saaz
­          Flavor Profile: Floral, magnolia, lavender

Tettnanger
­          Acid level: 3-6%
­          Style: Traditional Noble hop
­          Flavor Profile: Spicy, floral

American Hops

American hops are grown right here in the U.S. They’re known for having high levels of myrcene that create stronger aromas. Here are some of our favorites:

Brewer’s Gold
­          Acid level: 6-10%
­          Style: Bittering hop
­          Flavor Profile: Spicy, blackberry currant

Cascade
­          Acid level: 4.5-7%
­          Style: Strong bittering and intense aroma
­          Flavor Profile: Citrus, grapefruit

Amarillo
­          Acid level: 8-11%
­          Style: Substitution to Cascade
­          Flavor Profile: Orange citrus

English Hops

English hops are found in (drumroll please) England. They have a low level of myrcene oil which makes their aroma milder. Here are three of the most popular English hops:

Sovereign
­        ­  Acid level: 4.5-6.5%
­          Style: Balancing hop
­          Flavor Profile: Fruity, floral, earthy

Sussex
­          Acid level: 4.3-5.8%
­          Style: Tropical
­          Flavor Profile: Citrus

Target
­          Acid level: 8-13%
­          Style: Strong bittering and intense aroma
­          Flavor Profile: Sage, floral, spice, citrus

Now that you know the types of hops, let’s talk about how to use them.

Hoppy Brewing

There are a variety of ways to achieve your perfect hoppy brew. So whether you’re a first timer or a seasoned brewer, there are multiple methods to get you hoppin’ along.

Dry Hopping

Dry hopping is best used with hops with strong flavors or aromas that are added after fermentation.

This method can take up to 10 days, but we promise it’s worth the wait. We recommend using a Sussex hop for this method.

First Wort Hopping

First Wort Hopping relies on hops with low acid-levels to achieve a balanced taste and smell. It produces a smooth bitterness that compliments the smell of the beer. Brewers should toss 30-50% of the hops into the kettle before boiling the wort.

Though not as common, we suggest trying this method using Tettnanger hops.

Randall

Hoppy brews can also be achieved using a Randall device. This device filters the beer through the hops, allowing the strong flavors to seep into the beer – similar to a water filter! Randall devices are a no-stress, no-mess way to brew the perfect hoppy beer.

*CAUTION*

This method brews large quantities. So throw a party to share the amazing beer you just made!

Cascade is a great hop to use in your first batch.

Remember, there are more hops and methods to try than what we’ve shared… So HOP on over to Adventures in Homebrewing and learn more about different tools, methods, recipes and more.

Hoppy brewing!

Wishing You A Very Merry Christmas!

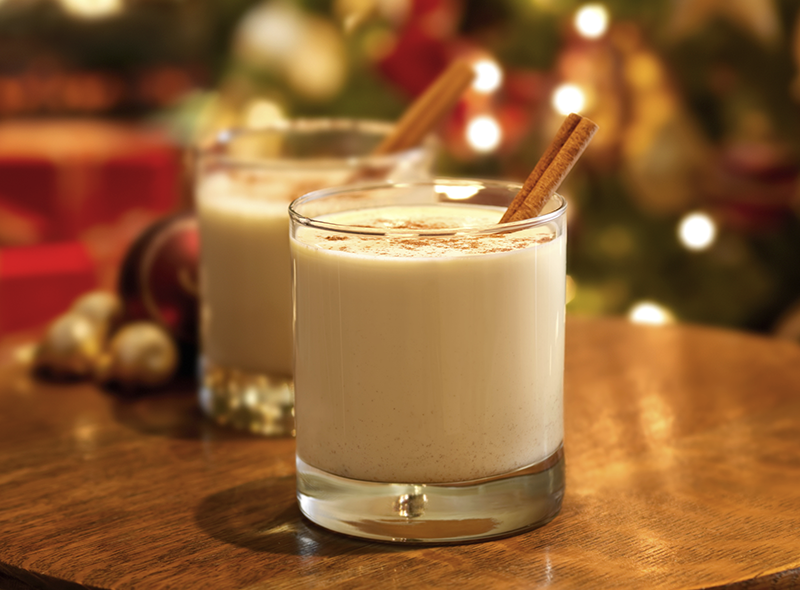
Eggnog With Cinnamon SticksThis has been quite a year. Some fantastic, new items have been added to our website. We’ve also had a lot of wonderful conversations with a lot of great customers. It’s amazing to see so many people enjoying the art of making wine and beer. Making alcohol is a hobby that seems to transcend across many different walks of life.

This is the last blog entry before Christmas rolls around our way. With that in mind we would like to stop and take time to wish you the very best this holiday season. I sincerely hope that your Christmas holiday is full of joy and excitement and that the New Year brings you the brightest of days and provides you with all for which you strive.

In keeping with the holiday spirit I have listed below an eggnog recipe that I have used for many years. I’d like to share it with you in hopes that it might add a little warmth to your holiday season.

Holiday Breakfast Eggnog
10 ounces of Apricot Brandy
3 ounces of Triple Sec
1 Quart of Eggnog

Mix together and sprinkle with nutmeg and cinnamon.

Merry Christmas,
Ed Kraus

—–
Ed Kraus is a 3rd generation home brewer/winemaker and has been an owner of E. C. Kraus since 1999. He has been helping individuals make better wine and beer for over 25 years.

A Simple Guide to Beer Brewing Additives

Homebrewer Adding Beer Brewing AdditivesUnless adhering to the strict rules of Reinheitsgebot, brewers will sometimes use ingredients that fall outside of the main categories of malt, hops, water, and yeast. The use of these beer brewing additives can greatly improve a beer’s clarity, fermentation performance, or flavor.

This is a guide to some of the most common beer brewing additives used in home beer making.

Beer Finings/Clarifiers

These additives, often called “fining agents,” help to improve the clarity of your homebrew:

  • Irish Moss – A coagulant added at the end of the boil, Irish Moss helps proteins form into clumps and settle out of suspension. For a five-gallon batch, add 1/2 tablespoon during the last 15 minutes of the boil. Made from seaweed, Irish Moss is sometimes referred to as “carrageenan.” Of these beer brewing additives, it’s the most commonly used.
  • Gelatin – Gelatin is a colorless and tasteless compound that attaches to negatively-charged particles in your beer, helping them settle out of suspension. For a five-gallon batch, dissolve 1 teaspoon of gelatin in 1 cup of hot, pre-boiled water. Once dissolved, let cool and pour into the secondary fermenter, racking your beer on top of it. Gelatin is derived from animal collagen, so don’t feed to your vegetarian friends!
  • Isinglass – Made from fish bladders, isinglass is a very common fining agent used in both winemaking and brewing. But don’t worry — used properly, it won’t affect the flavor of your beer. It’s added to the secondary fermenter in the same way as gelatin. One teaspoon is sufficient for a five-gallon batch of homebrew.Shop Irish Moss

Water Treatment

The minerals in your brewing water can have a profound effect on the flavor of your finished beer. Mineral beer brewing additives are typically used either to recreate a water profile from a certain part of the world or to adjust the mash pH. It’s generally recommended to get a water profile report of your city water, before adding minerals. Otherwise, start with reverse osmosis (RO) water, which has had all minerals removed, then add the ones you need.

  • Burton Water Salts – These minerals are added to brewing water to simulate the water profile of Burton-on-Trent in the UK. They are often used when brewing English pale ales (think Bass Pale Ale). This mix includes papain, an organic compound which helps to prevent chill haze.
  • Calcium Carbonate – Also know as chalk, calcium carbonate is a food-grade mineral blend. It’s one of the few beer brewing additives that raises mash pH (lowers acidity). Carbonate-rich water can help enhance hops bitterness.
  • Gypsum – Gypsum is a mineral blend composed of calcium sulfate. It lowers mash pH.
  • Magnesium Sulfate – Magnesium sulfate helps to lower mash pH.

Yeast Nutrientshop_gypsum

  • Yeast Nutrient – In addition to sugar, beer yeast requires certain nutrients in order to reproduce and convert sugar into alcohol. When it comes to brewing beers made with a high level of adjuncts, yeast nutrient can give the yeast an extra boost that will help them complete fermentation. It can also help achieve a lower final gravity and a drier tasting beer with less residual sugar.

Preservatives

  • Ascorbic Acid – Also known as vitamin C, ascorbic acid acts as an oxygen scavenger. Oxygen in beer creates oxidation, which results in stale flavors, often described as wet cardboard. Add a 1/2 teaspoon to your beer when it’s time to bottle.

Do you use beer brewing additives in your home beer making, or are a home brew purist?
—–
David Ackley is a beer writer, brewer, and self-described “craft beer crusader.” He holds a General Certificate in Brewing from the Institute of Brewing and Distilling.

Awesome Terrapin Rye Pale Ale Clone Recipe

Terrapin Rye Pale AleJust like wheat and barley, rye is a cereal grain that can be used in making beer. It’s a huskless grain with an assertive, spicy flavor. To design a rye pale ale beer recipe, one could easily start with a good American pale ale recipe and add between one-half and one pound of rye malt to the mash. This will contribute the distinctive spicy flavor that rye is best known for adding to a brew. Most rye pale ale beer recipes will have at most 10-20% of the grain bill come from malted rye.

Because its protein content is higher than barley, rye can improve body and head retention, but it also tends to get sticky in a mash. If your system is prone to stuck mashes or if your beer recipe uses more than about 20% rye, consider adding some rice hulls to the mash to improve filterability.

There are several good commercial examples of rye pale ale on the market. Terrapin Beer Company from Alpharetta, GA, entered the market with their Terrapin Rye Pale Ale, which won a gold medal in the American Pale Ale category in its first year at the Great American Beer Festival, in 2002. The brewery is now approaching 50,000 barrels of beer a year in production. Below is a Terrapin rye pale ale clone recipe you can brew up.

E. C. Kraus carries a great Rye Pale Ale beer recipe kit from Brewer’s Best, but feel free to use the tips below to develop your own beer recipe.

Types of Rye

Homebrewers typically work with either rye malt or flaked rye. Rye malt has been germinated and kilned, whereas flaked rye is pressed between hot rollers. Both contribute rye flavor, though the rye malt will be a little more toasty and sweet than the flakes. Both can be added directly to the mash. If brewing a partial mash recipe, combine the rye with some malted barley so the mash doesn’t stick.

Ready to brew a rye pale ale? Try this Terrapin rye pale ale clone or use it as a starting point for your own beer recipe!Shop Steam Freak Kits

Terrapin Rye Pale Ale Clone Recipe – Partial Mash 
Batch Size: 5 gallons

OG: 1.057
FG: 1.014
ABV: 5.6%
IBUs: 35

6 lbs. Light Malt Extract
1 lb. Rye Malt
1 lb. Munich Malt
8 oz. Victory Malt
6 oz. Honey Malt
1 tsp. Irish Moss @ 15 mins

.33 oz. Magnum hops @ 60 mins
(4.7 AAUs)
.33 oz. Fuggles hops @ 30 mins
(1.5 AAUs)
.33 oz. Kent Goldings hops @ 20 mins (1.7 AAUs)shop_brew_kettles
.33 oz. Kent Goldings hops @ 10 mins (1.7 AAUs)
1 oz. Cascade hops @ 5 mins (7 AAUs)
1 oz. Amarillo dry hop for 10 days
Yeast: Wyeast American Ale II
—–
David Ackley is a beer writer, brewer, and self-described “craft beer crusader.” He holds a General Certificate in Brewing from the Institute of Brewing and Distilling.

4 Tips For Hitting Your Target Gravity

Stirring Mash When Hitting Target GravityA large part of the thrill of home brewing is discovering how your batch turns out several weeks after brewing it. At the same time, it’s nice to be able to predict with some degree of certainty what the final beer will be like.

Original gravity (abbreviated OG) plays an important role in determining what the end result of your home brewing efforts will be. The gravity, or concentration of sugars in the wort, has a major effect on the final beer’s alcohol content. On a related note, the concentration of the wort can also have a profound impact on the color, flavor, and mouthfeel of the finished brew.

While we all know that home brewing doesn’t always go the way we plan, there are a few things we can do to help assure that we are hitting our target gravity:

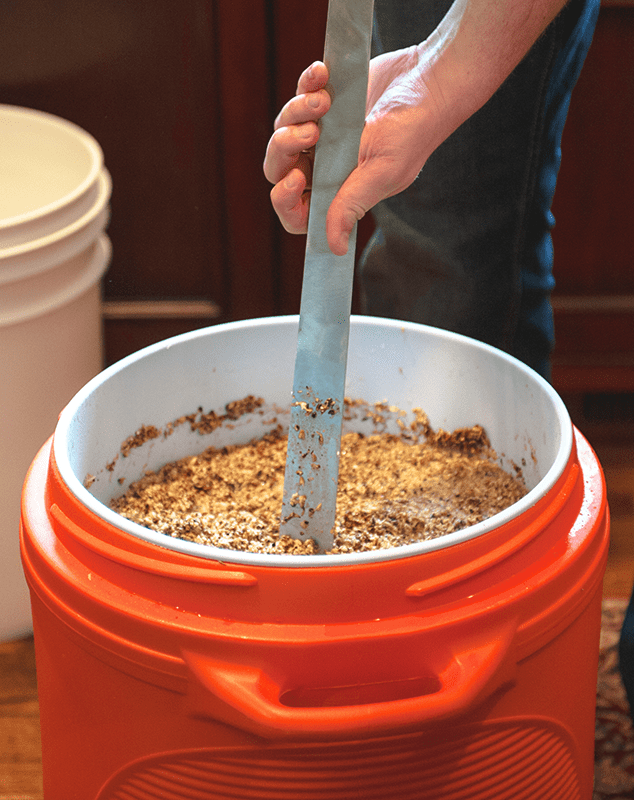
  1. Measure your mash efficiency. If you’re an all-grain brewer, mash efficiency will have an enormous impact on your brew’s OG. Calculating mash efficiency just requires some basic math. Take good notes so that you can make an educated guess about what your mash efficiency will be, and then plan your beer recipe accordingly. At the end of the mash, take hydrometer readings of the runnings to make sure you’re on target. If you’re off for some reason, you may be able to make adjustments later in the process to compensate for not hitting the target gravity.
  1. Watch your evaporation rate. Pay attention to how much volume you tend to lose when boiling wort. This can be an important factor when trying to hit a target gravity. Again, take notes and try to standardize the process each time you brew. A lot of homebrew recipes out there are based on a preconceived evaporation rate (or may ignore it completely). If you know that you tend to boil off a certain volume over a one-hour boil, you should start with that much more water or wort at the beginning of the boil to compensate.
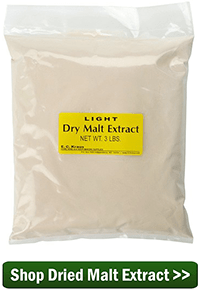
  1. Shop Dried Malt ExtractSupplement with malt extract or sugar. If you’ve missed your mash efficiency and you end up with a low original gravity, don’t fret. You can add additional fermentables to the brew kettle or to the fermenter. For this reason it’s a good idea to keep some light dried malt extract, corn sugar, or cane sugar around the house. These can be stirred in at the end of the boil. Extra fermentables added to the fermenter should be fully dissolved in boiled water and then cooled before mixing. Read on for a calculation that helps with blending, and keep in mind that blending unhopped malt extract into wort may reduce the IBUs of the final beer.
  1. Dilute, but be smart about it. Overly concentrated wort can be diluted with clean, filtered, sterile water. In fact, many extract recipes call for brewers to “top off with enough water to get five gallons of wort.” That’s fine for beginners, but if you ar serious about hitting your target gravity, you should first calculate how much water to add. For example, if you want to use water to dilute four gallons of 1.060 gravity wort down to 1.050, use the following equation:

GravityA*VolumeA + GravityB*VolumeB = GravityC(VolumeA + VolumeB)

1.060(4) + 1.0(VolumeB) = 1.050(4+VolumeB)

Solving for VolumeB, use 0.8 gallons of water to dilute the wort to 1.050 OG. Of course, you may well decide that you’d rather have more beer at a lower gravity than less beer at a higher gravity. I know, it’s a tough decision!

Regardless of how you go about hitting your target gravity, the techniques above are sure to help you become a more consistent and accurate brewer.
—–
David Ackley is a beer writer, brewer, and self-described “craft beer crusader.” He is a graduate of the Oskar Blues Brew School in Brevard, NC.

How to Calculate IBUs When Brewing Beer

Hops To Be CalculatedIf you are brewing a specific style of beer or recreating one of your previous batches, calculating your IBUs, or International Bittering Units, that are provided by the hops is one way to dial in the accuracy of your homebrew. There are plenty of free online calculators that will do this for you, but by understanding how to calculate IBUs, you can take your brewing skills to the next level.

Note: IBUs only measure the hop bitterness, or isomerized alpha acids in a beer. Aromas are derived from hops oils, not alpha acids.

How To Calculate IBUs

You can use this calculation before your brew using estimated values, or afterwards to get a more accurate figure.

Before we can calculate the IBUs of a beer, these are the factors we need to know:

  • W – The weight of the hops in the homebrew recipe (usually in ounces in the US).
  • AA – The alpha-acids of the hops in your recipe, expressed as AA%.
  • U – Hops utilization rates (see chart at the bottom). You will need to know the length of time (in minutes) that each of the hops will be boiled in to the wort, as well as the gravity of wort at the end of the boil (in gallons).
  • V – Volume of wort (in gallons) at the end of the boil.

This is the formula for calculating IBUs:

IBUs = (AA% x U x W x 7489)/V

But where does the 7489 come from? This is a correction value that helps us complete the formula in US units (to compute in metric units, calculate weight in grams, volume in liters, and change the correction value to 1000).shop_hops

So, what you will do is calculate the IBUs for each hop addition in your homebrew recipe, then add them all together to calculate the total IBUs in a beer.

As an example, this past weekend I brewed a 10 gallon batch of American Brown Ale with a starting gravity of 1.060 and the following hop schedule:

  • 2 oz. East Kent Goldings hops (5.2 AA%) at 60 minutes left in boil
  • 1 oz. Willamette (4.7 AA%) at :30
  • 2 oz. East Kent Goldings (5.2 AA%) at :10

Let’s plug in some number to see how to calculate the IBUs. Starting with the first hop addition, we input the alpha acids as a decimal. (Remember to shift the decimal two places to change it from a percentage to a decimal number.) Then, we need to look at the hops utilization rate when boiled for a 60 minute boil in 1.060 gravity wort. Looking at the chart below, that number is 0.211. The weight is 2 and the volume is 10:

IBUs of first addition = (.052 x .211 x 2 x 7489)/10 = 16.43 IBUs

Then we do it again for each of the next two additions:

IBUs of second addition = (.047 x .162 x 1 x 7489)/10 = 5.7 IBUs

IBUs of third addition = (.052 x .076 x 2 x 7489)/10 = 5.92 IBUs 

Add them all together, and the total IBUs for this beer is about 28 IBUs.

Shop Steam Freak KitsThat’s how to calculate IBUs. As with many things in homebrewing, IBUs are an approximation. There are a lot of factors in play, but knowing how to calculate IBUs gives you a lot more control over your brew. Plus, if you want to recreate a beer recipe that you’ve brewed before, but with hops that have different alpha acid percentages, you can use the formula to adjust the weight of each hops addition needed to arrive at the same IBUs.

Do you calculate the IBUs of your homebrew? Do you use an online calculator or do you go the old fashioned route?

Hops Utilization Chart

Hops Utilization Chart

—–
Ed Kraus is a 3rd generation home brewer/winemaker and has been an owner of E. C. Kraus since 1999. He has been helping individuals make better wine and beer for over 25 years.

Mash pH: Controlling And Adjusting

Mash pH StripsAll-grain brewers need to mash their grains in order to extract fermentable sugars. This process, called conversion, takes place in water under certain conditions of volume, temperature, pH, and time. Today, we’ll talk about mash pH: ideal mash pH range, effects of being too high or too low, and how to use pH strips or digital meter to take pH readings and make corrective adjustments.

About Mash pH

pH is simply a measurement of how acidic or alkaline something is. On a scale of 0 to 14, a pH of 0.0 is highly acidic, 7.0 is neutral, and 14.0 is highly alkaline.

The ideal mash pH range of 5.0 to 5.5. A pH of 5.4 is considered “optimal” for most applications, and it’s a good target for brewers new to homebrew mashing.

Measuring Mash pH

Whether mashing for the first time or brewing your 100th batch, it’s important to measure your mash pH. No one wants to find out after the fact that their mash was ineffective and their target original gravity much too low.

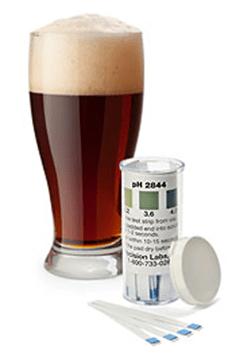
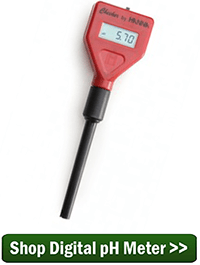
The least expensive option for measuring mash pH is the pH test strip. For just a few dollars, brewers can take dozens of readings. All you do is dip the colored end of the strip into the mash for a second or two, remove it, and then read the color. The trade-off of the low price tag is that it’s kind of difficult to get an super, accurate reading from the test strips. Personally, the best I can do is approximate within about 0.2 how close I am to the target pH. This method might work fine for partial mash brewing and beginning all-grain brewers, but before long, they may want an upgrade.Shop Digital pH Meter

The solution is a digital pH meter. Though it may be a little more expensive than a pack of test strips, the digital meter is significantly more accurate, and well worth the investment in my opinion.

Mash pH Adjustments

So now that you can measure your mash pH, how can you adjust it if it’s too high or too low?

To lower your mash pH (increase the acidity of the mash), add half a teaspoon of gypsum to a 5 or 6 gallon mash and stir well. To increase mash pH, add half a teaspoon of calcium carbonate to a 5 or 6 gallon mash and stir. Take pH readings and keep making adjustments until you are within the ideal mash pH range of 5.0 to 5.5, but do not add more than two teaspoons of either ingredient. If you choose to test the pH of your water prior to mashing in, keep in mind that adding grains to the water will cause the pH to drop.Shop Gypsum

Dealing with a mash pH, taking reading, making adjustments, etc., may sound challenging and technical, but once you get the hang of it, it will become second-nature, and you’ll be well on your way to exercising more control over your craft and brewing the beer that you ultimately want to drink.
—–
David Ackley is a beer writer, brewer, and self-described “craft beer crusader.” He is a graduate of the Oskar Blues Brew School in Brevard, NC.

Westmalle Tripel Clone Recipe (Extract & All-Grain)

Glass Of Belgian TripleTrappist beers are those made at Trappist monasteries; beers made in the Trappist style are called abbey beers. Most are characterized at malt-forward dry ales that are conditioned in the bottle. Belgian yeast strains often produce distinctive fruity or spicy qualities. Belgian beer fans go to great lengths to procure bottles from the eight Trappist breweries.

Westmalle Abbey is a monastery in Malle, Belgium, outside of Antwerp. It was founded in 1794, where brewing began in 1836. Westmalle’s Tripel is probably their most popular commercial brew.

The beer writer Michael Jackson describes the Tripel as: dry with an herbal aroma and fruity and floral flavor against a solid backdrop of malt. He recommends pairing Westmalle Tripel with asparagus, noting that “perhaps the citric note in Westmalle Tripel finds an affinity with that lemon-grassy flavor that also lurks in the plant.”

The Westmalle Tripel clone recipe below comes from the 2008 issue of Brew Your Own magazine. Simulate Westmalle’s water profile by using hard (mineral rich) water.

Westmalle Tripel Clone Recipe
(partial mash recipe, 5 gallon batch)

Specs:
OG = 1.082
FG = 1.012
IBU = 35
ABV = 8.5%
Boil Time: 90 minutesShop Dried Malt Extract

Ingredients:
5.5 lbs. pale malt
1 lb. caramel 10L malt
4 lbs. unhopped light DME
1 lb. clear candi sugar
1 oz. Styrian Goldings hops (3 AAUs) at :90
.75 oz. Tettnang hops (3 AAU) at :60
.5 oz. Fuggle hops (3 AAU) at :30
.5 oz. Saaz hops (2 AAU) at :5
2-3 packs Wyeast 3787: Trappist High Gravity

Directions, Partial-Mash: Prepare a 2L yeast starter the day before brewing using 2 packs of Wyeast. (Alternatively, use three packs without a starter.) On brew day, conduct a mini-mash with the crushed grains using about 3 gallons of clean water. Hold at 152°F. for 90 minutes. Sparge with 3.75 gallons of water at 170°F., collecting wort into boil kettle. Mix in DME and candi sugarShop Steam Freak Kits and bring to a boil. Add hops according to schedule. At end of boil, stir to create a whirlpool, remove from heat and chill wort. Pour wort into sanitized fermenter containing enough clean water to make 5.25 gallons. Pitch yeast at 70°F.. Ferment at 68°F. for two weeks, then condition at 50°F for 3-4 weeks. Prime and bottle, allowing to condition for at least 8 weeks. Age up to a year and serve in your favorite Belgian chalice glass!

Directions, All-Grain Option: Replace the 4 lbs. DME with 6 lbs. pale malt. Use 18 qts. of water for the mash and 20 qts. to sparge. Add the Belgian candi sugar when bringing wort to a boil and follow remainder of recipe above.

This Westmalle Tripel clone recipe is absolutely worth brewing. It’s a great introduction to Abby beers and Belgian beers in general.
—–
David Ackley is a beer writer, brewer, and self-described “craft beer crusader.” He holds a General Certificate in Brewing from the Institute of Brewing and Distilling.