Why You Should Be Using Sulfites In Your Wine Making Endeavors

Wine with sulfitesSulfites are a very important part of wine making. They are commonly used in both commercial wine making and home wine making. They can be used in granulated form such as potassium metabisulfite or sodium metabisulfite. Also for the home winemaker, sulfites can be used in tablet form called Campden tablets.

There are several reasons for using sulfites in the wine making process. They are extremely versatile and thus valuable in many ways. They act as a sanitizer in both the wine and on the equipment. Sulfites are also a protector against the damaging effects of oxygen.

Very briefly, when sulfite granules are added to a wine, sulfite gas is released and over time is passed through the liquid and escapes into the air.

One reason for using sulfites in wine making is sanitation.  For example, you may want to consider adding it directly to your juice prior to making the wine. Any fruit juice can be riddled with natural yeasts, bacteria, or other microscopic critters that could wreak havoc on the quality of your finished wine if left up to their own devices.  Adding sulfites directly to the wine will destroy unwanted organisms in the wine must so you don’t run the risk of ruining your wine before you’ve even begun.

Another reasons for using sulfites in wine making is to preserve your wine throughout the storage and aging process. Too much oxygen exposure to your wine can be problematic. It can cause it to become oxidized and lose many of its desired aromas and flavor characteristics while taking on undesired aromas, flavors, and colors.

By adding sulfites to the wine right before the bottling process, the sulfite gas molecules that are released into the wine have a opportunity to “push out” the excess oxygen into the atmosphere.  Think of it as the sulfite gas acting like a big bully and pushing the oxygen out of its way so the sulfite can sit in the wine and not oxygen. In short, when using sulfites in your wine making in this way, you prolonging the life of your wine, thus allowing you to enjoy it for longer than if you hadn’t used the sulfites.
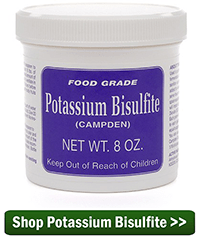
shop_potassium_bisulfiteThere is a big myth floating around out there that sulfites cause headaches in people after drinking red wine, giving winemakers the idea of making sulfite free wine. So far, there is no credible evidence to support this idea, and it’s more likely that the histamines, tannins, or some other compound in red wine are causing some people to get headaches.

It’s also important to point out that many dried fruits such as prune and apricots have significantly higher doses of sulfites than any wine – typically more that 10 times – so if you do not get headaches from eating such dried fruits, then they are not allergic to the sulfites in wine.

The point is: using sulfites in your wine making is a good think note a bad thing. Take advantage of it, and claim all the benefits they have to offer.
—–
Ed Kraus is a 3rd generation home brewer/winemaker and has been an owner of E. C. Kraus since 1999. He has been helping individuals make better wine and beer for over 25 years.

Raising the Specific Gravity of a Wine With Sugar Syrup

Sugar syrup for raising specific gravityI have a question! After making a sugar-syrup, how much of it do I use to raise 5 gallons of wine? I mean how much does the S.G. [Specific Gravity, hydrometer reading] go up say per cup added? Thanks for any help.

Name: Thomas R.
State: New York (Long Island)
—–
Hello Thomas,

Raising the specific gravity of a wine with sugar syrup is perfectly fine. It’s a great way to get the S.G. up to where you need it to be when making a fruit wine or even a grape wine the just needs a little boost.

Knowing how much sugar syrup add to the wine to get from point A to point B on a hydrometer scale would be great to know ahead of time, but to do this you need to know the specific gravity of the sugar syrup. Not a sugar syrups are the same.

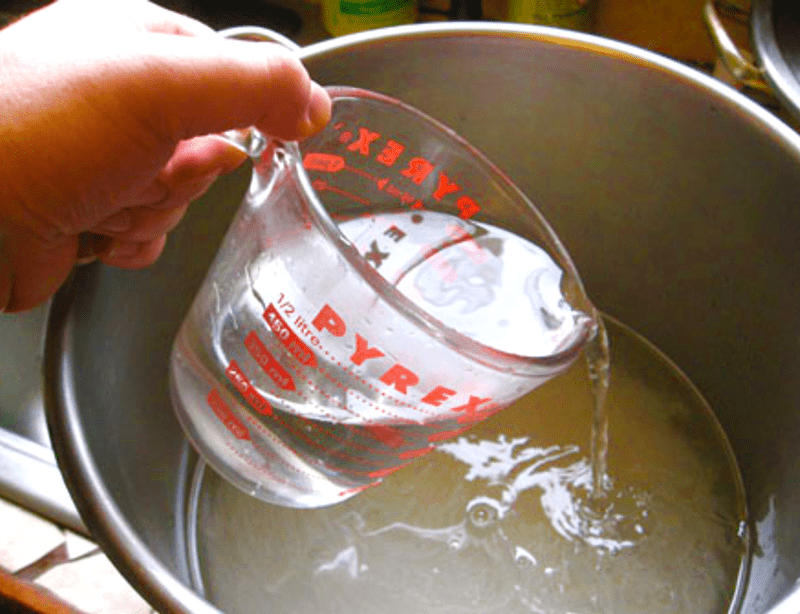
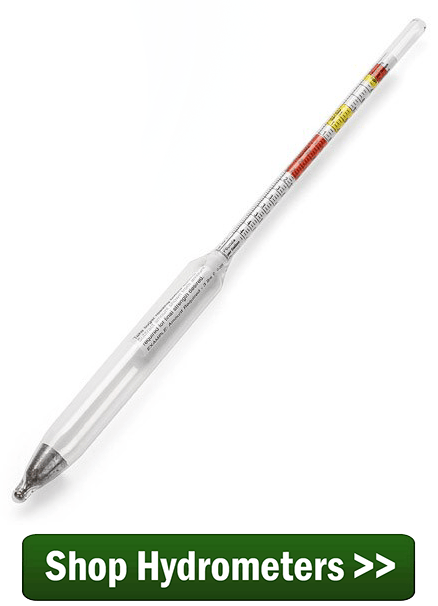
You can use a wine hydrometer to determine the specific gravity of the sugar syrup you’ve made. Just put the hydrometer in a sample of the syrup, just like you would when testing your wine. If the reading goes off the scale, you can still get a reading. Just add an equal amounts of water and sugar syrup in a sample. Then take a gravity reading and times it by two.

As an example, let’s say after you added equal parts of water and sugar syrup, you get a reading of 1.150. That would mean that the sugar syrup’s “actual” S.G. is 1.300. You double the “gravity” part of your reading, because you cut the sugar syrup by half.Shop Hydrometers

Once you know the S.G. of the sugar syrup, raising the specific gravity of your wine with sugar syrup is easy. It’s all just math.

Let’s say you want to add 6 ounce of sugar syrup that has an specific gravity of 1.300 to a gallon of wine:

A gallon of wine has 128 fluid ounces in it. You want to add 6 more fluid ounces of sugar syrup for a new total of 134 ounces. Now you need to spread the gravity of (300 times 6) over the 134 ounces (128 + 6). So it is (300 X 6) divided by 134. That equals 13.44. Let me shorten it up:

(Gravity of Syrup * Ounces of Syrup Per Gallon)/(128 + Ounces of Syrup Per Gallon) = Rise in S.G.
or
(300 * 6)/(128 + 6) = 13.44

What this means is that if you are raising the specific gravity of a wine with a sugar syrup that has a specific gravity reading of 1.300, and you add 6 fluid ounces of that syrup to each gallon of homemade wine, then the specific gravity of that homemade wine would be raised by 13.44 points on the gravity scale. For example, if the wine has a specific gravity of 1.060, the new reading would be 1.07344. You could round it to 1.073.Buy Hydrometer Jars

Hope this helps you out. Just plug the numbers into the equation as needed and you’ll know ahead the results with raising the specific gravity of a wine with sugar syrup.

There is also another blog post that is somewhat related to this subject that I’d thought you might be interested in: “Controlling Your Wine’s Alcohol“.

Happy Winemaking,
Ed Kraus
—–
Ed Kraus is a 3rd generation home brewer/winemaker and has been an owner of E. C. Kraus since 1999. He has been helping individuals make better wine and beer for over 25 years.
Did Using Distilled Water In My Wine Ruin It?

Distilled WaterI just started my first batch of home made wine. I didn’t use my tap water because it’s salt water from water softener. I used distilled water in this wine, instead. After coming to your site I found out that it’s not good to use distilled water in wine making. Is there anything I can do to save my homemade wine? Or would I be better of starting over?

Name: Rory
State: Michigan
—–
Hello Rory,

Let me start off by saying that using distilled water in a wine does not mean the wine is ruined. We do not recommend using distilled water because it may cause problems with the fermentation.

Distilled water is water that has been ran through a still, or rather, steamed from one vessel to the next. This process drives out all the free oxygen and leaves the trace minerals behind. This is significant to a fermentation.

The one thing that wine yeast needs is oxygen, particularly in the first stages of the fermentation. Oxygen is what helps wine yeast to multiply into a larger colony. Without a larger colony, you will have a sluggish, drawn-out fermentation.

The little packet of wine yeast that is typically added to a fermentation needs to multiply itself between 100 to 150 times to sustain a vigorous fermentation. Most of the sediment you will see at the bottom of the fermenter are all these yeast cells that were created during the fermentation.Shop Yeast Nutrients

If you’ve used distilled water in your wine, we recommend adding yeast nutrient, if you haven’t done so already. Yeast nutrient is a singular form of nitrogen – diammonium phosphate. The recommended dosage for this is 1 teaspoon per gallon of wine. This yeast nutrient will work in place of free oxygen to help start the wine yeast to multiply successfully.

In rare and extreme cases, it may also be necessary for you to aerate the wine. This can be done by splashing the wine to allow air to saturate into the wine must, or you can siphon the wine must from one vessel to the next, holding the siphon hose back so the the wine splashes.

Minerals make up part of the nutritional meal that wine yeast need to ferment sugar into alcohol. Minerals are needed for yeast to metabolize these sugars freely. Without minerals, wine yeast have a difficult time consuming the sugar that is right in front of them. For this reason, if you use distilled water in your wine making we recommend adding a little magnesium sulfate to your wine — 1/2 teaspoon per 5 gallons is more than enough.Shop Magnesium Sulfate

I would like to mention again that using distilled water in your wine making does not mean you have ruined your wine, but what it does mean is that you need to take some simple actions to mitigate the effects of the distilled water. By adding yeast nutrient and magnesium sulfate you can go on to have a great tasting wine.

Happy Winemaking,
Ed Kraus
—–
Ed Kraus is a 3rd generation home brewer/winemaker and has been an owner of E. C. Kraus since 1999. He has been helping individuals make better wine and beer for over 25 years.
Using Pasteurized Juice For Making Wine

Pasturized JuiceI have decided to get in to the mysterious world of wine making. I have gotten my hands on carboys, yeast, corks, airlocks, etc. My only problem is that I can’t find any preservative free, unpasteurized apple juice, or any juice, to use in my first batch. Is using pasteurized juice for making wine OK? I’ve been told that the pasteurization process takes away from the final flavor. How much of an impact does it actually make? Thanks for the help!

Name: Steve G.
State: North Carolina
—–
Hello Steve,

I’m glad you’ve decided to make some wine. Using a pasteurized juice for making your wine, is a pretty good place to start for a beginning winemaker. The process is fairly straightforward and representative of the winemaking process in general.

You are correct in your assumption that you need to read the label and see what’s in the juice before actually buying it and using it to make wine. You need to look for preservatives that could sabotage your fermentation.

For example, you want to make sure that the juice does not have sodium benzoate or potassium sorbate. These specific preservatives will interfere with wine yeast ability to multiply and start a fermentation. However, things like potassium metabisulfite or ascorbic acid are just fine and will not give you any troubles whatsoever.

Buy FermenterAbout the pasteurization, it is perfectly fine to make wine from a juice that has been pasteurized. It does not effect the flavor in any way and is a good thing for the juice to go through. While this process does have a big fancy name — named after Prof. Louis Pasteur, the creator of process —  it is really a very innocent and simple process. Pasteurization is simply performing a flash heating and cooling of the juice.

These days, the juice is heated and cooled so fast that it does not even have a chance to oxidize the juice. But it is being heated long and hot enough to kill any microbes that would have eventually caused the juice to spoil. This process has no chemistry to it and is nothing more than what I have described. So as far as affecting flavor, it does not.

The bottom line is that using pasteurized juice for making wine is perfectly fine. What you want to be on the look-out for is things like sodium benzoate or potassium sorbate.

Happy Winemaking,
Ed Kraus
—–
Ed Kraus is a 3rd generation home brewer/winemaker and has been an owner of E. C. Kraus since 1999. He has been helping individuals make better wine and beer for over 25 years.
Is Grape Juice Quality the Key to Making Great Wine?

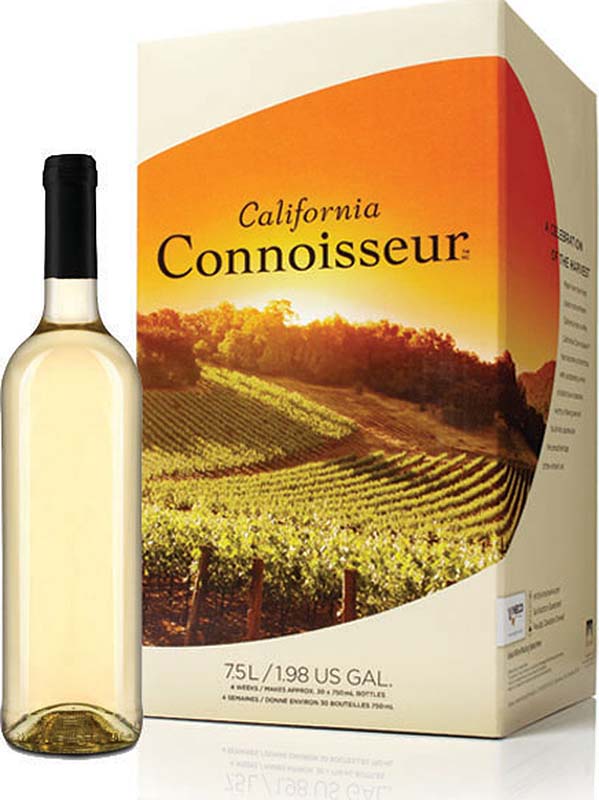
California Connoisseur With White WineThe art and science of winemaking has been around for millennia, though certainly the techniques and procedures have evolved throughout the course of winemaking history.  It takes a lot of time, practice, and patience to become an expert winemaker, and even then, a bad batch can come along despite all your best intentions and efforts.  With all that being said, one thing has always remained true over time:

“It doesn’t matter how skilled you are at making wine, if you don’t have quality grape juice, you are not going to make quality wine.”

How do you get quality grape juice for winemaking?  Well, there are several different sources, all of which can result in quality wine if you are careful and follow the instructions.

The first source for grape juice for winemaking is to simply buy a grape juice concentrate. There is an extremely wide selection of grapes varieties to choose from when shopping for a grape juice concentrate.  Some of the concentrate on the market are produced by using low-quality grapes. These are fine for drinking sweet, but not so much for making wine, so it is important to do some research into the overall quality of the grapes used to create the grape juice concentrate. There are a lot of products out there utilizing known vineyards and quality grapes, so do your research!

The next source for grape juice for winemaking is freshly pressed juice.  This may be a more expensive option, as you will need to work directly with a vineyard, which may or may not be charging higher prices than the easy-to-get grape juice concentrate.  Keep in mind that when purchasing freshly pressed grape juice for winemaking, you will only be able to attain the juice at a particular time during the year, and you will be bound to the grape variety that is being grown by that particular vineyard.  Grape juice concentrates stay perfectly fresh in the packaging for years.

Another source of grape juice for winemaking is to grow the grapes and press them yourself!  This, of course, is the most labor intensive and most expensive method, however, it can be very rewarding, particularly if you have a “green thumb” and would like to be a part of the entire winemaking process from vine-to-wine, as they say.  Similar to getting fresh grape juice from a vineyard, you will only be able to get the juice at a certain time of the year (harvest) and only the same variety year after year.

There are many sources for attaining winemaking juice: grape juice concentrate, local vineyard, or you own backyard. Any of these sources are fine. Just be certain you are getting quality juice from quality sources, otherwise you can end up with bad wine before you’ve even begun making it!

Another blog post that discusses the virtues of grape juice concentrate and fresh grapes is, Concentrate vs. Grapes.
—–
Ed Kraus is a 3rd generation home brewer/winemaker and has been an owner of E. C. Kraus since 1999. He has been helping individuals make better wine and beer for over 25 years.
Does Wine Conditioner Stop A Fermentation?

Wine Conditioner Stopping FermentationIs there a wine product that you sell that sweetens the wine in the end and also stops the fermentation process.  I thought it was the wine conditioner, but I don’t see where it says it stops the fermentation process.
Thanks,
Jen
—–
Hello Jen,
One of the most difficult things a home winemaker can try to do is stop an active fermentation. It’s not practical, nor can it be done with any guaranteed success. This holds true for wine conditioner, as well.
There are several wine making products you can use that may inhibit or temporarily slow-down a fermentation, such a Campden tablets or sodium metabisulfite, but these wine making products will not normally bring an active fermentation to a full stop. Their primary purpose is to destroy wild molds and bacteria. Their effect on the domesticated wine yeast doing the fermenting is only minor.
The most important thing to understand about a wine making conditioner is that it should not be added to the wine must while it is still fermenting. It is a wine sweetener that should only be added once the fermentation has completed and the wine has had plenty of time to clear. If the wine conditioner is added during the fermentation or while the wine is still cloudy with yeast, all the sugars that are in the wine conditioner could potentially start a renewed fermentation and turn the sugars from the wine conditioner into alcohol.Shop Wine Conditioner
With that being said, the best time to add wine conditioner to a wine is right before you are ready to bottle the wine – add to taste, then bottle.
Wine conditioner does have a wine stabilizer (potassium sorbate) in it that, will help to eliminate the chance of a re-fermenting occurring. It does this by inhibiting the residual yeast cells are still left in the wine from multiplying into a larger colony that can sustain a fermentation.
But again, the stabilizer in the wine conditioner will not stop a fermentation. There are no wine making products you can use that will safely do so. The wine stabilizer in the wine conditioner will only stop a fermentation from re-occurring.
Happy Wine Making,
Ed Kraus
—–
Ed Kraus is a 3rd generation home brewer/winemaker and has been an owner of E. C. Kraus since 1999. He has been helping individuals make better wine and beer for over 25 years.
Do Wine Kits Need More Ingredients?

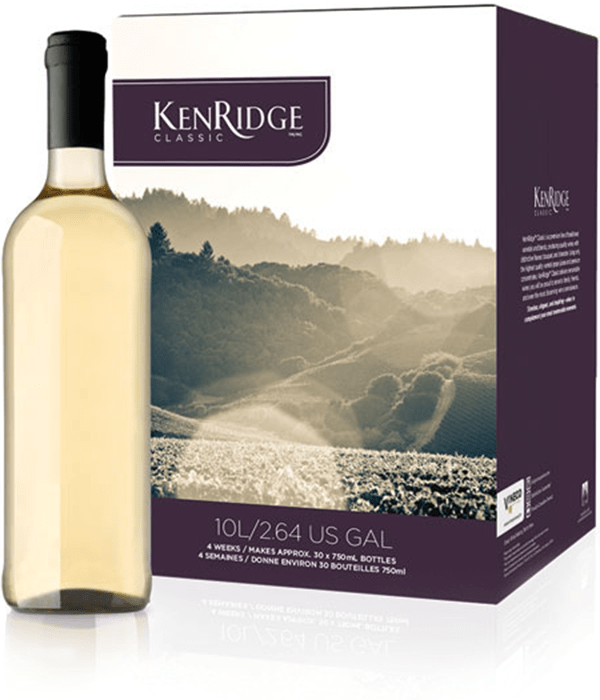
I’ve been making wine using wine kits such as KenRidge for several years. These kits seem quite complete with all the ingredients needed – but reading many of the posts on your site causes me to wonder. Should I, could I, must I supplement the ingredients provided in these wine kits with other ingredient such as Yeast Nutrients, Acids, Tannins, Potassium Sorbate, Wine Conditioner? Should I add Campden tablets between bottling?
Name: Paul
State: New Jersey
—–
Hello Paul,
One of the great things about using one of these wine kits is that the all of these wine making ingredients have already been taken care of for you. This has either been done directly by including the ingredient in the grape juice, or indirectly by eliminating the need for the ingredient, all together.
As an example, you mentioned acid blend. This is typically included in a wine recipe to bring the wine’s acid up to the proper level. If a wine’s acid level is too low, it will taste flat and flabby. With one of these wine kits, however, the grape juice has already been adjusted to the correct acidity level.
Not only is it been adjusted to a proper range for wine, it is adjusted to the optimum level for each specific type of wine. This is done by bench-testing a batch-sample of the juice with an actual fermentation beforehand, then test-tasting the resulting wine for balance and overall character. The optimal amount of acid is determined, then applied to the all of the grape juice. And, all of this is done before the grape juice goes through any packaging into one of the wine kits.
The same can be said about the yeast nutrient and the wine tannin. Each are already in the grape juice at a level that will result in the best possible wine for that wine kit.
Another aspect to this is the speed at which the wine progresses through the fermentation, then the clearing, and then the bottling. The wine kits on the market today are set up to get in the wine bottle so quickly, that they do not have a need for sulfites such as Campden tablets to be addedBuy Wine Kits along the way. It should be pointed out that most wine kits do include a packet of potassium metabisulfite. This is the same thing as Campden tablets, but they only recommend adding it if you plan on storing your wine for longer than 6 months in the bottle.
The last item I will mention is the Wine Conditioner. This is essentially a sweetener designed specifically for wine. It is something that can be added to taste before bottling, but only if you desire to change the wine kit manufacturer’s intended favor. If you decide to do so, proceed cautiously. You can always add more, but you can’t take it out.
If you would like to read more whether or not your wine kits need more ingredients, here is another blog post that continues on with this subject, Do Your Wine Juice Kits Need Adjusting? It has some additional info on this.
With that being said, don’t’ feel left out because you are not concerning yourself with all these wine making ingredients. Feel fortunate. Wine kits have come a long way toward making the process simple, and the results outstanding.
Happy Winemaking,
Ed Kraus
—–
Ed Kraus is a 3rd generation home brewer/winemaker and has been an owner of E. C. Kraus since 1999. He has been helping individuals make better wine and beer for over 25 years.
When Do I Add Campden Tablets To My Homemade Wine?

Help!
I was wondering if you can straighten me out on something. I have heard that you should add campden tablets before you add the wine yeast. I should also add campden tablets after every time I rack the wine. Then add them before I bottle the wine. That seems like a lot to me.
Thanks,
Gary
—–
Hi Gary,
Thanks for such an interesting question.
You do need to use Campden tablets or some other form of sulfite such as sodium metabisulfite, or the wine could eventually spoil or turn to vinegar. But how much you should add is another issue all together.
If you’re making wine from fresh fruit, we recommend that you add one Campden tablet per gallon before the fermentation. This is the standard dose. If you are making wine from a packaged juice, this step is not necessary.
Be sure that you wait 24 hours before adding the wine yeast, or the Campden tablets may kill the wine yeast. Also during this 24 hour waiting period, be sure the fermenter is not sealed. Leave the fermenter open to the air. If you like, you can cover it with a very thin towel or netting to keep bugs and fallout from getting to it. The sulfur dioxide from the Campden tablets need the opportunity to dissipate into the air during this time.
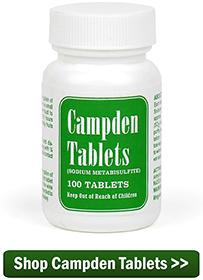
Shop Campden TabletsWe also recommend that you add another dose of Campden tablets as soon as the fermentation has completed. You should confirm with a wine hydrometer that the fermentation has actually completed before adding them.
The only other dose of Campden tablets we recommend is right before bottling. This last dose is what will keep the wine from spoiling or turning to vinegar.
The reason we recommend only adding Campden tablets at these three times is because it is possible to add too much. By sticking with these three times “too much” is not possible. These three times assumes that you will keep the fermenter topped-up and that long-term bulk aging is not in the plans — 1 months or more.
This reason for this is that while sulfites from these Campden tablets do dissipate into the air during rackings, a large percentage of the sulfites bond to the wine. As you add more doses, the bonded sulfites build up in the wine. This build up of bound sulfite does nothing to protect the wine, but if built into a high enough concentration, it can eventually affect the wine’s flavor.
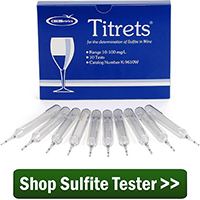
Shop Sulfite TesterHaving said all this, it is possible to add more Campden tablets after rackings, but you shouldn’t do this blindly. You need to test the sulfites that are currently in the wine before adding more. This can be done with Titrets Test Vials and the Titrettor Hand Tool. Shoot for a range of 25 PPM (Parts Per Million) for red wines to 35 PPM for whites. If you do not want to go through the testing, don’t add more than what’s recommended above.
I hope this answers your question and concerns about the use of Campden tablets in your homemade wine. I wanted to point out that this recommendation applies regardless of what form of sulfite you are adding, the three main ones being: Campden tablets, sodium metabisulfite and potassium metabisulfite. If you follow each one’s directions for the dosage you will be adding the same amount of sulfites in each case.
Happy Wine Making,
Ed Kraus
—–
Ed Kraus is a 3rd generation home brewer/winemaker and has been an owner of E. C. Kraus since 1999. He has been helping individuals make better wine and beer for over 25 years.
How Long Before Wine Yeast Starts Working?

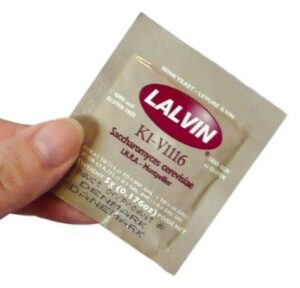
wine yeast packetI bought your wine making starter kit and am up to the point where you add the wine yeast. I added the yeast about 12 hours ago and nothing has happened yet at all. Is this normal? The reason I ask is because I have made wine before in just a gallon milk jugs and added brewers yeast and instantly it foams. Can you please let me know…
Thank-You,
Harley
—–
Hello Harley,
The short answer is that you should expect to see activity of some kind within 36 hours, but usually within 24 hours. The fact that you are not seeing your wine working within 12 hours is not all that unusual. Just how long before your wine yeast starts working depends on numerous factors.
In regards to your previous batches, when making wine in a gallon glass carboy or something similar, it is expected that the fermentation will take off sooner. This is because you are using the same amount of yeast in a single gallon that you would be using in the typical five or six gallons of a wine making kit. The higher concentration of yeast cells, means your yeast will start fermenting sooner.
That’s the short answer to your question. The long answer is I don’t think there is a thing wrong with your wine must or wine yeast, but if you are still concerned I can go over some things that may put you more at ease.

  • The #1 reason a wine yeast fails to ferment is temperature.
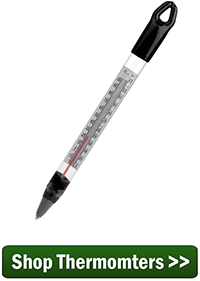
    The wine must is either too hot or too cold. Temperature plays a major role in how fast or slow a wine yeast starts to ferment. The temperature should be between 70 and 75°F. The further you get from this fermentation temperature, the harder it is for the wine yeast to start fermenting. If you are not sure what temperature your wine must is at, you may want to consider getting a wine thermometer.
  • The #2 reason a wine yeast fails is improper re-hydration.Shop Thermometers
    The direction on most packets of wine yeast will tell you to re-hydrate the yeast in warm water before adding it to the wine must. The directions will specify a certain temperature for specific length of time. Normally, it’s something like 105°F. for 10 minutes. If you followed these direction, exactly, you will not have a problem whatsoever. But, if the temperature was hotter than the directions say, or if you left the wine yeast in the warm water for a longer length time than you were supposed to, you could have killed all or a significant portion of the yeast. If most of the yeast was killed it will take much longer for the fermentation to start. The fermentation may also be slow or sluggish once it does start.

In either of the above cases the solution is simple. Depending on the issue, either get the wine must to the proper temperature, or add another pack of wine yeast. Problem solved!
Just how long before your wine yeast starts working can depend on a number of different factors. The above two are by far the most common we run across, but if neither of these sound right, you may want to take a look at, “Top 10 Reasons For Fermentation Failure” that is listed on our website.
After have said all of this, it’s still only been 12 hours since you added the yeast. The most likely scenario is that it will have already started bubbling by the time you read this. While many fermentation will start before this, taking longer than 12 hours is not all that unusual.
Happy Winemaking,
Ed Kraus
—–
Ed Kraus is a 3rd generation home brewer/winemaker and has been an owner of E. C. Kraus since 1999. He has been helping individuals make better wine and beer for over 25 years.
Making Wine With Bread Yeast… Not!

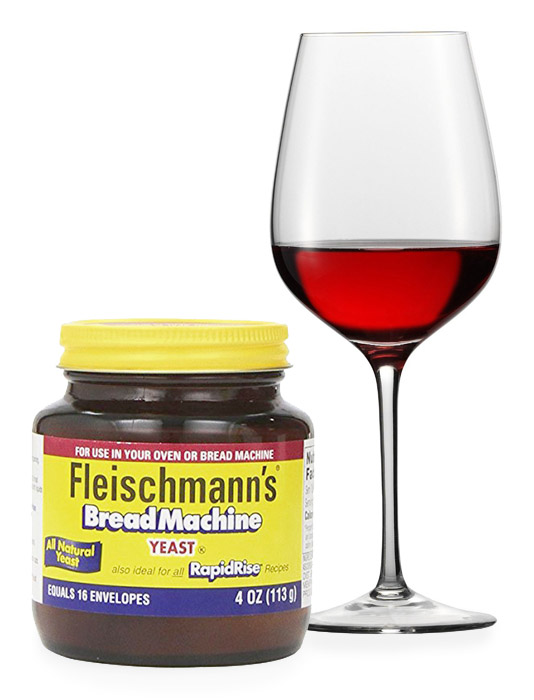
Every so often we run across someone who is making wine with bread yeast. Yes, I’m talking about the plain ole’ yeast you pick up in the baking section of your local grocery store. And every time I hear of someone using bread yeast, the question that always screams in my head is, “why?”
There are so many advantages to using wine yeast and so many disadvantages to using bread yeast that I can’t imagine why anyone would want to use it. The only conclusion I can come up with is that there is a strong misunderstanding about what yeast really are and what they do.
Yeast is what turns sugar into alcohol. Yeast cells are living organisms that consume and digest the sugars. As a result, they excrete alcohol and CO2 gas. Along with these two compounds also comes various trace amounts of enzymes, oils, acid, etc. These are the things that give different alcohols their different characters.
The point is all yeast are not the same. How one strain responds to the sugars varies from the next. There are literally thousands of different strains that have been identified or developed as hybrids, all with varying characteristics that make them suitable or not-so-suitable for performing a particular task, whether it be fermenting wine or raising bread.
This brings us back to the bread yeast. Most bread yeast will ferment alcohol up to about 8% with ease, but when trying to produce alcohol beyond this level, the bread yeast begin to struggle, very often stopping around 9% or 10%. This is short of what we’d like to obtain for almost any wine.
Shop Wine YeastAnother reason making wine with bread yeast is not a good idea is that bread yeast do not clear out very readily or settle very firmly, either. They typically will form a low layer of hazy wine in the bottom of the fermenter that will never completely clear out.
Even more importantly, bread yeast produce alcohol that is plagued with a lot of off-flavors. The bread yeast becomes so stressed and has to work so hard that off-flavored enzymes and fatty acids are produced along with the alcohol.
There are several other issues with using bread yeast to make your wine, but these are the big ones: the alcohol, the clearing, and the flavor.
There are many, many different strains of wine yeast. These yeasts are bred over time to produce something of a ‘super’ wine yeast. Each one becoming the ultimate choice for tackling the particular type or style of wine.
Some wine yeast ferment to total dryness better than others. Some have better alcohol tolerance than others. Some put off fruitier aromas than others. Some pack more firmly to the bottom of the fermenter than others. Some wine yeast even have flavor qualities that make them ideal for fermenting one type of fruit over another. The list goes on and on. And it goes without say, they all do it better than bread yeast.
On our website, we have a wine yeast profile charts listed for each line of wine yeast we carry: Red Star, Lalvin and Vintner’s Harvest Wine Yeast. You can view these profile charts from a link on the product page for each of these wine yeasts.
The last thing I’d like to point out is that buying actual wine yeast to make your wine is not expensive. Currently, you can purchase wine yeast for as little as $2.00. I haven’t priced bread yeast recently, but there can’t be that much difference in price. So if you value your time and effort at all go with the wine yeast. Don’t try making your wine with bread yeast.
—–
Ed Kraus is a 3rd generation home brewer/winemaker and has been an owner of E. C. Kraus since 1999. He has been helping individuals make better wine and beer for over 25 years.