
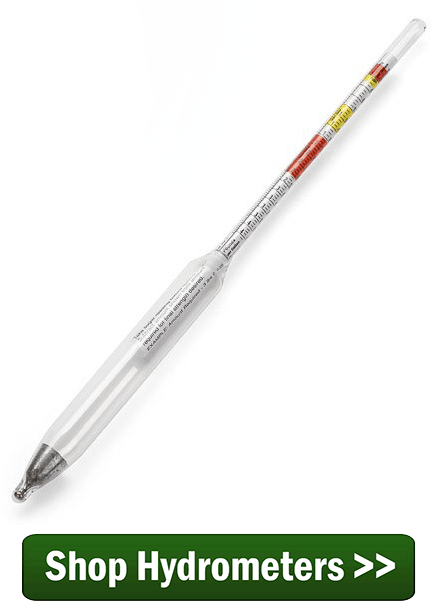
 I have a mustang grape wine that has been aging in a carboy. Last night I tried and it has a hydrometer reading of .992. When I tasted the wine, it was too dry for me. How can I sweeten up this wine to a semi sweet?
John
_____
Hello John,
One of the great things about making your own wine is that you get to drink it the way you want to – even if you want to drink it like our buddy Zach Galifianakis does. For me personally, this is the fun part of making homemade wine. Adjust it until you get the wine just the way you like it. This is something that can’t practically be done unless you are making the wine yourself. This is what makes this hobby so valuable.
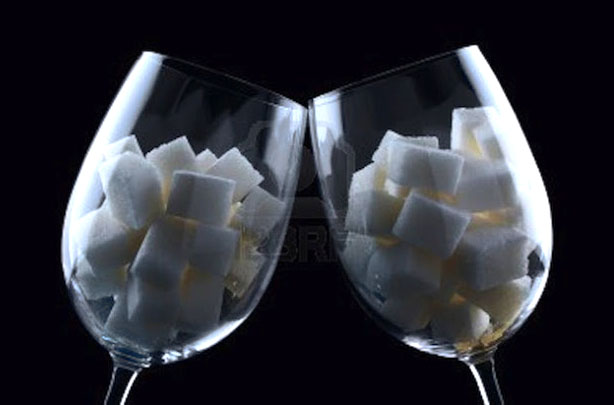
 In your case, you are not particularly happy with one of the basic features of the wine: the dryness or sweetness of the wine. You are saying that your homemade wine is too dry for your own personal taste. Fortunately, the solution is very simple. All you need to do is add sugar to the wine until it is at the sweetness you desire – custom made for you!
It is important to remember that you do not want to adjust the sweetness of a wine until it has completely cleared up and is ready to bottle, so make sure the wine is ready to be bottled before adding the sugar.
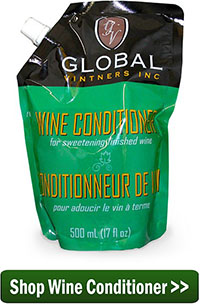
At bottling time you can make the wine sweeter tasting. One of the easiest ways of doing this is to use Wine Conditioner. This is basically a sweetener and stabilizer combined together into a syrup. The stabilizer (potassium sorbate) makes sure that your wine does not start fermenting the new sugars while in the wine bottle.
You can also use your own sugar, honey, etc. to sweeten your wine, but you will also need to add potassium sorbate separately to eliminate any 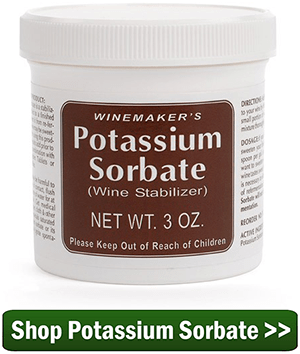 chance of the wine re-fermenting. So, as I think you can start to see, if your homemade wine is too dry, it’s not that big of a deal to fix.
If the sugar you are using is granulated, I would also suggest that you pre-dissolve the sugar into a syrup before adding it to the wine. This will help to eliminate the need for excessive stirring when adding the sugar.
When actually sweetening your wine it is best to sweeten a portion of the batch, first. For example, take a measured sample of the wine – say, one gallon – and add measured amounts of sweetener to it to establish a dosage to your liking. Once the dosage is determined you can then do the same thing to the rest of the wine. This insures that you do not get the entire batch too sweet.
 If you do accidentally add too much sugar to the measured sample, just blend it back into the rest of the batch and start all over with a new gallon sample.
We also have an article on our website, Making Sweet Wines, that will have more information about what to do if your homemade wine is too dry. You may want to take a look at it as well.
Happy Wine Making,
Ed Kraus
—–
Ed Kraus is a 3rd generation home brewer/winemaker and has been an owner of E. C. Kraus since 1999. He has been helping individuals make better wine and beer for over 25 years.
Category Archives: Wine
How Long Does It Take To Make Wine?
 One of the more common questions we get asked by beginning winemakers is, how long does it take to make wine? And most often they begin to show signs of excitement after we explain to them that it does not take nearly as long to make as they think to make a good batch of wine. In fact, it is very possible to have a wine bottled within a month from the time you begin the wine making process.
Once the wine has been bottled there are some benefits to aging, but a remarkable amount of the improvement can be obtained within the first 30 to 60 days of bottle aging, so it is possible for you to have a very delectable wine within 2 to 3 months from the time you start making wine.
How long it actually takes to make wine depends on what you are using to make the wine. Are you making your wine from grapes? Are you making you wine from fruits? Are you making your wine from wine ingredient kits?
Packaged wine making juices tend to make wines faster than making wine  using fresh fruits. This is primarily because there is no pulp or skins involved. The concentrated juices clear up much faster, allowing the wine to be bottled much sooner. Wine ingredient kit have there own wine making recipes included with them, so it makes it a good option for the first-time winemaker.
So, How Long Does It Take To Make Wine?
Here is an overview of what to expect based on what is being used to make the wine:
- Winemaking Ingredient Kits:
 If you are making a wine from one of our winemaking ingredient kits you will be bottling your wine in about 4 to 6 weeks, depending on which brand of wine making kit you are using.
- Winemaking Caon Concentrates:
When using winemaking can concentrates such as SunCal, Alexander or Country Fair, you will be bottling your wine in 6 to 10 weeks.
- Fresh Fruits:
Because of the pulp involved, it takes longer to make wine using fresh fruits or grapes than it does using packaged juices. Aging can take a little more time as well because of the higher level of tannins and other proteins that are typically in the wine must from the fresh fruit. You can expect to be bottling your wine in about 8 to 12 weeks from the time you started the batch, and also anticipate needing to bottle age the wine at least 3 to 4 months, and sometimes up to a year, depending on the fruit.
The amount of time it takes to make a batch of wine can vary somewhat based on the scenario, but all in all, the time needed is usually less than expected. Start off with one our California Connoisseur ingredient kits, and you’ll be drinking wine in 28 days. Or, maybe you have some fresh fruit growing out back. In that case you may want to get our Your Fruit! Necessities Box. Wine making recipes are included.
—–
Ed Kraus is a 3rd generation home brewer/winemaker and has been an owner of E. C. Kraus since 1999. He has been helping individuals make better wine and beer for over 25 years.
Try This Trick When You Back Sweeten Wine
 I am making European Select Chardonnay. I will be ready to bottle in a week or so. I have not done the stabilization & clarification step yet, which is when I would normally back sweeten wine. Can I complete all the steps, bottle half of it, and THEN sweeten the other half? Will the potassium sorbate added at step 4 or adding some potassium metabisulfite hinder refermentation from adding wine conditioner for sweetness? Or is the your wine sweetener non-fermentable?
Betsy L.
Wisconsin (Go Pack, Go)
—–
Hello Betsy,
Thank you for your questions about how to back sweeten wine.
Your idea of – bottling half; then sweetening half; then bottling – is a great one. I have done this more than once. I’ve even divided one of my homemade wines into dry/semi-dry/medium. I think this is a great way to back sweeten wine because if gives you so many more options.
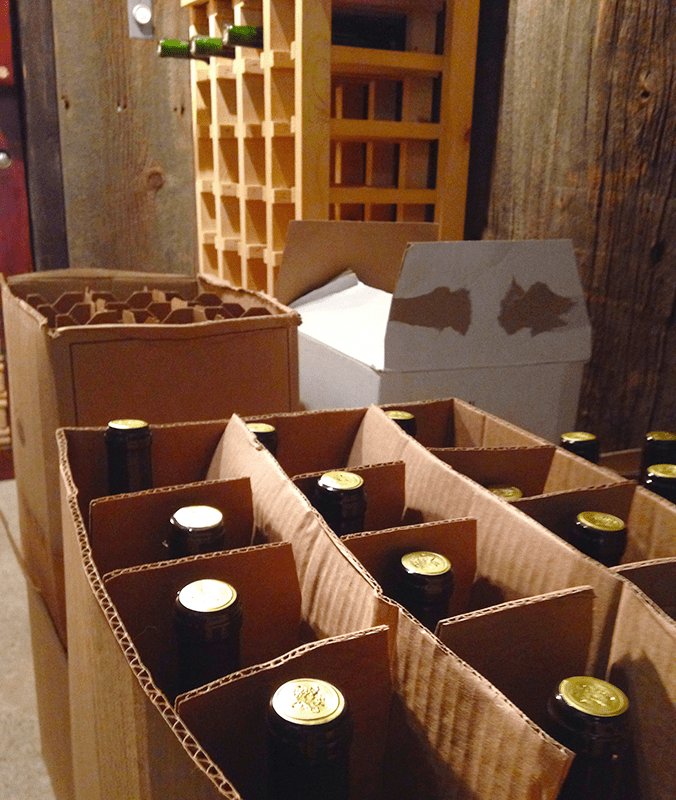
And it’s simple to do. You should have no problems pulling it off. With your 30 wine bottles in play, there’s nothing wrong with giving them some variety by way of sweetness. As you have suggested you are bottling some of the wine, sweetening what’s in bulk than bottling that.
This method of back sweetening a wine works particularly well when you plan on gifting it or sharing it with friends. It gives you a way to tailor the gift to the person you are giving it to. Quite often we want to share our wine with family and friends who are not wine drinkers. Giving them a bottle of wine that is not bone-dry makes good sense.
As for your second question on the potassium sorbate: as long as the fermentation has completed and the wine has completely cleared, the potassium sorbate or potassium bisulfite will stop a re-fermentation from occurring in your wine bottles when back sweetening wine, but it is important that the wine be clear first, regardless of what day in the steps you are on. Wait an extra day or two if necessary. It won’t compromise your homemade wine in any way.
I would also suggest using our Wine Conditioner for the purpose of back sweetening the wine, just as you were planning. Wine conditioner is easy to use and has additional sorbate to help stabilize the wine. It will not adversely affect the wine in any way and will help to assure that your homemade wine does not experience a re-fermentation.
You can also back sweeten wine just by adding plain ole sugar. But if  you decide to do this, I would highly recommend that you also add another 1/2 dose of potassium sorbate to the wine (1/4 teaspoon per gallon) in addition to what was with your wine ingredient kit. For others reading this, if you have not added any potassium sorbate from a kit or what-have-you, then add a full dose of potassium sorbate (1/2 teaspoon per gallon) when you back sweeten wine.
Happy Winemaking,
Ed Kraus
—–
Ed Kraus is a 3rd generation home brewer/winemaker and has been an owner of E. C. Kraus since 1999. He has been helping individuals make better wine and beer for over 25 years.
My Top 10 Favorite Winemaking Posts
 Another year has passed, and the rear-view mirror is full! I always use this time as an opportunity to reflect on what’s happened. In doing so I have come up with a list of my top 10 favorite wine making posts.
These are wine making post that I feel have been helpful, entertaining and interesting. They are listed in no particular order. You might want to give them a once-over and see if there’s anything that piques your interest:
- Keeping Fruit Wines In Fruity Balance
Learn how: sugar, fruit and alcohol level all come together to create balance in a homemade wine.
- 7 Random Winemaking Facts…
A listing of winemaking trivia that my surprise you. Take a look and see how many of the 7 you already know.
- In Plain English: The Difference Between pH And Titratable Acidity In Wine
Understanding pH and titratable acid is the key to having a wine that tastes great and is stable. This post takes a complicated topic and distilled it down to something that’s easy to understand.
- A Simple Guide To Metabisulfites
Covers the differences among Sodium Metabisulfite, Potassium Metabisulfite and Campden Tablets and how much this difference really matters.
- What’s The Difference Between Crushing And Pressing Grapes?
The blog post clears up some of the confusion surround crushing and pressing. How are they different, and what are their purposes.
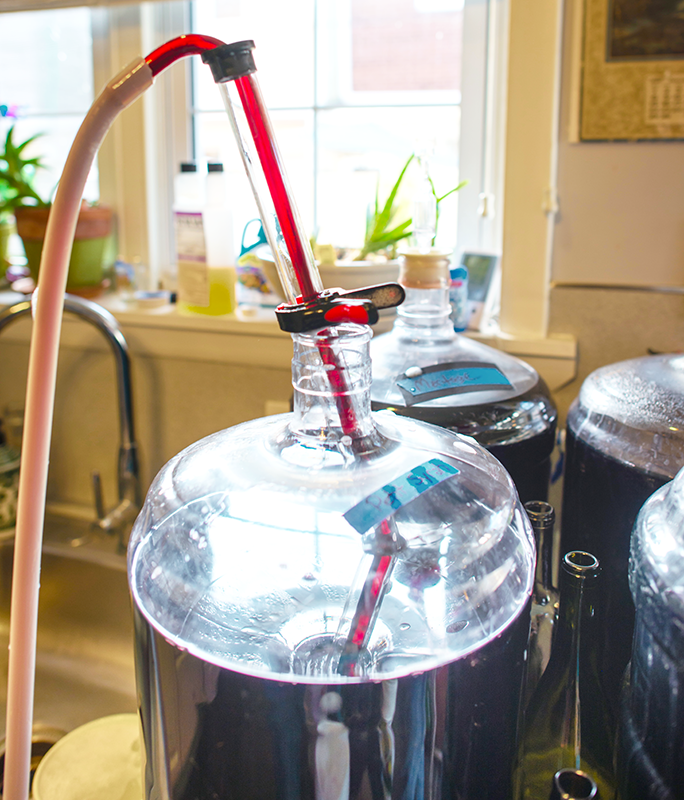
- How To Handle That Last Bit Of Sediment
A handy little article the gives some quick pointers about racking your wine — how to do it more efficiently so as to lose less wine with less work.
- Is Oxygen Good Or Bad For Wine?
Knowing how to leverage air exposure to your advantage can go a long ways in producing a healthy, stable wine. See how easy it is.
- Picking When To Pick
This is actually a 4 part series of posts that contain some solid information on how to determine the optimal time to harvest your grapes.
- What On Earth Is Bottle Shock?
Learn how bottle shock affect both commercial and homemade wines, particularly after bottling, and how manage this phenomenon.
- 5 Myths About Homemade Wine
Here are the top 5 myths that many non-home-winemakers believe. These are misconceptions that keep many from enjoying this rewarding hobby.
—–
Ed Kraus is a 3rd generation home brewer/winemaker and has been an owner of E. C. Kraus since 1999. He has been helping individuals make better wine and beer for over 25 years.
There's A White Scum On Top Of My Homemade Wine
 Bill has made a few small batches of home wine, and all went well. This year we did a strawberry-rhubarb and on the third racking in a 5 gal jug, it developed a thin white scum over the center of top. We could get past the film to re-rack, but Bill is concerned it is ruined…is it? Has this white scum on top of his homemade wine ruined it?
Name: Gidget M.
State: PA
—–
Hello Gidget,
What this sounds like is something called flowers or flowers of wine. It starts off as patches of white scum or a white film. If left uncheck it can grow to cover the entire surface of the wine. It is actually a small bacterial growth on the wines surface.
Just because the wine has this white scum or film on top does not mean it is ruined by any means, but some actions should be taken to see that it does not get any worse.
Just as you have suggested, you need to rack the wine away from the bacterial growth. Draw the wine from the center of the fermenter, passed the white film on top, but not from the vary bottom, either. Once you get it racked, dose it with either Campden tablets, potassium metabisulfite or sodium metabisulfite. Any of these will easily destroy any bacteria cells that may still be in the wine.
What allowed the white scum on top of your homemade wine to occur in the first place was having too much head-space in with the fermenter with the wine. This is okay during a fermentation, when CO2 gas is coming off the liquid, but after the fermentation the head-space needs to be eliminated.
It is the air in contact with the wine that can promote a bacterial growth such as the one you are experiencing. In the future, after the fermentation has completed, I would suggest that you keep whatever fermenter the wine is in topped-up. There are many ways you can top-up a fermenter. You can read more about this in the follow article: Topping Up Your Homemade Wines.
I would also recommend that you automatically add one of the three forms of sulfite mention earlier after the fermentation. This will dramatically help keep your homemade wines from getting this white scum or film.
 Going back to your strawberry/rhubarb wine, it is fine. Based on your description, it does not sound like the white scum or film advanced enough to affect the wine’s flavor in any significant way. If sulfites are added to the wine, flavor and aroma would be the only concern to take into consideration. Rack the wine, and add sulfites.
Once the wine has cleared and is ready to bottle, sample it and see what you think. The wine will be perfectly safe to drink. You are only noting the flavor and aroma.
Happy Winemaking,
Ed Kraus
—–
Ed Kraus is a 3rd generation home brewer/winemaker and has been an owner of E. C. Kraus since 1999. He has been helping individuals make better wine and beer for over 25 years.
My Peach Wine Will Not Clear
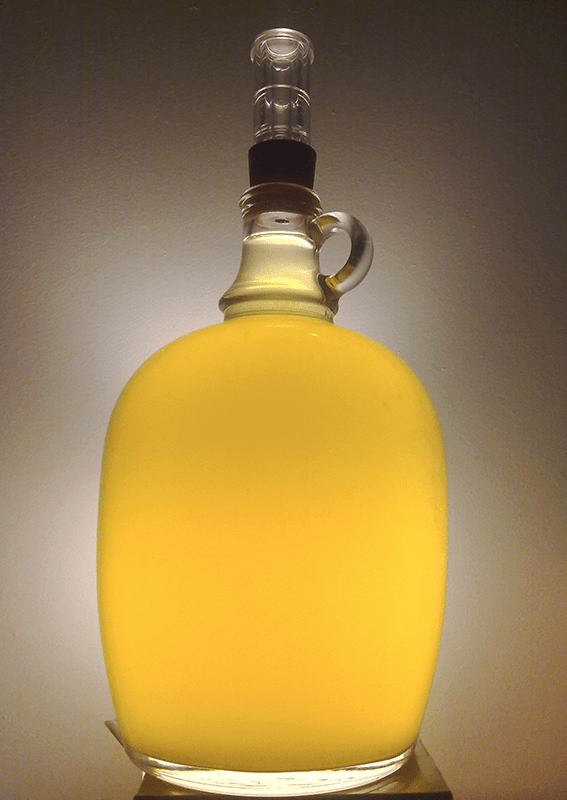 I have a peach wine that has a haze to it. The wine will not clear. It has been chilled for 2 weeks after fermentation, racked 4 times and I have added fining agents. It cleared to this fine haze but will not clear any further. Is this a wine that is not going to completely clear and I just need to live with it? Oh yea, there was pectic enzyme added at the start. What are your thoughts? Thanks
Name: Echota
State: TN
—–
Hello Echota,
Base on information you have given, it sounds like the reason your homemade wine will not clear is because you have a pectin haze, even though pectic enzyme was added at the beginning.
Fining agents will take out the particles in a wine that can cause it to be cloudy, but a pectin haze is different. It is not caused by particles. It is caused by the actual make up of the liquid itself. The pectin chemically bonds to the wine, making it impossible to clear with just fining agents such as bentonite or isinglass.
The standard dose of pectic enzyme called for in most wine recipes is enough to breakdown and drop out a usual amount of pectin from the fruit, but in some instances the amount of pectin in a wine must can be unexpectedly large. This leads to the situation you are describing where your homemade wine will not clear, completely.
One way to know for sure if your wine is experiencing a pectin haze is to take a sample of the wine, say a half-full quart mason jar, and add a ridiculous amount of pectic enzyme to it. If the wine clears without leaving any sediment, then you know that a pectin haze is the reason for you wine being cloudy.
If the wine clears, but leaves sediment behind, then you know it is a particle haze – not a pectin haze – and more time, gravity and fining agents is the answer to resolving this issue.
Clearing up a stubborn pectin haze in a wine after the fermentation has stopped is somewhat difficult, but it can be done. It’s simply a matter of adding more pectic enzyme to the wine.
The problem really lies with the fact that the fermentation is no longer fermenting. This causes the pectic enzyme to take longer to do it’s thing, so some patience will be needed. It could take as long as a month or two for the pectic enzyme to clear up the wine completely.
If you are using our liquid pectic enzyme the standard dose is 1/8 teaspoon for each gallon of wine. However, in this situation you want to add a double dose of 1/4 teaspoon per gallon of wine. This is in addition to any pectic enzyme you added at the beginning of fermentation. If you are using a powdered pectic enzyme the story is the same. Add double the recommended dosage listed on the package and give it time.
When ever a homemade wine will not clear you always want to look towards protein particles such as yeast cells, tannin, etc to be the cause. These are things that can be easily dropped out with fining agents and wine clarifiers. But whenever you get into a situation where that last little bit will not clear out of the wine, no matter what you try, then it’s time to start suspecting a pectin haze to the reason your wine will not clear.
Happy Winemaking!
Batch-Saving Tips For Re-Bottling Wine
 We bottled Lambrusco wine in February. We tasted 2 months later and decided it was just not going to be sweet enough. Is it ok to remove the corks-put back into clean container and sweeten more with the wine conditioner and then re-bottle the wine?
Name: Barbara
State: Kentucky
—–
Hello Barbara,
Unfortunately, we get asked this question quite often. I’ll start off by giving you the short answer, “yes, re-bottling wine is possible”.
What you are asking to do may sound simple in principal, but there are some considerations that need to be thought through first:
- It is important to know that you will not be able to reuse the wine corks that you’re are pulling out of the wine bottles. There is no way to sanitize the wine corks completely after wine has saturated into them. Also, the corks have been put through a corking once so they would be more difficult to press into the wine bottle without destroying them. For these reasons when re-bottling wine you will need to consider the original wine corks a loss and use new ones.
- The wine bottles will need to be cleaned and and sanitized again, so this will be extra work beyond just decanting and re-bottling the wine. I recommend using Basic A for this purpose. The amount of time it will take you to empty all the wine bottles, sweeten the wine and then bottle the wine back up is too long to leave them sitting, exposed to air with the residue of wine in them.
 After stirring in the Wine Conditioner to sweeten the wine, you will also need to add a sulfite back into it, just as you did the first time you bottled the wine. You can use either Campden tablets, sodium metabisulfite or potassium metabisulfite. Both the glugging of the wine as it pours out of the bottle into a bucket and the stirring of the wine as the Wine Conditioner is being blended will saturate air into the wine. This is something that can cause your wine to oxidize. Oxidation can potentially cause the wine to turn brown or orange in color and give it a smell and taste that resembles raisins or caramel. By adding the sulfites you will easily drive the oxygen back out of the wine.
- One last thing: when re-bottling wine I would also recommend adding a dose of ascorbic acid to this wine in such a situation. Ascorbic acid is good for raising the acidity level of a wine without raising the acid taste or tartness. The ascorbic acid will help by consuming free oxygen they may still be left in the wine. This will also help to hinder any oxidation of the wine.
Having considered all the above, you can also sweeten the wine as you drink it. I realize that the esthetics of sweetening a wine in a carafe or a glass as-you-go is not all that sophisticated nor satisfying, but it will save you a lot of work and still get you your sweet wine. A bottle of honey works well for such an occasion.
Regardless of what path you decide to take, just realize the re-bottling wine is something that can be done. Just be sure to follow the precautions listed above.
Happy Winemaking,
Ed Kraus
—–
Ed Kraus is a 3rd generation home brewer/winemaker and has been an owner of E. C. Kraus since 1999. He has been helping individuals make better wine and beer for over 25 years.
Clearing A Cloudy Wine…
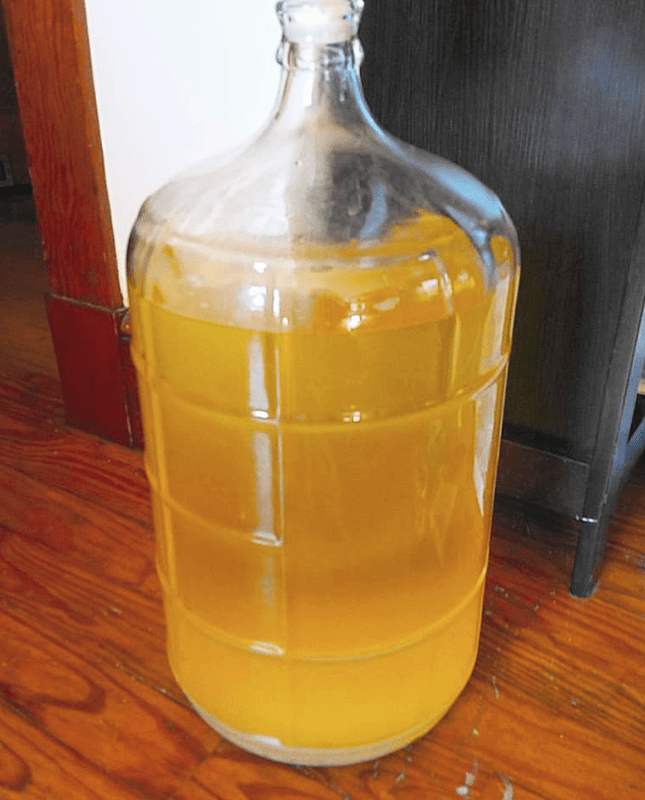 What can I use to remove the cloudiness in my wine. Can you help? I’ve strained the wine 2 times and it is still cloudy.
Thanks John
_____
Hello John,
What needs to be determined is, “why is the wine cloudy“? Is it from pectin cells in the fruit? Is it from suspended yeast cells? Is it from starches in the fruit? Or, is it because the wine simply needs more time to clear up?
In any case, the cause of the cloudiness needs to be determined before you can take any action. Anything less is just taking a stab at the issue. Determine why the wine is cloudy then take appropriate actions.
The first thing that should be done is a specific gravity reading should be taken with a wine hydrometer. This will tell you if the wine has completed its fermentation. If the specific gravity is .996 or less, this would indicate that the wine fermentation has finished. If the specific gravity is above .996 but not fermenting then you have a stuck fermentation and you need to determine why it is stuck.
If the wine is still fermenting, even slightly, this would most likely be the cause of the cloudiness. In this case, just let the wine finish fermenting. Be a little patient and the wine will most likely clear in due time.
If the wine hydrometer has indicated that the wine has completed its fermentation, you will want to see if the top half of the batch is more clear than the bottom half. If so, this would indicate that the wine just needs a few more days to clear up. After a wine has completed fermenting it usually needs a week or two to clear up. Most homemade wine instructions will indicate this time period.
If you’re sure it’s been more than two weeks since the wine has completed fermenting, and it’s still cloudy, then it may be time to start using wine making products such as fining or clearing agents.
Treating the wine with bentonite would be the first step I would suggest. It’s an effective fining agent that most likely will solve your problem completely. But, if you see only marginal improvement, you should switch to Sparkolloid for a second treatment. In general, Sparkolloid will take out what bentonite doesn’t and vice versa.
If the bentonite clears the wine almost completely, but there’s still a slight murkiness, then you should switch to a polishing clarifier such as our Kitosol 40. You might want to check out the article, Using Finings To Improve Your Wine. It will give you more detail about fining agents and other wine making products you can use to clear your wine.
Happy Wine Making
Ed Kraus
—–
Ed Kraus is a 3rd generation home brewer/winemaker and has been an owner of E. C. Kraus since 1999. He has been helping individuals make better wine and beer for over 25 years.
3 Wine Making Starter Kits: Which One's Right For You?
 My husband asked me to write you and ask about which of your wine making starter kits he should get to make wine with. He does not really know the difference between them and would like you to advise on how to get started.
Brenda
—–
Dear Brenda,
We have three different complete home wine making starter kits for beginners. Each has a collection of the necessities you will need to start making wine. The equipment in these wine making starter kits are of the same quality items you can purchase from us individually, only this way they are packaged together at a reduced price. This makes these kits a great value for someone starting out.
Each of these starter kits were carefully put together with simplicity in mind. We wanted to make it as easy as possible for you to make your first batch of wine without a lot of confusion and frustration. Truth is, what want you coming back to make more.
We also spent a lot of time selecting the equipment that goes into these wine making starter kits. We wanted to make sure that everything is of high quality – not cheap stuff – but equipment that will last you for many batches of wine.
We also want your first batch of wine to turn out exceptional. That’s why we did not go for the cheapest wine making juices you can find. These a remarkable wine making juices that will make wine you can be proud of. Again, we want your wine to turn out so good that you cannot resist coming back for more.
- Your Fruit! Wine Making Starter Kit As the name implies, this is a fruit wine making starter kit. It has all the equipment and ingredients you will need to make wine using fruit you already have. It makes 5 gallons at a time. It includes two books that contain well over a 100 different wine recipes. The wine making instructions you will use with this kit are very easy to follow. With this kit you can make wines from raspberries, peaches, dandelions, blackberries, strawberries, rhubarb, watermelon… The list is very extensive. You can also use the wine recipes on our website’s Recipes Page with this starter kit. If you are wanting to make wine from your own fruit then of the three wine making kits, this is the one your want.
- The SunCal Wine Making Starter Kit This kit contains all the equipment and ingredients you will need to make wine using your choice of any one of our SunCal concentrated grape juices. Very simple directions are provided. Start off with your choice of wine. Each can makes 5 gallons. You will also have additional yeast and other wine making ingredients for making additional batches. All you need is more SunCal concentrate.
- Connoisseur Wine Making Starter Kit This kit will allow you to make wine, starting with your choice of Connoisseur wine ingredient kit. These ingredient kits contain the grape juice concentrate and all the additional ingredients you will need, pre-measured and ready to go. After you make your first batch, you will have all the wine making equipment you need to make wine using any of our 200+ boxed ingredient kits. If you are wanting to make a large variety of different grape wines, then of the of the three wine making kits, this is the one you want to get.
Each of these home wine making starter kits are designed with simplicity in mind. They give you exactly what you need, whether it be making wine from fresh fruits or from packaged wine juices. So now I ask: which of these wine making starter kits is right for you?
Happy Wine Making,
Ed Kraus
—–
Ed Kraus is a 3rd generation home brewer/winemaker and has been an owner of E. C. Kraus since 1999. He has been helping individuals make better wine and beer for over 25 years.
The Ultimate Home Wine Making Starter Kit For Beginners!
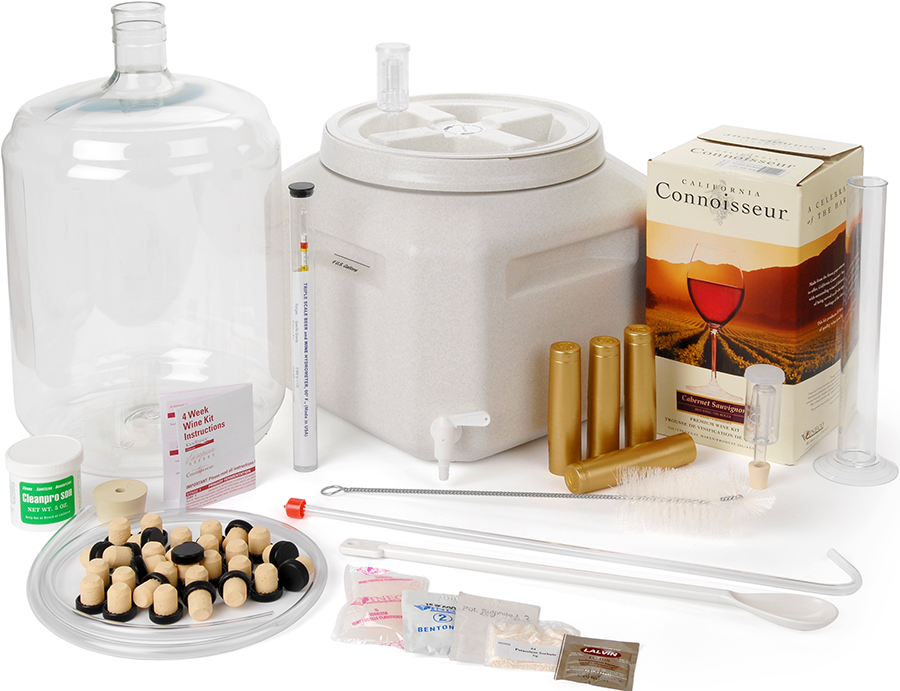 Okay, you’ve just gotten a wine making starter kit, but before diving head first into the fun of making some wine, it might be a good idea to get an understanding of what’s actually in the kit and what it’s used for – an introduction.
Of course, all of the wine making starter kits that you can buy are going to be slightly different, depending upon the brand and upon what type of wine you wish to make. Here is a breakdown on some of the items found in one of these typical wine making starter kits, and how each item functions to produce your best homemade wine.
- Tuff-Tank and Carboy: The main purpose of these items is to ferment, hold, and store your wine throughout the wine making process. Specifically, the Tuff-Tank is used for primary fermentation, and the carboy is used for secondary fermentation. These two items are the centerpiece of a home wine making starter kit.
- Air Locks: Just as the name suggest, these items keep air from penetrating your homemade wine and protects the wine against oxidation and other undesirable contaminants from spoiling your hard work and effort.
- Racking Tubes and Hoses: These function to help aid in the racking process: to transfer wine from one vessel to another while leaving the undesired lees behind in the first vessel. Racking occurs on average between 2-4 times throughout the wine making process.
- Hydrometer and Hydrometer Jar: These items are a very important part of any of wine making starter kit. The wine hydrometer helps you keep an eye on the fermentation process; telling you what the alcohol content of the wine is along the way. The hydrometer jar allows you to measure the alcohol content of just a small sample of wine rather than measuring the entire contents of your carboy. Fill the hydrometer jar to the desired level, and submerge the hydrometer into the hydrometer jar to determine how far along your fermentation has gotten.
- Stirring Spoon: This is a somewhat more obvious piece of wine making equipment found in a wine making starter kit. It lets you stir your wine in order to maximize the surface area and contact time between the wine and the lees, increasing the overall quality of your finished homemade wine.
- Wine Bottle Brush and CleanPro SDH Cleaner: You need to be working in an environment that is as sanitary as practically possible. The bottle brush and SDH cleaner will allow you to do just that. The cleaner functions as a sanitizer for all the equipment in your home wine making starter wine kit, giving you a clean environment for each and every batch.

- Capsules and Corks: To close up the bottles of wine in a more traditional fashion, many home wine making kits will supply corks. Finally, the capsules add style and sophistication to the presentation of your finished wine.
- Wine Making Juice: Most starter kits for beginners do not come with the wine concentrate. They consist of the wine making equipment, only. Our wine making starter kit includes the wine ingredient kit for your first batch, as well. You get your choice of dozens of wine types to start off with: Cabernet Sauvignon, Chardonnay, etc.
These are the basics of a home wine making starter kit. You can find more information about our wine making starter kit on our website.
—–
Ed Kraus is a 3rd generation home brewer/winemaker and has been an owner of E. C. Kraus since 1999. He has been helping individuals make better wine and beer for over 25 years.