 You’ve probably noticed a huge rise in the number of gluten-free products on grocery store shelves. Estimates vary, but it is generally accepted that about 1% of the US population suffers from Celiac disease, an autoimmune disorder affecting the small intestines. A rapidly growing number of people are choosing to go gluten-free for other dietary and health reasons, and in the home brewing world it’s no different. Gluten free home brewing is become more prevalent.
But what is gluten?
Gluten is a protein found in certain cereal grains such as barley, wheat, and rye. It’s this protein that causes bread dough to stick together and hold its shape.
Obviously barley, wheat, and rye are all common ingredients in home brewing. There are a few breweries that make gluten-free beer from barley and wheat, then use an enzyme to break down the gluten in the beer. According to the USDA, these beers may be labeled “gluten-free”, but trace amounts of gluten remain and these beers are not suitable for people with severe Celiac’s disease.
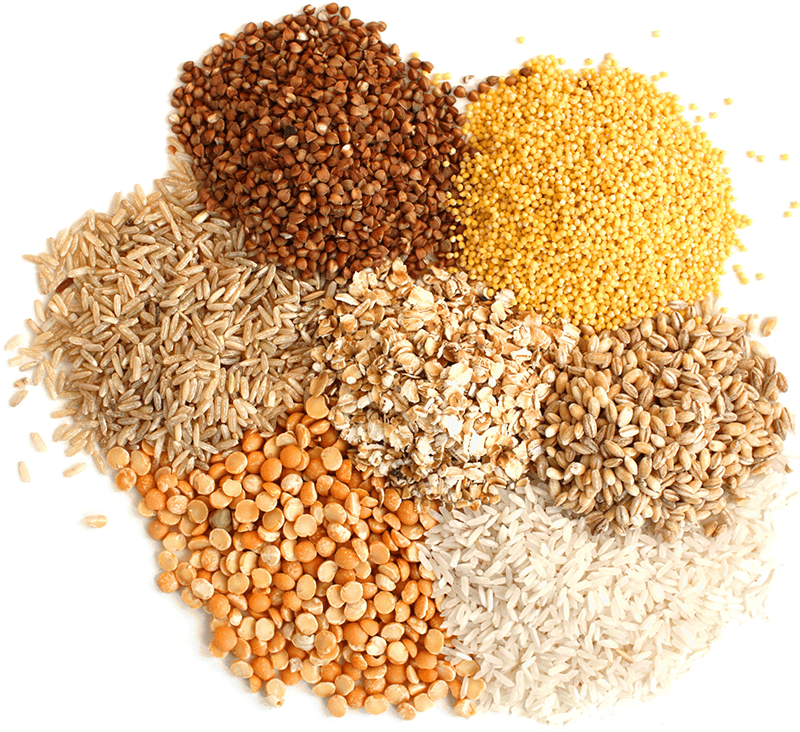
Fortunately, there are several gluten-free grains which can be used in gluten free homebrewing, including:
- Oats (must be labeled gluten-free)
- Sorghum
- Quinoa
- Rice
- Corn
- Millet
- Buckwheat

Among these, rice and corn are very frequently used in home brewing recipes. They are commonly used to brew light lagers. Rice and corn are a cheap source of fermentable sugars, so for a very large brewery, the savings can be significant. On the other hand, rice and corn contribute little flavor and color. If you or someone you know has a severe gluten allergy, take extra care to make sure the gluten-free grains that you use are not contaminated with grains that have gluten.
Gluten Free Home Brewing with Sorghum
Sorghum is considered one of the grains which most closely resembles barley in terms of brewhouse performance making it a great substitute in a gluten free beer recipe. Examples of commercial beers made with sorghum include Bard’s and New Grist. Even Guinness makes a version of their stout made with sorghum for their African market.
For gluten free home brewing, one option would be to malt your own gluten-free grains. However this is a challenging and time-consuming process. The alternative is to use a sorghum extract. One could then experiment with small amounts of gluten-free grains to contribute flavor and body. You can also use adjunct sugars like cane sugar and molasses to increase gravity or alter color.
Brewer’s Best takes out the guesswork out of gluten-free brewing with a gluten free beer recipe kit. The kit includes:
- 6.6 lbs. Sorghum Extract
- 1 lb. Golden Candi Syrup
- 8 oz. Maltodextrine
- Orange and lemon peel
- 2 oz. Cascade hops
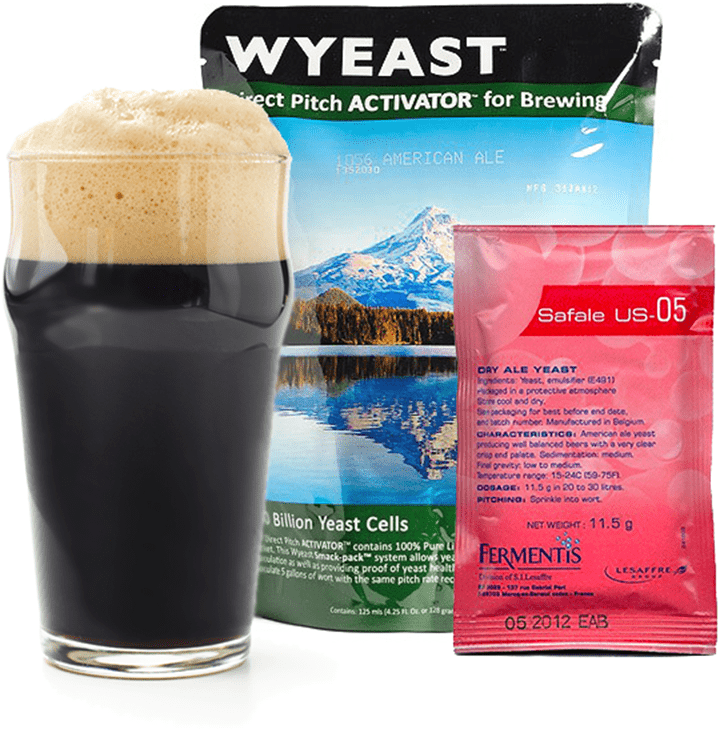
- Yeast
The result is a lightly colored, moderately hopped Belgian-style pale ale with a flavorful blend of floral and citrus character.
Consider buying two kits at a 10% discount and experiment a bit with the second one! What gluten-free creations can you come up with?
———————————–
David Ackley is a beer writer, brewer, and self-described “craft beer crusader.” He holds a General Certificate in Brewing from the Institute of Brewing and Distilling and is founder and editor of the Local Beer Blog.


 Part 1
 Part 1