 I’m making a Sauvignon Blanc from a 6 gallon bucket of refrigerated fresh juice that was inoculated with a wine yeast by the producer. Instructions on bucket: bring must to 76 degrees stir 2x daily, recover with bucket lid and rack to secondary fermenter at 1.020. My starting SG 1.090 and I racked last night after two weeks to secondary at 1.020 and noticed the must smells like a hard boiled egg. Any suggestions, or will this smell work its way out during future rackings?
Name: Michael N.
State: Pennsylvania
—–
Hello Michael,
So sorry you are having such an issue with this batch.
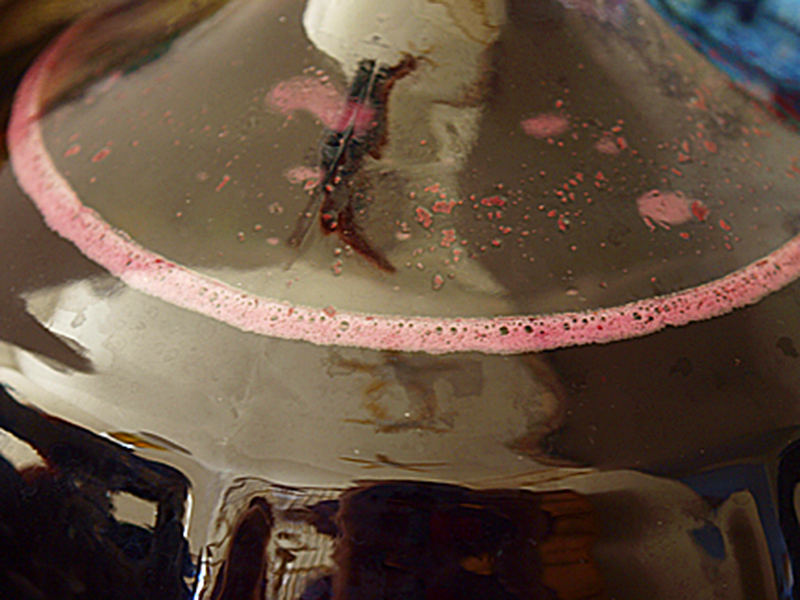
The hard-boiled egg smell you are referring to is obviously a sulfur odor. This sulfur smell in your homemade wine comes from hydrogen sulfide.
Hydrogen sulfide is a compound that is naturally produced during a wine fermentation. All wine fermentations will produce some hydrogen sulfide, however there are some scenarios that can cause more of it to be produced than others. Apparently, your wine falls into one or more of these situations:
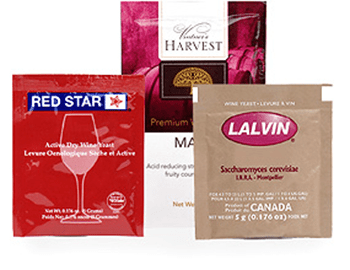
- It could be that your wine is fermenting with a wild yeast strain. Some wild yeast are not that good at fermenting a wine must. They have to work harder causing an over-production of hydrogen sulfide. However, if the wine must was sulfited before your received it, this situation is not very likely. Wild yeast are very sensitive to sulfites. They would have easily been destroyed by it.
- A nutrient deficient wine must can cause a sulfur smell in a fermenting wine. Whether the yeast is wild or domesticated, it will have to work harder to get the job done when they are malnourished, again, causing excessive hydrogen sulfide production. Your wine must does not fit this scenario very well. If you are using 100% grape juice, there is a significant amount of nutrients available. Only on a rare occasion will a grape juice fermentation produce an abundance of sulfur odor because of a lack of nutrients.

- Having a fermentation that is too warm can cause a sulfur smell in fermenting wine. If the fermentation was over 80°F., this can put the wine yeast under additional strain and increase the likelihood of too much hydrogen sulfide being produced.
- Having too little yeast trying to do too much work can cause a sulfur smell in a fermenting wine. If for some reason the wine yeast added did not have enough viable cells (old yeast), or if some of the wine yeast was destroyed during storage or shipping of the wine must, this can cause an over-production of hydrogen sulfide.
- Using a domesticated wine yeast that naturally has a higher likelihood of producing hydrogen sulfide could be why you have a sulfur smell in your fermenting wine. Not all wine yeast are the same. Each one has it’s own unique set of qualities. Some wine yeast have a higher propensity towards producing higher levels of hydrogen sulfide. These wine yeast are more sensitive to the above situations.
Finally, it could be any combination of the above. Quite often things are not so cut-and-dry in wine making. It could be an orchestration of two or three of the above situations coming together to put your wine in the mess it is currently in.
The good news is that almost all of the time this particular fault in a wine is correctable. Quite often, time is all that is needed. Doing a racking after the fermentation can significantly help to release the sulfur odor. So does adding sulfites such as: Campden tablets, potassium metabisulfite and sodium metabisulfite. Any of these will help to drive the hydrogen sulfide out of the wine.
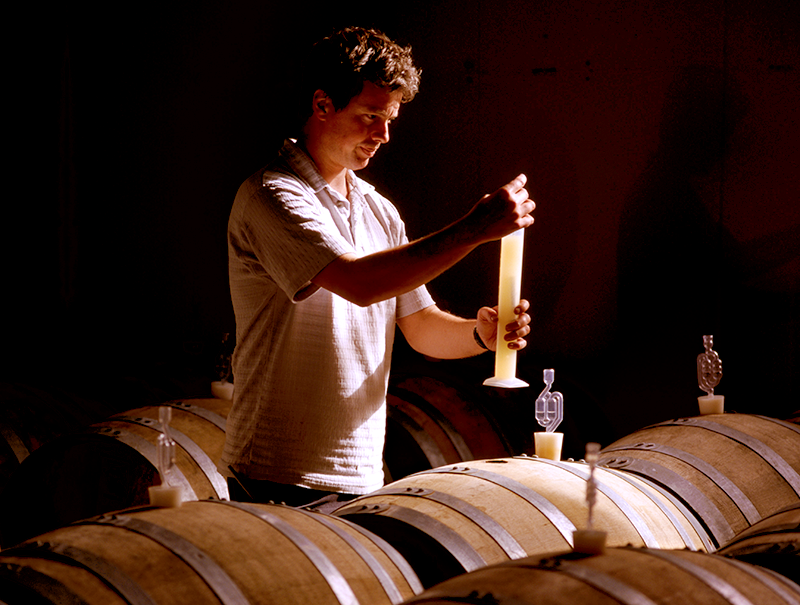
 Michael, my suggestion to you is to do nothing right now. In fact there is nothing that you can do at this stage that would help the situation. Continue on as you normally would with any wine. When you get the wine to a point that it is ready to bottle, that is when an evaluation needs to be done. Simply smell and make a determination: is there still a sulfur smell in the wine? If so, there are additional steps that can be taken.
Removing Sulfur Smell In Wine
Most of the time the sulfur smell of hydrogen sulfide will go away with normal rackings of the wine. The addition of Campden tablets or potassium metabisulfite as normally prescribed in a wine recipe will help to drive out the sulfur smell, as well. So, it is very likely that the sulfur-y smell will go away in due time.
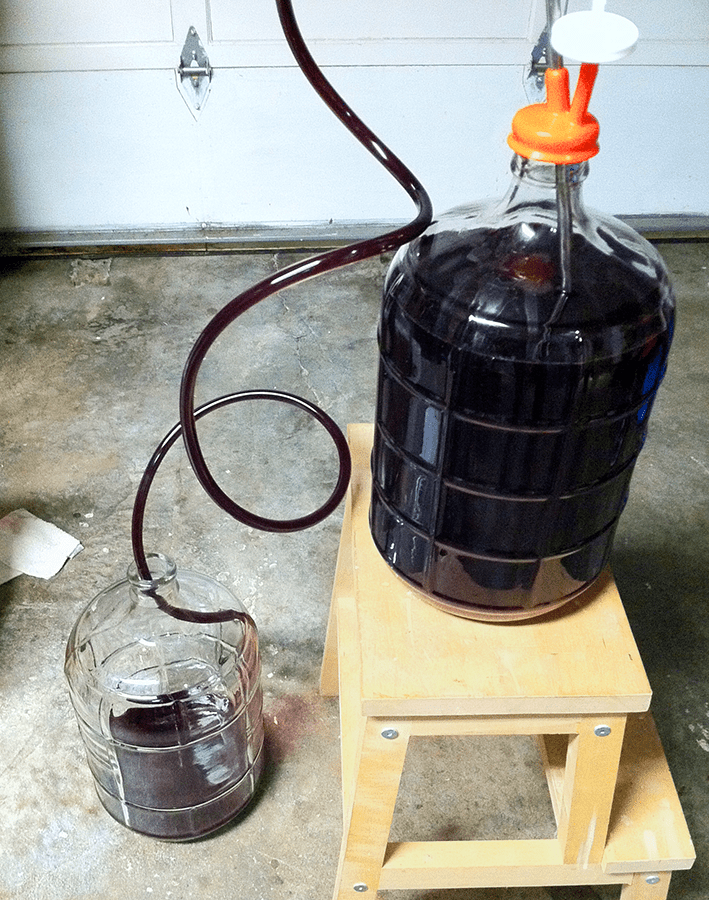
But, there are times when racking the wine is not enough. In these situations, removing the sulfur smell from the wine may require you to treat the wine in a splashing manner. Let the wine run down the side-wall of the fermenter as it comes out of the siphon hose when racking. Or, you can try pouring the wine from one open fermenter to the next. In many instances I’ve seen this work successfully.
Be sure to treat the wine with potassium metabisulfite after doing this to drive the oxygen out of the wine, reducing the risk of oxidation, in your wine and, as mentioned before, it will help to drive out some of the hydrogen sulfide.
In almost all cases, removing the sulfur smell from the wine will be accomplished with the above treatments, but there are some rare instances when the above treatments just are not enough. In these more drastic situations you will want to treat the wine with copper. Yes, I said copper! When the wine comes into contact with copper, a reaction will occur that causes the hydrogen sulfide to release more freely, removing the sulfur smell from the wine.
 The easiest way I have found to do this is to purchase copper brillo pads. Place a brillo pad in a funnel and pour the wine through it. You will notice that the brillo pad will start to corrode very quickly. This is from the reaction we are seeking. If the brillo pad starts to look spent, then feel free to put another one in its place. Again, you will want to treat the wine with potassium metabisulfite after performing the treatment to drive out oxygen that was introduced into the wine.
Michael, I am confident that removing the sulfur smell from your wine will be no problem at all for you. Be patient. Do your rackings and potassium metabisulfite additions as you normally would. When it comes time to bottle the wine, if still have a sulfur smell in the wine, then you can consider treating the wine with splashing, and so forth, but I would not do anything before then.
Happy Winemaking,
Ed Kraus
—–
Ed Kraus is a 3rd generation home brewer/winemaker and has been an owner of E. C. Kraus since 1999. He has been helping individuals make better wine and beer for over 25 years.
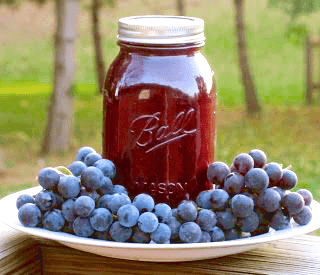 I have about 2 gallons of homemade Concord grape juice in canning jars. This juice isn’t clear and contains pulp but doesn’t contain any preservatives. Can I make wine with this and if so how??
 Wait 24 hours. During this time keep your container of wine must covered with no more than a thin towel. On the next day you will add the wine yeast:
 How can I give my red wine more color? I’m new at wine making.
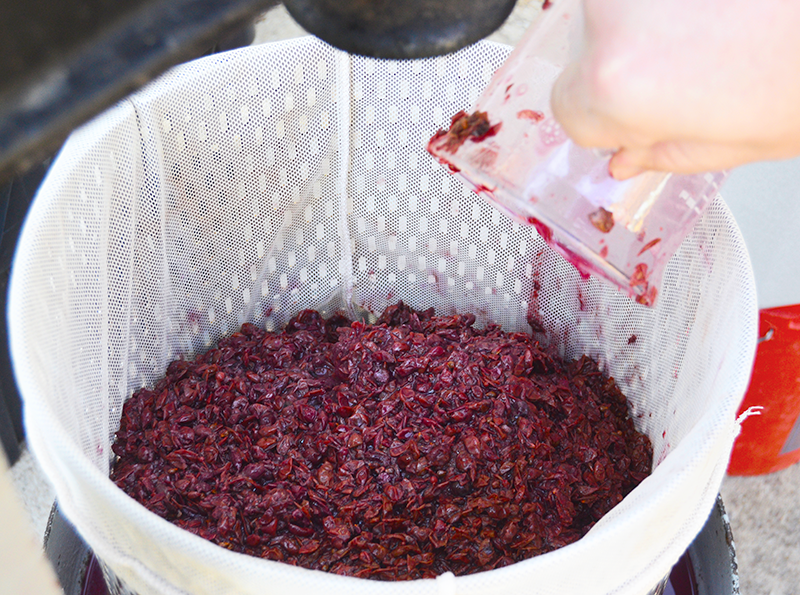


 From the incredible prices being cried out at a Sotherby’s wine auction, to the fluffy articles that float around in today’s life-styles magazines, people are continuously being fed the notion that the older the wine is, the better it will be.