 This question is somewhat long but well worth the read. Ron’s homemade fruit wine is not fermenting and he is at his wits end as to what to do about it. See what kind of plan of action we came up with.
——————————-
I have a question in regards to some issues I’ve had with my attempt at making a fruit wine (blueberry, specifically). I think I’ve resigned myself to the fact that I’ve lost this batch, but I’d like to try and learn from this so I don’t make the same mistake next time.
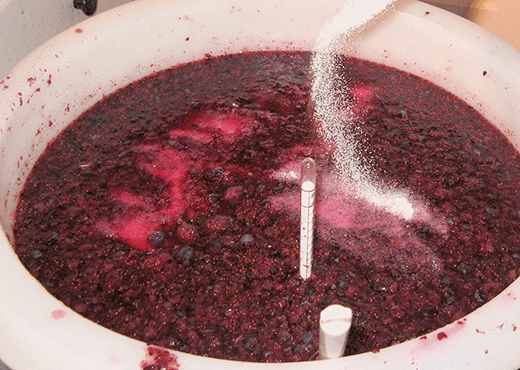
I started with roughly 17 lbs of frozen blueberries, which I defrosted. I mashed up the defrosted berries, added water, sugar, pectic enzyme and enough potassium bisulfite (all purchased from Adventures in Homebrewing) to reach a 50ppm sulfite level for 6 gallons of must. I let the berries rest for two days, and in looking at your instructions, the only thing I did NOT do was leave it uncovered. I did have it in a brew pail with a lid and an airlock on it during this time.
When it was time to start fermentation, I transferred the must into a stainless fermentation tank and splashed it around a bit, then commenced with testing the must. Brix was 23.4, so that was fine. The interesting thing is that the pH was low (3.1), but the TA was also low (around .40). I’ve always been taught to adjust to the acid level/taste more so than the pH, so I added enough acid blend to reach a TA between .55 and .60 (it was hard to tell exactly using the acid test kit). This of course would have likely lowered the pH even more, and perhaps this is my problem.
I prepared my yeast using a starter solution made up of GoFerm and warm water, and once it cooled to 104 degrees, I added the packet of Lalvin 71B. After 20 minutes and visible signs of active yeast, I then added half the starter volume in actual wine must to further acclimate the yeast, and waited another 20 minutes, at which time I had a good frothy starter going. I checked the temp in both the must (69 degrees) and the yeast starter (79 degrees) to make sure they were within 10 degrees Celsius of each other, and pitched the yeast into must, stirred it in and waited.
Given that 71B is usually a pretty quick starter, I expected to see some activity the next day, but I had nothing. And then nothing the next day. And then nothing the next day. By then, I assumed something went awry, so I warmed up the must a bit, still nothing. I make beer as well, so I have an oxygen injection stone and bottled O2, and decided to inject some oxygen into the must (I thought that perhaps by boiling the water prior to adding it to the berries, maybe I drove off all of the oxygen). Still nothing. With no other ideas, I added dissolved 6 grams of Fermaid K, mixed it into the must, made another healthy starter and pitched more yeast. And waited. Nothing.
At this point, since it’s been 4 days since I pitched the original yeast starter, I am sure I am on the precipice of having to trash this must, but I am at a loss for what else could be the problem? I am leaning toward the pH, in that since it was low to start with, and probably lowered even more after I added the acid blend, perhaps it lowered the pH beyond the limits of what the yeast can handle? Maybe with a pH that low, and knowing that the pH will rise during fermentation, perhaps I should have waited until AFTER fermentation to make the acid adjustment?
I realize it may be difficult to assess without seeing a full analysis of the must, but I thought perhaps you might have some ideas on what may have happened here.
Name: Ron F.
State: Virginia
—–
Hello Ron,
It is very hard to know what is exactly why your wine is not fermenting without being the one there doing it. All I can really do is take the information you have given and apply a likelihood of what’s going on based on my experience of helping thousands of others other home winemakers.
First I have to say that I do not think it is in any way related to pH. While your pH reading is low, it is not low enough to affect a fermentation to this degree. The best a low pH reading can do is marginally affect the fermentation. It would not stop it from starting all together.
The fact that you boosted the nutrients and oxygen and that the wine must was at the right temperature tells me we need to start looking at the yeast as the cause of your fruit wine not fermenting.
On our website we have the Top 10 Reason For Fermentation Failure. These are the top 10 ways in which we have seen fermentations fail — in order from most likely to least likely. I think we are potentially dealing with two of the reasons: #3 and #4.
- Sealing Up The Fermenter After Adding Sulfites
From what I gather you understood that sealing up the wine must between the time you added the sulfites and the time you added the yeast was not the right thing to do. It is important to keep the wine must exposed and not sealed up. This allows the sulfite you added to sanitize the juice time to leave so that it does not destroy the yeast you are adding. I feel that this is a potential cause of why you wine must is not fermenting.
- Improper Yeast Starting Method
I also feel that there is a strong likelihood that a most of the yeast — if not all — is being killed in the rehydration process. It is important to understand that if you follow the rehydration steps, exactly, a portion of the yeast is being destroyed in the process. If you do not follow the process, exactly, all the yeast can be destroyed. It is a function of temperature and time. If the temperature is warmer than the direction state, your are killing more yeast than intended. If you leaving it at the warm temperature for longer than the directions state, you are killing more yeast then intended. This is why it is important to actually take a thermometer reading of the water before adding the wine yeast. It is also important to actually clock the time you wait before pitching the yeast.
I don’t think you have necessarily have lost this batch. Taking the above into consideration, what I would do if I were in your shoes is to take another packet of wine yeast and sprinkle it directly onto the wine must. To be honest with you, this is what I normally do anyway. It will take a little longer for the fermentation to start, but you don’t have to worry about inadvertently killing the yeast.
Once you sprinkle the yeast on top, put the lid and air-lock on the fermenter. Wait and the first time you see any signs of activity, take the lid back off and leave the primary fermentation exposed to air. You can cover the primary fermentation covered with a thin kitchen/tea towel.
By handling it in this way, you are protecting the wine must while it is still, but then exposing it to the needed oxygen once the fermentation takes off. I would expect this to happen in around 8 to 12 hours, maybe sooner for you since you’ve added additional nutrients.
Ron, I’m so sorry are having such an issue with your homemade wine not fermenting. Hopefully this information will help you out and get thing on track!
Best Wishes,
Ed Kraus
———————————————————————————————————
Ed Kraus is a 3rd generation home brewer/winemaker and has been an owner of E. C. Kraus since 1999. He has been helping individuals make better wine and beer for over 25 years.
 It’s bottling day! Yay!
 My name is Leigh Erwin, and I am a brand-spankin’ new home winemaker! E. C. Kraus has asked me to share with you my journey from a first-time dabbler to an accomplished home winemaker. From time to time I’ll be checking in with this blog and reporting my experience with you: the good, bad — and the ugly.
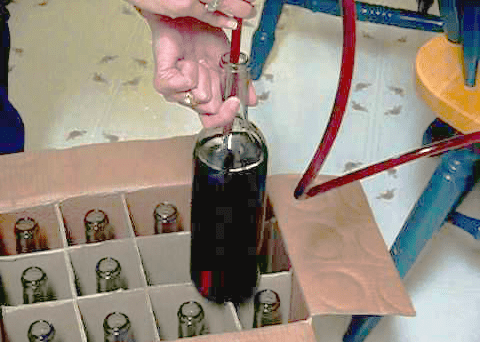 Hello,
 Hi everyone!
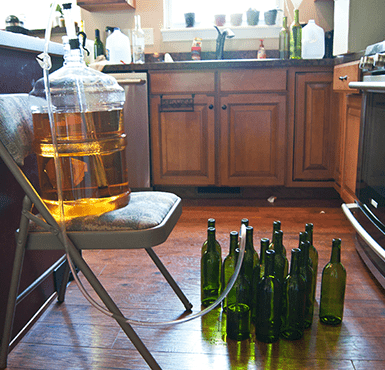 Bottling day for my
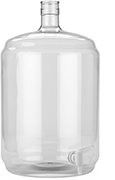
 Well, the
  We have been making wine for a few years now. Everything from blueberry, blackberry, pear, apple, strawberry, peach, and pineapple. Mostly from fresh fruit but lately some from frozen fruit. The big problem we have is that after 2 glasses I am dying from heartburn! I’m not sure what to do to lessen the acid and after reading some books I’m even more confused and I’m not even sure which acid i should be adjusting! Can you help?
 Just when I thought I was having all the good luck in the world….
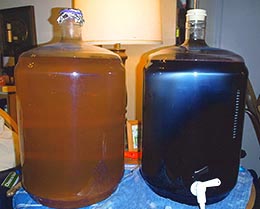 Hi everyone!
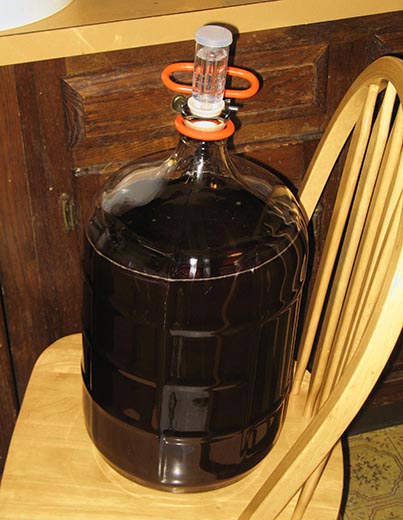
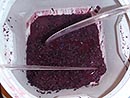 After siphoning the de-skinned wine into a sterilized carboy, I was pleased to see that the level of the wine was in exactly the same place as the level of the wine in my second batch of wine (which is still chillin’ out in its carboy, by the way). It made me feel as though I did a good job of sealing the first carboy, as it doesn’t look like I have lost any wine to evaporation (at least not enough for me to tell the difference).