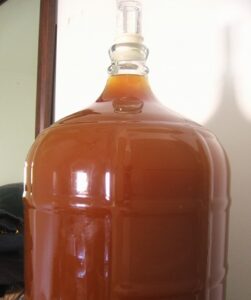
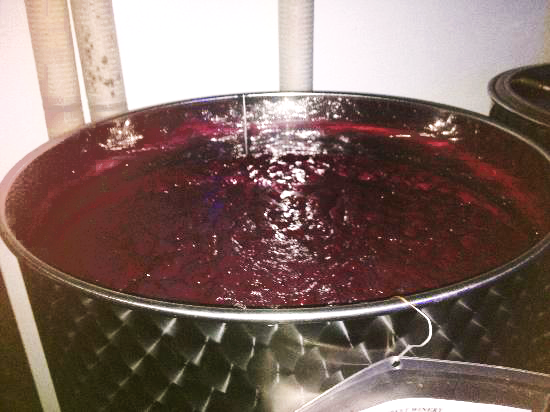
 When we left off with the Flower Power clone, I had just finished dealing with an especially troublesome blow-off situation. Fermentation was so vigorous that it was pushing hop material into the blow-off tube and causing it to literally blow off the carboy. With that issue resolved, fermentation continued without a hitch.
Last week I dry-hopped the beer with a big dose of American hops: Simcoe, Amarillo, and Centennial. A little taste test at the time gave me high hopes for this beer!
When I dry-hopped the beer, I took a gravity sample. I was a little surprised to find the beer at 1.014, five gravity points below the estimated final gravity! It’s not a big deal, it just means that the beer will be about 8% ABV instead of 7.5%. I think it’s safe to call this IPA a double!
You may have noticed I never did a secondary fermentation with this batch. The reason? Simply because I’m out of fermenters! Between the cider and the mead I’ve got going, I’m all out! We’ll see if skipping a secondary fermentation has any negative impacts (I’m guessing it won’t).
So after about five days of dry-hopping, I decided to go ahead and package the beer.
Since I’d like to enjoy some of the beer on draft, I decided to keg half of the batch in my three-gallon keg and bottle the rest. It creates a little extra work to both keg and bottle, but now I’ll be able to send some bottles to friends and family.
Here’s the step-by-step for both bottling and kegging a batch of beer:
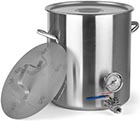
- Clean all bottles, equipment, caps, and keg. It’s a lot of cleaning, but it’s worth it. You may want to review instructions for cleaning and sanitizing a keg.
- Sanitize all bottles, equipment, caps, and keg.
- Prepare priming sugar for the bottles. I used a brewing calculator to calculate how much corn sugar to use for 2.5 gallons of beer and a digital scale to measure it out.
 Fill keg. The trick here is to have the bottling bucket cleaned, sanitized, and ready to go, so you can quickly move the tubing from the keg to the bottling bucket. (Note to self: buy one of these!)
- Fill bottling bucket, mixing in the priming sugar solution as beer fills the bucket.
- Fill and cap bottles.
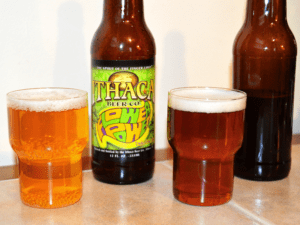
I took another little gravity sample and taste while filling. The hop flavor and aroma are huge with citrus and spice notes! This one’s going to be good!
Check back soon to get the side-by-side comparison between the Flower Power clone and the original!
—————————————————————–
Review the whole Flower Power clone brewing process below:
- Part 1: Developing a Recipe
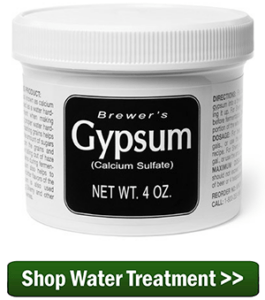
- Part 2: Brewing Water Adjustments
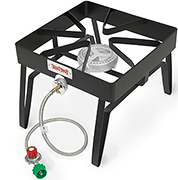
- Part 3: Brew Day
- Part 4: Primary Fermentation Mishaps
- Part 5: Bottling & Kegging
- Part 6: A Conditioning Taste Test
- Part 7: Final Side-by-Side and Recipe Edits
—————————————————————–
David Ackley is a beer writer, homebrewer, and self-described “craft beer crusader.” He holds a General Certificate in Brewing from the Institute of Brewing and Distilling and is founder of the Local Beer Blog.


 Matt Chrispen, a blogger at
 This is part 4 of cloning a Flower Power IPA from Ithaca Beer Co. In part one I discussed how I researched and went about
 Hi folks! Leigh here!
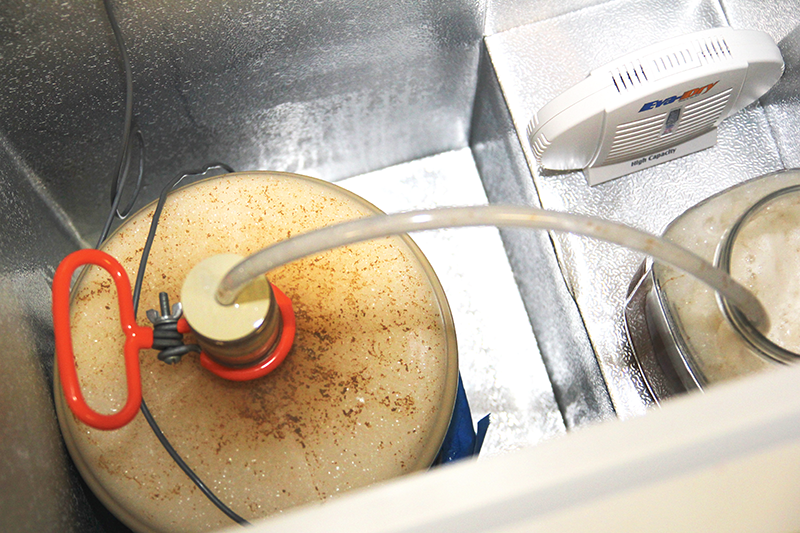
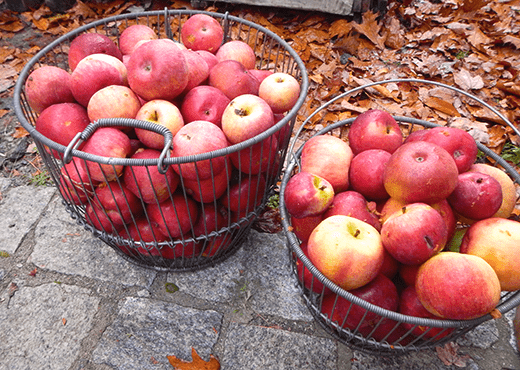 I recently shared my plans for making hard apple cider this year.