Wishing You A Very Merry Christmas!

Eggnog With Cinnamon SticksThis has been quite a year. Some fantastic, new items have been added to our website. We’ve also had a lot of wonderful conversations with a lot of great customers. It’s amazing to see so many people enjoying the art of making wine and beer. Making alcohol is a hobby that seems to transcend across many different walks of life.

This is the last blog entry before Christmas rolls around our way. With that in mind we would like to stop and take time to wish you the very best this holiday season. I sincerely hope that your Christmas holiday is full of joy and excitement and that the New Year brings you the brightest of days and provides you with all for which you strive.

In keeping with the holiday spirit I have listed below an eggnog recipe that I have used for many years. I’d like to share it with you in hopes that it might add a little warmth to your holiday season.

Holiday Breakfast Eggnog
10 ounces of Apricot Brandy
3 ounces of Triple Sec
1 Quart of Eggnog

Mix together and sprinkle with nutmeg and cinnamon.

Merry Christmas,
Ed Kraus

—–
Ed Kraus is a 3rd generation home brewer/winemaker and has been an owner of E. C. Kraus since 1999. He has been helping individuals make better wine and beer for over 25 years.

Prickly Pear Wine Recipe For Tammy

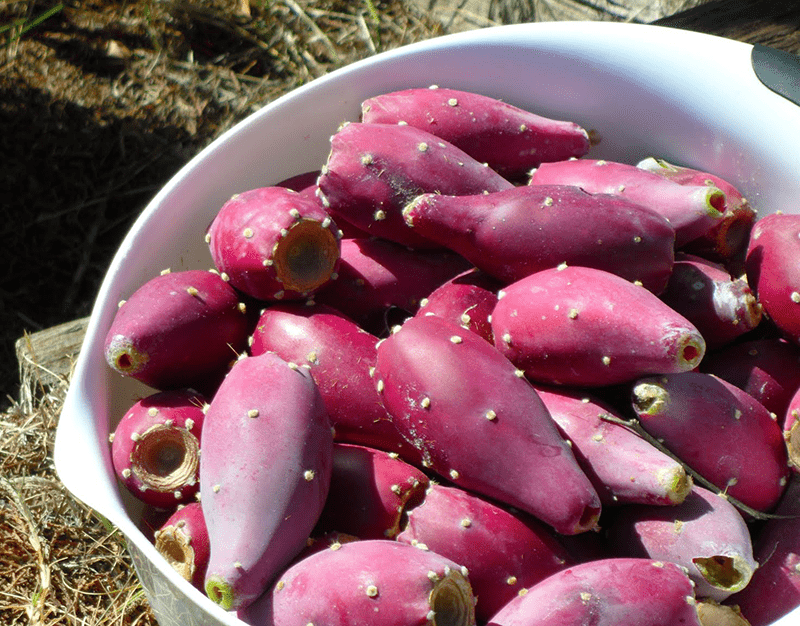
Prickly PearI am about to make my first batch of Prickly Pear Wine. One of the lovely people at your company e-mailed some information and a wine recipe, but I seem to have misplaced it. I have five gallons of prickly pear juice in my freezer that I will use for the wine and other wine recipes this year.

The five gallons of juice I have in the freezer came from approximately 105 pounds of fresh fruit from the Sonoran Desert area in Arizona over a three year period.

Can you please send me the prickly pear wine recipe again and a guideline about using the juice versus the fresh fruit? I have everything but the additives like wine yeast, sulfites, etc.

Thanks!
mrs. “t”

Name: Tammy T.
State: Arizona
—–
Hello Tammy,

Sounds like you’ve got things lined up and ready to go except for the prickly pear wine recipe, itself. Sorry to hear you lost it, but that’s no big deal. I’ll just give it to you again, down below.

Any of the wine recipes you run across will list the fruit or produce in pounds or chopped volume. That’s just the way it is, and so it goes with the wine recipe below. It calls for 3 quarts of prickly pear, chopped.

You mentioned that 105 pounds of prickly pear resulted in 5 gallons of juice. Now all you need to know is how much 3 quarts of chopped prickly pears weighs and divide that into the 105 pounds to calculate how much of the juice you need to use.

Prickly Pear Wine Recipe
(1 Gallon)

3 Quarts – Prickly Pear (Chopped)Shop Strainers
1-1/4 Cup – Raisins (Chopped)
2 Pints – Water
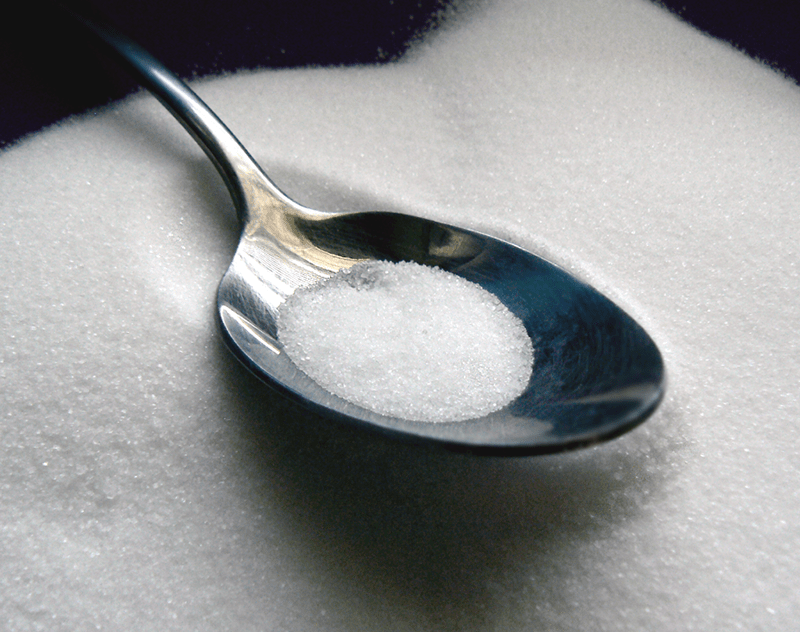
2 Pounds – Cane Sugar
2 Teaspoons – Acid Blend
1/4 Teaspoon – Pectic Enzymes
3/4 Teaspoon – Yeast Energizer
1 – Campden Tablet (Crushed)
1 Packet – Wine Yeast (Premier Classique)

You can follow the directions at the following link to our website: How To Make Homemade Wine

Happy Winemaking,
Ed Kraus
—–
Ed Kraus is a 3rd generation home brewer/winemaker and has been an owner of E. C. Kraus since 1999. He has been helping individuals make better wine and beer for over 25 years.

Is Rehydrating Wine Yeast Really Necessary?

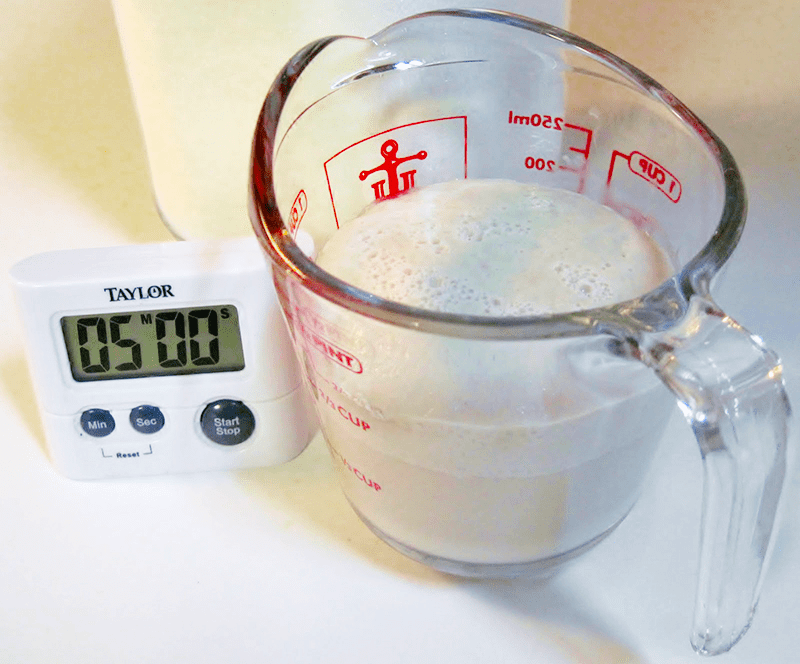
Rehydrating Dried Wine YeastYou mentioned once that you don’t recommend rehydrating wine yeast, but I couldn’t find a follow-up or reasons why. My supplier in the KC area says they always rehydrate as do most wine yeast packs. I’ve tried both ways and haven’t noticed a difference other than rehydrated yeast usually starts working quicker. I am confused….

Name: Lynn T.
State: KS
—–
Hello Lynn,

There is nothing wrong with rehydrating the dried wine yeast. Just as you have stated, the fermentation will start off more quickly by a few hours. Some winemakers will refer to this rehydration process as waking up the wine yeast. But if someone came up to me and asked, is rehydrating yeast necessary? My answer would be a definite, no.

The reason I don’t generally recommend rehydrating dried wine yeast in passing is because of the potential for accidentally killing the wine yeast during the rehydration process. We run into this issue quite often, particularly with beginning winemakers.

It is usually because the water was way too hot and not checked and controlled with a thermometer, or the dried wine yeast was left in the warm water way too long because they didn’t use a timer. Both temperature and time are critical to the rehydration process.Shop Thermometers

Some of the yeast cells will die off while in the warm water, even if the correct temperature is used. If the wine yeast is left in for longer than directed, then an excessive amount of yeast cells will die. If the water is a hotter than directed, then the wine yeast will start dying off faster than the directions intended. Either issue can cause a significant amount of yeast cells to die – potentially all of them. The result is a fermentation that doesn’t start at all.

The point here is go ahead and rehydrate the wine yeast – your fermentation will start off more quickly and more vigorously – but follow the directions, exactly. That means using a thermometer to get the water to the right temperature and using a watch or timer to make sure your yeast does not have an extended stay in the warm water.

If you don’t want to bother with rehydrating the dried yeast along with the thermometers and timers, don’t worry about it. Rehydrating yeast is not a necessity. Your fermentation will start just the same, but it might take a few more hours to do so.Shop Wine Yeast

The blog post How To Add Yeast To A Wine Must discusses 3 different methods you can use to add your wine yeast to the wine must. You may want to take a look at this to see which method suits you best.

Happy Winemaking,
Ed Kraus
—–
Ed Kraus is a 3rd generation home brewer/winemaker and has been an owner of E. C. Kraus since 1999. He has been helping individuals make better wine and beer for over 25 years.

What About Using Corn Sugar In Your Wine?

Cane Sugar For Wine Making… I was looking for different ways to sweeten my wine and came across this corn sugar in your beer section of your catalog. I read that some use corn sugar in their beer instead of cane sugar. The article said it would give the beer a crisper taste. How do you think this would affect the wine? Is it possible that I could use corn sugar in my wine making?
Thanks

Name: Patrick Davis
State: GA
—–
Hello Patrick,

It is true that most beermakers will never add regular cane sugar to their beers. Cane sugar will give a cidery, winey taste to the brews. Instead homebrewers will add corn sugar, which ferments much more cleanly.

In the case of making wine, a “cidery”, “winey” flavor is not really an issue. These flavors actually fit in with the flavor profile of wines in general. The effect is fairly subtle as well. Even though it can become evident in a homebrew, in a homemade wine it hides very nicely. This is even more true with fuller-bodied wines.

There are some that use corn sugar in all their wines, religiously, and some that will only use it in certain situations, But most winemakers elect to never use corn sugar, at all. My personal opinion is that corn sugar can make a difference in some wines, mostly white wines with very little body — for example, a Pinot Grigio or a Riesling. But, the change is not necessarily for the better, it’s just different. And, the change will be very minor.

Some might notice a crisp, “mintiness” coming through in these lighter wines made with corn sugar but only very slightly. If the wine is already known for an herbal, fresh finish it might become more accentuated by the crispness/cleanness of the corn sugar, but beyond that you won’t notice too much, if anything.

So to sum it all up, you can try corn sugar in your wine making, but don’t expect too much difference in the resulting wine, and don’t expect to notice anything at all if you are using corn sugar in a fuller-bodied wine.

Happy Winemaking,
Ed Kraus
—–
Ed Kraus is a 3rd generation home brewer/winemaker and has been an owner of E. C. Kraus since 1999. He has been helping individuals make better wine and beer for over 25 years.

The Grape Debate: Natural vs Nurtured

Natural wine is a huge buzz word in the wine community lately. You may have heard it at a winery, seen it in restaurants, noticed it in your local wine shop, or even tried it. 

But what is it really? Lucky for you, we’ve got some answers to that.

A Tricky TimelineNatural Wine
Modern winemaking has become convoluted, scientific and technical. Let’s take it back a couple thousand years…

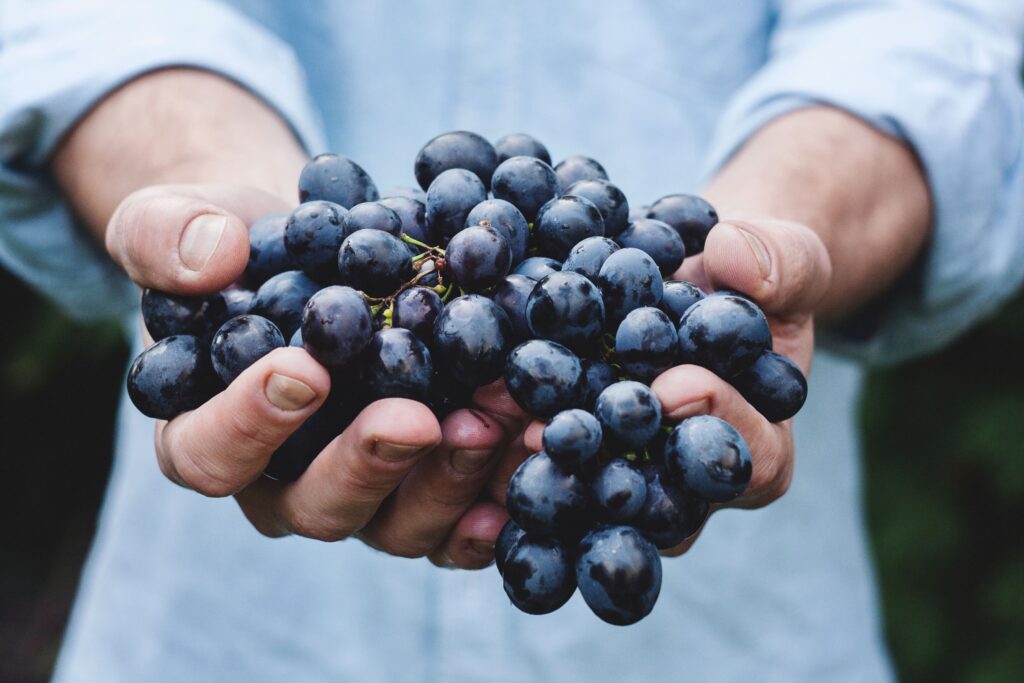
The earliest recorded evidence was discovered in Armenia and Italy around 6,000 years ago. Pouring a glass was a simple, slow process. Pure grapes were handpicked, and there were no additives involved. 

In the mid-1900s this method resurfaced, piquing the interest of rural French winemakers. This sparked the modern natural wine movement, led by French pioneers Beaujolais, Chauvet and Lapierre. The first natural wine tasting event was held just twenty years ago by La Dive Bouteille in France.

This inspired smaller winemakers to begin producing and importing into the United States. The momentum is slow but steady, and has continued to pop up on more shelves in recent years. It’s good to note that since natural wine is still relatively new to the market, there is no official certification for wineries or vineyards to use.

What is Natural Wine?

Natural Wine: Pure, untreated, naturally fermented grapes. In other words, it’s unbridled, unfiltered, chemical-free goodness.

Pros:

  • Everything is 100% found in nature 
  • Vineyards are not sprayed with pesticides or herbicides  
  • Grapes are hand picked 
  • Natural yeast is solely generated by the grape itself 
  • Little to no extra sulfites added
    • The natural reduction in sulfites (approx. 10 – 35 parts/million) can make wine better for those who may have reactions to sulfite in other wine (up to 10x more). 

Cons:

  • Long, manual process for winemakers
  • Challenging to store without sulfites
  • The wine may appear cloudy and/or have a sour taste depending on your palate
    • Not to worry, there are different varieties and flavors to explore, just like your average bottle.

Organic vs Biodynamic

As of today, it’s still difficult for mass producers to distribute. The solution? 

Enter organic and biodynamic wine stage right.

Organic Wine 101

Organic wine in the US can have two different implications: 

  1. “Made with organic grapes”
    • Grapes grown without the use of pesticides or synthetics. There is also a limit on the number of sulfites that can be added.
  2. “Certified organic” 
    • Produced with organically grown grapes with no sulfites added. This is pretty rare as many winemakers still insist on adding sulfites. 
    • This doesn’t mean other things aren’t added to your wine… 

Biodynamic Wine 101

Biodynamic wine takes a more holistic approach to winemaking. There is an emphasis on overall health of the vineyard, lunar cycles, and the entire farm ecosystem (beyond the grapes). 

There are no synthetics used in growth or production, and no additional yeast, sugar, acid, etc. However, they will often still include added sulfites. 

Biodynamic wine has two levels of certification: 

  1. “Biodynamic certified estates” – Label always located on the back of the wine. 
  2. “Biodynamic certified wines” – Label always located on the front of the wine.

Where to Buy Natural Wine

City dwellers may have an easier time accessing the right wine shop, but there are plenty of online options. Any new trend is is difficult to mass market, but there are still ways to get your hands on these wines

Here are three general rules to start your search:

  1. Educate yourself on all your options
    • Hint: You picked an excellent place to start 
  2. Ask questions
    • Hint: Find employees to speak with at your local wine store
  3. Have fun! Natural wine tasting is the same “regular wine” trial-and-error journey.
    • Hint: Don’t let one bad wine deter you from finding your natural wine soulmate.

Can Natural Wine Defeat My Hangover?

Ahh… the age-old question.

There is no scientific proof on whether natural wine can cure all, but it can be a great place to start your own experiment. We all know hangovers and headaches are due to dehydration. Drinking alcohol depletes a lot of key nutrients from your system. 

There are plenty of articles that explain why we feel so bad after a night of indulgence. But one stands out in particular – excessive sulfites. 

Excessive Sulfites

Some folks recall feeling better after a night of drinking natural wine or wine with low sulfites compared to wine with higher levels. 

Coincidence? Maybe. Maybe not. 

If reducing sulfites is something you want to try out, I recommend being mindful of labels and giving natural wine a taste test. 

You’re now ready to dive into the world of natural wines!

Cheers!
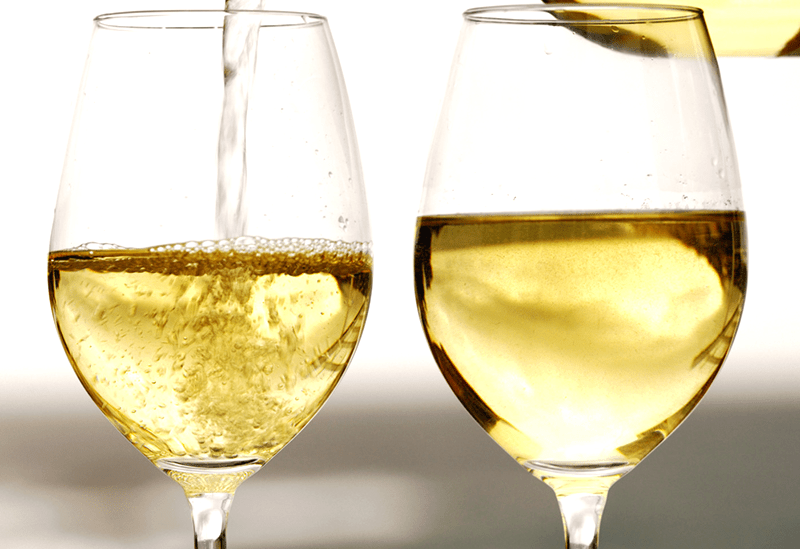
3 Reasons Why A Wine Can Turn Cloudy

Clear White WineI am new to making white wine (past 3 seasons). I have made red for about 10 years. I use fresh California grape wine juices in Sept. I have not figured out how to keep my whites from clouding after bottling. I rack several times then cold stabilize and rack several more times and the wine is clear. Any suggestions on where I might be going wrong.

Name: Jerry
State: NY
—–
Hello Jerry,

There are only three ways that a white wine can turn cloudy once it has already been clear. I will go over them in some detail, but it will be up to you to determine which one or which ones are responsible.

  1. Sediment From The Original Fermentation:
    You mentioned that you have racked the wine several times, and that the wine was clear at bottling time. This is all well and good, but it is important to understand that a wine can look perfectly clear and still have a lot of wine yeast cells still floating around in it. This is why that once you rack a wine off its sediment you may want to give it some additional time, like a day or two, to make sure that sediment is still not occurring before actually bottling the wine. This same hold’s true for red wines.
     
    Using a fining agent can help with dropping out stubborn sediment. A good one for white wines is Isinglass. And lastly, never bottle your wine directly off the sediment. Always bottle your wine from a sediment-free fermenter. That means racking the wine off the sediment before starting the bottling process.
  1. A Re-Fermentation In The Wine Bottle:
    If the wine decides to ferment again while in the bottle, it is going to turn cloudy from the new yeast that is created. A re-fermentation can occur if the original fermentation did not complete. It can also occur if you added sugar at bottling time without adding potassium sorbate to stabilize the wine.
     
    AShop Wine Clarifiers quick check with a wine hydrometer to confirm that the fermentation has completed before bottling should always be done. Doing so will eliminate this type of issue, and always use potassium sorbate when sweetening a wine before bottling. Fortunately, it is easy to determine if this is the reason your wine turned cloudy. You will also notice pressure building up in the wine bottle. This is the CO2 gas from the re-fermentation.
  1. Precipitation From The Wine:
    Precipitation occurs when particles are created within the wine itself — out of thin air, so to speak. There are two major kinds of precipitants that can be created by a wine. The first is acid, primarily tartaric acid. The second is protein, primarily tannin. Tartaric precipitation is normally associated with white wines. Protein precipitation is normally associated with reds.
     
    Precipitation happens because more of the substance is in the wine than the wine can hold in a saturated form. Given time, either of these substances can form sediment in the bottle and cause your wine to turn cloudy. Acid precipitation will look like tiny crystals, similar to a fine salt. Protein precipitation will look like a fine dust or flour. In the case of your white wine, the color would be beige to brown. In a red wine it would be dark red to black.
     
    Precipitation is even more likely to occur if the wine is being stored too cold or too hot. Chilling the wine may induce the creation of acid crystals; heating the wine may induce the creation of tannin particulates.You mentioned that you cold stabilized the wine, but if you see crystals forming in the bottom of the wine bottle, it is very likely that you need to chill the longer.Shop Potassium Sorbate

Jerry, there are really no other reasons why a bottle of grape wine would turn cloudy. If you where adding water to the wine must then you would want to consider too much iron in the water as the problem. This could form a condition called ferric casse. But since you are making wine from wine grapes, I am assuming that you are not adding water.

I would suggest reviewing your steps and see if any of the above 3 could possibly apply to your situation. Another blog post that you may want to read that answers your question in a different way is, Sediment In My Wine Bottles. This may be something that you may want to take a look at as well.

Happy Winemaking!

How To Sweeten Wine With Honey

Honey For Sweeten WineI’m getting ready to bottle a 12-gallon batch of California Connoisseur Pinot Noir. As always, everything went off without a hitch. I like my wine semi-dry, and would like to try sweetening with commercial store-bought honey this time, following the same Metabisulfite and Potassium Sorbate protocols for sugar. Any cautionary words of wisdom?

Name: Putnam J.
State: New York
—–
Hello Putnam,

I see that you’re up for a little adventure. You are correct in your assumption that potassium sorbate, potassium metabisulfite will need to be added to the wine kit at bottling time along with the honey. It’s no different than sweetening the wine with cane sugar or any other sugar that potentially provides food to the wine yeast.

All I can really say about sweetening a wine with honey is that you should take your time. Be sure-footed in what you do. You can always add more honey later to the wine, but taking it out is not an option. This is true for almost anything you add to a wine to adjust flavor.

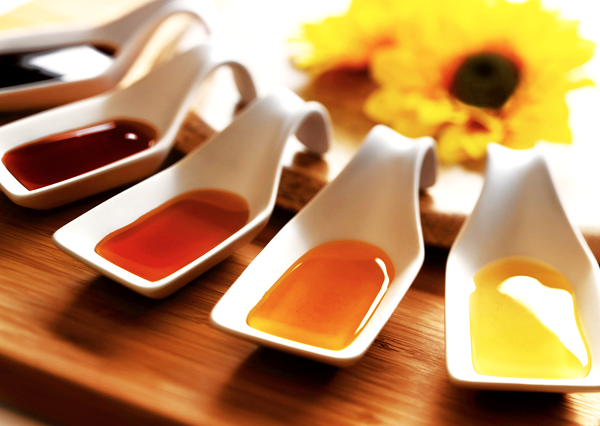
For the most part, honey will sweeten the wine just as well as cane sugar. The sweet part is mostly the same. It’s the additional character that honey brings along with the sweet that makes it more adventurous. Depending on what the bees spun the honey off of — wildflowers, cherry blossoms, buckwheat, etc. — Shop Potassium Metabisulfitethe subtle notes and aromas added can vary from herbal, to fruity, to citrus. You may like it and consider it an improvement on the wine, but you may also decide you can’t stand it. Don’t assume that the honey will make the wine better. Try it out on a sample and see.

Bench testing is the best way I know to sweeten a wine with honey. Take a measured sample of the wine, like a gallon or half-gallon, and start adding measured doses of the honey. Taste the wine between additions and see what you think. If you’re not sure, stop and come back to it another day.

If you decide that you don’t like what the honey’s done to the wine, switch back to cane sugar or something else. If you like the honey, but have added too much, blend the sample back in with the rest of the wine. Collect a new measured sample and start all over.

Once you establish a dosage, apply that dosage to the rest of the wine. This is the safest way I know to sweeten a wine with honey.

shop_potassium_sorbateTake your time. Sweetness is a major component of a wine’s flavor profile. For example, when I think I know what I want to do, I like to wait and come back later that day, or even the next day, and taste the wine again before moving forward.

Putnam, I hope this was the type of information you was looking for. It’s fun to play around with a wine, but it can also be a little nerve-racking at times. Hopefully, these little tips and insights on how to sweeten a wine with honey will keep you on a good path with your wine.

Happy Winemaking,
Ed Kraus
—–
Ed Kraus is a 3rd generation home brewer/winemaker and has been an owner of E. C. Kraus since 1999. He has been helping individuals make better wine and beer for over 25 years.

Barrel Aging Wine At Home

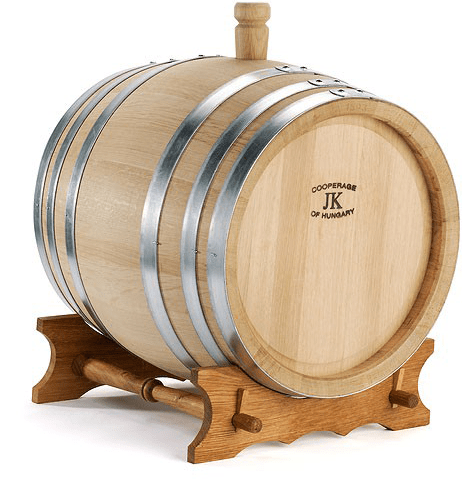
Barrel For Aging WineI’d like to make an Aussie Syrah for my next batch and experiment with oak barrel aging the wine. It will be a kit batch and I was wondering if it would be appropriate to age in oak? If so, when should I place the wine in the barrel and for how long?

Name: Rick R.
State: CO
—–
Hello Rick,

It is perfectly appropriate to barrel age wine such as Syrah. But realize that the Syrah wine kit you will have has been bench-tested for optimal flavor by the kit producer, and will include oak powder and/or oak chips to simulate barrel aging of the wine, as they feel it is needed.

Having said this, experimentation is always fun…

When barrel aging wine, think of it as a step that is done right before bottling. In other words, the wine needs to be fermented and cleared before going into an oak barrel. Rushing the wine into the barrel can lead to the wine sitting on lees while aging. This would not be a good thing for a Syrah. Unwanted, off-flavor could develop from such a scenario.

You will want the oak barrel to be as full as possible. It may be necessary to top it up from time to time due to wine evaporating through the wood. Topping-up can be done by adding a similar wine to the barrel, or by adding a water vodka mixture to keep the alcohol level constant. If you made six gallons and are using a 5 gallon oak barrel, you can use the extra gallon to top up the barrel along the way.Shop Toasted Oak Chips

There is no direct answer as to how long you should barrel age a wine. This is because it is dependent upon so many variables. Such as: how many previous uses the barrel has had; the size of the barrel; the type of oak used to produce the barrel; how much the barrel was toasted; the type of wine in the barrel…. The list goes on and on.

Suffice it to say, it is up to you to make a determination as to how long is best. When barrel aging wine it is best to taste a sample of the wine periodically. See what you think. Let the winemaker in you come out. It is said that winemaking is both a science and an art. Aging wine in oak barrels is some of the art part.

What you are looking to see is how the wine is developing. Are the harsh flavors (that you probably noticed initially) starting to smooth out and become more velvety? Is the woody character of the wine starting to develop? Is it becoming too strong? Do you notice any coconut or vanilla flavors coming from the toast? How do they fit the wine’s overall flavor profile? Can you barrel age the wine long or has the wine aged enough, already?

Once the wine comes to a point that is too your liking, then feel free to bottle.

Shop Wine KitsAs you can see there are no direct answers when it comes to barrel aging wine. Everything is subjective. There are only generalities and good judgment. If we are talking about using a new, 5 or 6 gallon oak barrel, my guess is that the time needed will be somewhere around 2 to 6 months, but this is just a broad guess. In reality, it could take less time, or it could take more. One thing that can be noted is that as you go up in barrel size the more time it will take to age the wine. This is because as you go up in barrel size, there is less wood surface contact to each gallon of wine. It’s a matter of physics.

I hope this helps you out a little bit and gives you some idea as to what you are to expect when barrel aging wine. Just remember, it’s your wine. Age it until it tastes good to you.

Happy Winemaking,
Ed Kraus
—–
Ed Kraus is a 3rd generation home brewer/winemaker and has been an owner of E. C. Kraus since 1999. He has been helping individuals make better wine and beer for over 25 years.

Using Campden Tablets: The How, When And Why

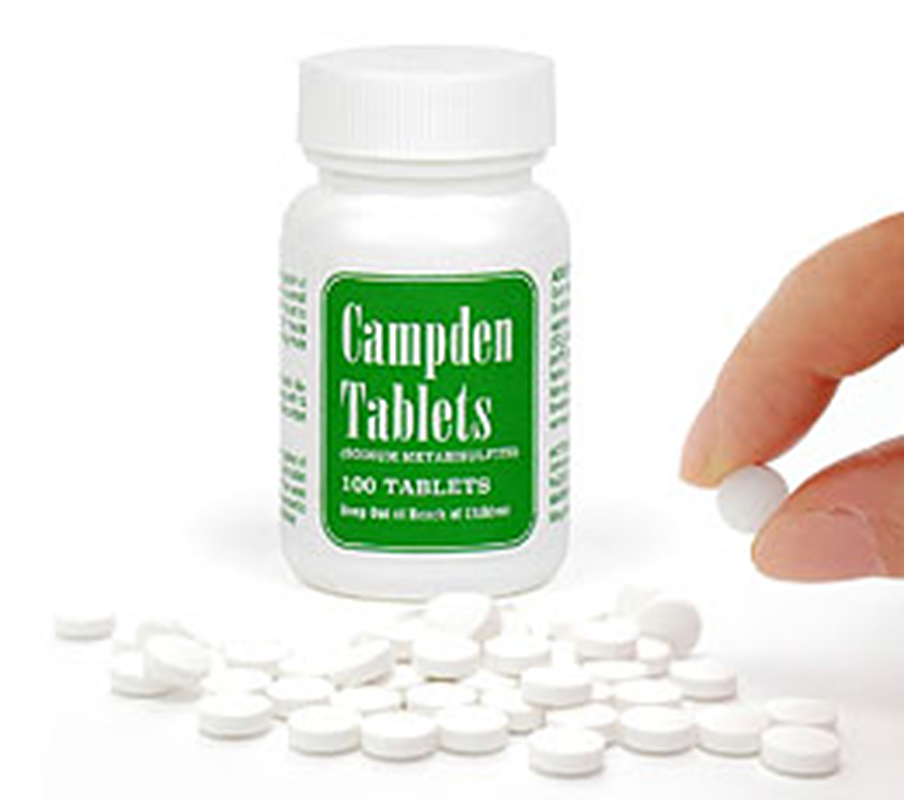
Campden tablets to be used in wine makingI crushed fresh Syrah juice from grapes last September into 3 six-gallon plastic fermenters w/air gaps. I added 1 Campden tablet per gallon into the 3 six gallon plastic fermenters 24 hr. before adding the wine yeast. I separated out the sediment in January. I plan to bottle in mid-May. From your guidance, I plan to add 1 Campden tab per gallon before bottling. Should I have also added Campden tabs when fermentation was finished in September? I tasted the wine in January and it tasted good.

Name: Brad T.
State: California
—–
Hello Brad,

This is a great question about using Campden tablets in wine making. I’ll need to answer this from a couple of different perspectives…

When you add Campden tablets to a wine, your are essentially adding sulfites. Sulfites protect the wine by destroying any mold, bacteria or anything else that wants to grow in the wine. During the fermentation this is not a problem. It’s when the wine must is still and not fermenting that sulfites become important.

The issue is that over time the sulfites want to leave. They dissipate into the air as SO2 gas. For example, the Campden tablets you added before the fermentation are long-gone by the time the fermentation had ended. So there is a need to replenish the sulfites to help keep the wine protected.

From a winery’s point of view, you always want 40 to 70 PPM (parts-per-million) of sulfite in the wine after the fermentation. The winery will measure and maintain this level all the way through the clearing process and on to bottling. They can easily afford the time and effort to do this because a lot of wine is at stake.

From an individual winemaker’s point of view, it may be a little overkill to constantly test the sulfites and make adjustments as called for — particularly if you’re only making 5 or 6 gallons at a time, and you’re going to bottle the wine in a few weeks, anyway.Shop Potassium Bisulfite

So as a compromise, I recommend using Campden tablets directly after the fermentation, then again, right before bottling. So to summarize, you are adding sulfites:

  • 24 hours before fermentation
  • After the fermentation
  • Right before bottling.

By handling the wine in this way you can keep the wine more evenly protected without a lot of effort on your part with tests and measurements.

From a home winery’s point of view, say you are making 30, 50, 100 gallons, you may want to spend the time and energy to keep track of your sulfites. This can be done with Titret Test Vials and the Titret Hand Tool that works with it. By running this test you can determine the sulfites that are currently in your wine, in PPM, and how much you need to add, if any.

You may also want to switch to a Campden tablet substitute such as potassium metabisulfite or sodium metabisulfite. These both come in a granulated form. They add sulfites to the must or wine, just as Campden tablets, but they come in a granulated form. It’s much easier to use when needing larger amounts. Instead of crushing up a bunch of tablets, you just measure it out by the teaspoon.

This is the basics of using Campden tablets in your wine making. To delve a little deeper you might want to take a look at, Campden Tablets: What They Can And Can’t Do.

Happy Winemaking,
Ed Kraus
—–
Ed Kraus is a 3rd generation home brewer/winemaker and has been an owner of E. C. Kraus since 1999. He has been helping individuals make better wine and beer for over 25 years.

A Quick Wine Guide To Taking Hydrometer Readings

Taking Hydrometer ReadingsI have been making wine for a number of years and I’ve always had trouble taking hydrometer readings. When using the tube the wine hydrometer came in, the foam on the top of the must or wort and the moisture on the sides causes the hydrometer to stick to the plastic. When that happens, it raises the level of the liquid on the sides of the tube making a hydrometer reading pretty inaccurate. The obvious solution would be to use a larger container but I hate to waste that much material. I’ve tried to make sure the tube is level but the hydrometer always migrates to the side. Any suggestions?

Name: Rick S.
State: Michigan
—–
Hello Rick,

From what you are describing, the plastic storage tube is what’s causing a lot of your problems with taking hydrometer readings. We always recommend to customers that they use something other than the storage tube to take readings. It’s really not what it’s designed to do. Some of them will even leak.

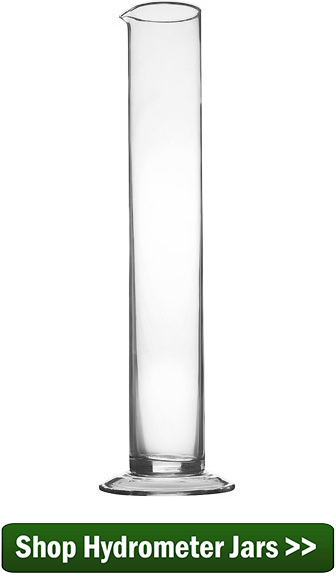
You will be much better off with an actual glass hydrometer jar that is designed specifically for taking hydrometer readings. The diameter of the tube is larger than storage container. The sides are smoother, and the line of sight is clearer. All these things add up to you being able to take hydrometer readings with much more accuracy and less problem.

The glass hydrometer jar can also be quickly sanitized along with the wine hydrometer before taking readings. You can do this by using a sanitizer such as Basic A. By sanitizing your equipment you don’t have to waste any of your wine. Just take the reading and pour the sample wine directly back in the batch. There’s absolutely nothing wrong with doing this.Shop Hydrometer Jars

As for the foaming, there is not much you can do about it. Some of the foam is caused by the natural surface tension of the wine. The agitation causes the bubbles just as if you were pouring a finished wine into a wine glass. Some of the bubbles come from CO2 gas that was made, or is being made, by the fermentation. You can wait a few minutes to see if some of the bubbles settle down enough for you to get a clean reading, but beyond that, I know of nothing practical you can do to rid yourself of all the bubbles.

Also, when you’re taking a hydrometer reading during fermentation, you can have problems with CO2 bubbles clinging to the side of the wine hydrometer. This is when bubbles form from the wine being disturbed and then attach themselves all the way up and down the wine hydrometer.

These bubbles can throw the hydrometer reading off by artificially raising it in the wine sample. One way to avoid this issue is to give the hydrometer a quick spin before taking a reading. This is to dislodge any bubble away from the hydrometer.

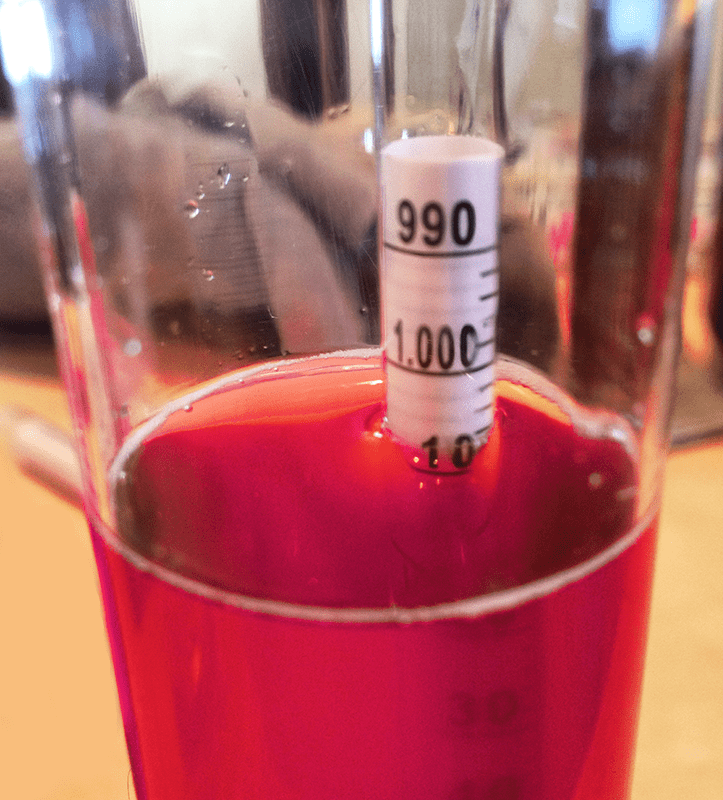
Shop Basic AOne other thing I would like to point out is that when you are actually taking the hydrometer reading, you would like you eye to be level with the surface of the wine in the hydrometer jar. This will allow you to obtain the most accurate reading. If you are taking your hydrometer reading from an upward angle, the surface tension of the wine will cause it to curve a little against the hydrometer, giving a bit of an optical illusion.

Rick, I hope this information about taking hydrometer readings helps you out. It’s just a few of the things I’ve learned along the way while taking my own readings.

Happy Wine Making,
Ed Kraus
—–
Ed Kraus is a 3rd generation home brewer/winemaker and has been an owner of E. C. Kraus since 1999. He has been helping individuals make better wine and beer for over 25 years.