 After three months of patience, it’s finally time to bottle my black lager beer It’s been quietly waiting at about 40°F for the lagering phase and I can’t wait to taste it.
Three months seems like a long time to wait for beer, and it is. That’s why very few craft breweries make lagers. They just can’t commit to tying up that much fermentation capacity when they could turn out three (or more) batches of IPA in the same time period. Of course, it’s the same thing for homebrewers. I’d be happy to let the beer age even longer, but I want to brew more beer!
For me, bottling day for my homebrew always starts with an assessment of the situation: What do I need to bottle this batch of beer? Bottles, obviously, but also bottle caps, a bottling bucket, priming sugar solution, an auto siphon, tubing, and a bottle filler. One of the first things I do when bottling my beer is check the bottling bucket spigot. This is a notorious place for gunk to build up and potentially contaminate your bottled beer. It doesn’t need to be checked every time you bottle, but definitely every two or three times is a good idea.
Another thing I do pretty early on when bottling my beer is move the fermenter into position. This will give any sediment that gets stirred up a chance to settle down before racking the beer into the bottling bucket.
Once that’s taken care of, I usually fill up the bottling bucket with cleaning solution and clean all the necessary parts. If you’ve done a good job rinsing equipment and bottles after use, cleaning should be pretty easy – just a quick soak will suffice. But be sure to keep an eye out for deposits inside the beer bottles that may need a little extra scrubbing. With a brewing cleanser like One Step, you don’t even need to rinse.
Sanitizing is basically the same process as cleaning, but instead of using a cleanser, you use a solution of sanitizer. Most homebrewers like working with Star San or Iodophor.
While my beer making equipment is soaking in sanitizer, I usually start getting the priming sugar ready. I am a huge advocate of getting as specific as possible with priming sugar. I recommend using a digital scale and a priming sugar calculator to figure out exactly how much sugar to use to prime the beer.
By the time the priming sugar solution is mixed, it’s time to take a final gravity reading from the beer – and my favorite part – tasting it! The beer is pretty flat at this stage, but it gives a pretty good indication of what the beer will be like when it’s ready to drink.
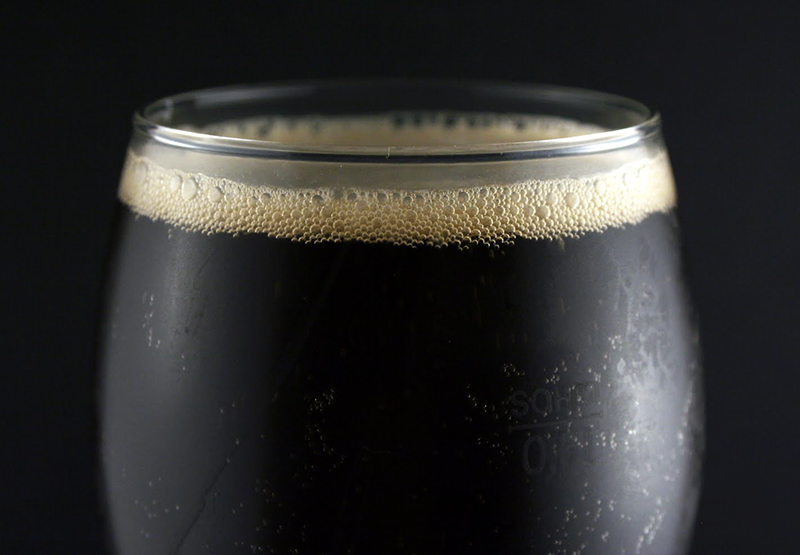
This black lager is tasting good! Bready malt flavor and aroma, with just a hint of chocolate and a touch of hop bitterness. Can’t wait to to get this beer primed, bottled, conditioned, and ready to drink!
———————————–
David Ackley is a writer, brewer, and craft beer marketing consultant. He holds a General Certificate in Brewing from the Institute of Brewing and Distilling and is founder of the Local Beer Blog.