 If you didn’t already know what this blog was about, the term bottle shock might conger up some interesting visions. I personally think of someone getting hit over the head by a bottle while in some bar fight, but that’s not quite it. Read on to learn what bottle shock is and why it happens.
So What Is Bottle Shock?
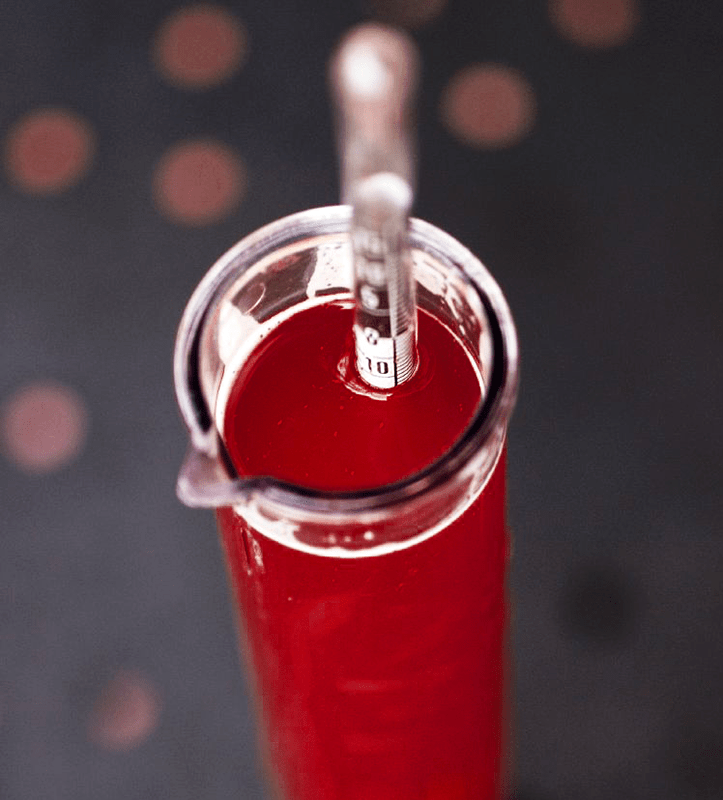
Bottle shock is a term used to refer to a wine that is suffering from the symptoms of getting too much air in too little time. These wines tend to be flat in their overall character. Their bouquet lacks fruitiness, and the finish can be just a tad bit off.
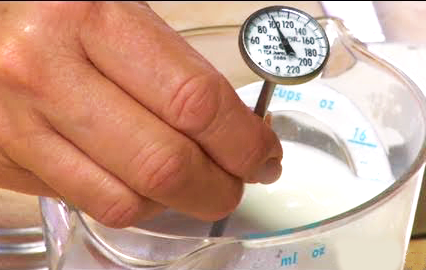
Bottle shock normally comes over a wine when it is being bottled. When bottling homemade wines more oxygen than normal becomes saturated into the wine. It can also happen if when the wine is being transported. The sloshing of the wine can cause this effect as will. This is why it is also sometimes referred to as travel shock.
The good news is the effects of bottle shock are temporary. In a matter of weeks after putting in the cork stoppers, or letting the bottle rest after its long journey, the lack-luster wine will blossom back into something that is usually better than what it was before.
Why Does Bottle Shock Happen?
Now that you know the answer to, “What is bottle shock?”, it’s time to get to, “Why does bottle shock happen?”
Oxygen is one of the elements that initiates the aging process. It starts a series of chain-reactions which in and of itself is the definition of aging. But, this oxygen must be introduced into the wine sloooowly so that each aging process in the chain can progress in a balanced way. It must also happen if very small amounts. Too much oxygen can be the catalyst for oxidation.
This is because some aging processes can not keep up with the higher infusion of oxygen as fast as others. As a result, the wine begins to taste out of balance until all the different aging reactions can get caught up.
This is one of the major reasons why natural cork stoppers make such great closures for wine bottles. They allows new air into the bottle but at a slow rate. Even synthetic corks are carefully designed and tested to see how much air will slip past them over a given amount of time. This is how critical the rate of oxygen is to the aging process. You need oxygen, just not much of it and not very quickly.
Once the aging catches up to the oxygen, the wine begins to come back to life. The net effect almost always results in a wine that is just as good if not better than it was before bottling.
The Take Away…
 Wines that have been recently bottled are not capable of being at their best because of bottle shock. These wines should be allowed to rest for a few weeks before consumption. A slow infusion of oxygen over a long period of time is what wines need to age. This is why natural corks and synthetic corks make good wine bottle closures.
Hopefully, this information will help you out a little in your wine making adventures. At minimum, you’ll now know what to say if someone comes up and asks you, “what is bottle shock?”


 There are many different ways to make sparkling wine. There is the Methode Champenoise, the traditional French method believed to produce the highest-quality sparkling wine. The Charmat Method, a.k.a. the more affordable method, which utilizes a tank and creates wine like Prosecco. The Transfer Method, a combination of the Champenoise and Charmat methods. The Carbonation Method, which we do not recommend, and a few other methods you can read about
 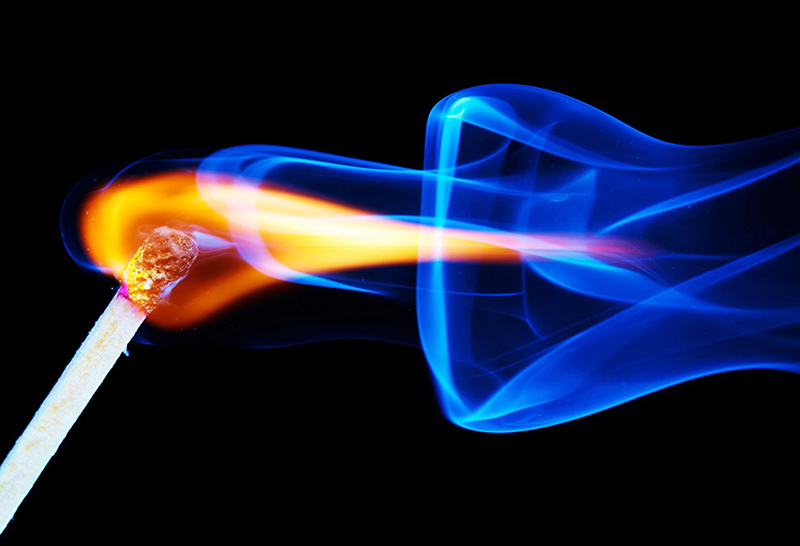 My homemade wine has started producing a burnt match smell after about 1 week of fermentation. No sulfur has been used in sterilization etc, can you advise? chuck it out?? cry???
 Hello,