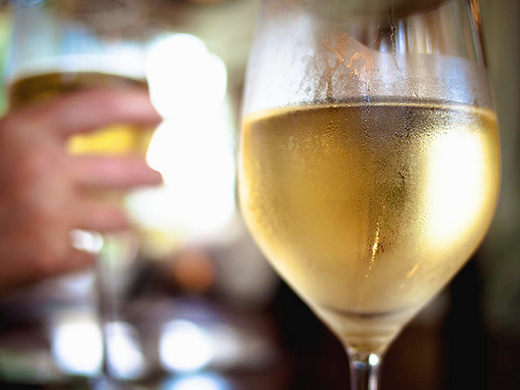
 In May I bottled my 2013 Riesling made from Riesling juice. Prior to bottling I filtered the wine, and added simple syrup, potassium sorbate, and kmeta, all in the correct quantities. It tasted very good at bottling time, however, now after a few months has passed, it has become drier and has a slightly bitter finish. What caused this change, and is there anything I can do now to correct it, even if I have to open all 4 cases? Also, what can be done to prevent this from happening the next time I make Riesling? Would ascorbic acid have help prevent this from happening?
Name: John S.
State: OH
—–
Hello John,
I don’t know if I have an exact answer for you or not as to why your homemade wine is bitter.
My first thought is that there is some slight fermentation going on in the wine bottle. The increase of yeast cells can make the wine bitter. But, this would be evident by bubbles or sparkle in the wine along with pressure when popping the cork. You did not mention either of these, so I doubt this is what’s going on. Continue reading
Category Archives: Wine
Winemaking Terms You Should Know: Part 11
 In several earlier posts, we introduced a few home winemaking terms that you may or may not be familiar with. There are many terms to learn in home winemaking, and this post, like all the previous posts, gives you a short introduction to a few of them to help you get started, or perhaps brush up on some of the home winemaking terms you may not have seen in a while.
- Zork Corks: Starting off today’s list is something you may not be as familiar with called the Zork Cork. These are alternatives to traditional corks, and provide you with an easy option to closing all those wine bottles you’ve been working hard to create. Zork Corks can be inserted into any standard wine bottle without a corker, though depending upon how many bottles you have to close, you may want to use a rubber mallet or something similar to hammer them in just in case your fingers start getting tired. Zork Corks are made with a plastic grip top, and a professional finish, so it’s easy to insert and remove from wine bottles and makes a great presentation.
Continue reading
Leigh Erwin: Beginner Winemaker: Part 30 – Sweetening Mead
 Hi everyone!
I’m kind of in a holding pattern right now in terms of my winemaking projects. Currently, I have my first batch of mead just hanging out in secondary fermentation, and according to the instructions will leave it there for 4 weeks or so. I’m about half way there, so things are a little boring in my house at the moment!
I would start another batch of wine, but there is just no room in the house right now due to all the stuff laying around everywhere for my upcoming wedding. So, instead of just sitting around like a bump on a log, I’ve decide to do a little preliminary research on something that I think I would like to try once the secondary fermentation of my mead is over.
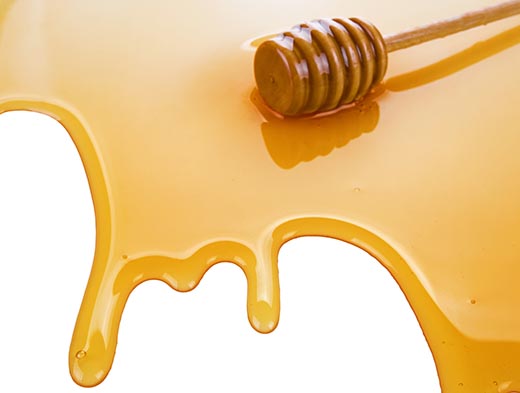
Basically, I think I’d like sweetening my mead a little bit once fermentation is over. I’ve never actually had a dry mead before, so I’m a little nervous about what that might taste like. I still have a little bit of honey left over from when I mixed all the ingredients at the beginning of primary fermentation, so it’d be perfect to just go ahead and use that for sweetening the finished product once it’s done.
So, how do I go about sweetening a mead?
Everything that I’ve read stresses the importance of making sure fermentation is completely finished before adding the extra honey for sweetening the finished wine. If there is even a little bit of yeast still kicking in there, the sugary goodness from the added honey may very well start the fermentation going again, which is definitely an undesirable outcome. That being said, I think I’ll leave my mead in the carboy for a little bit extra time than listed on the instructions, just in case! It’s been fairly warm in my place so far this summer (never going above 75F), so I’m thinking that might keep things on the speedier side in terms of fermentation rates.
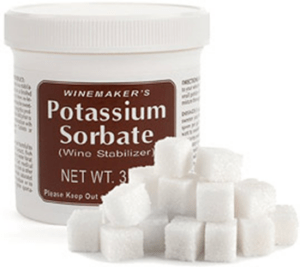 My research also indicates that when sweetening a mead I need to add a couple of compounds to be extra certain that fermentation has stopped. One is potassium sorbate, while the other is potassium metabisulfite. Once I add these compounds (per the instructions listed by the manufacturer), I am supposed to let the mead sit for a couple of days to be super sure fermentation is done.
Finally, once that’s all done, I’m reading that I’ll need to add about 1 cup of honey per 5 gallons of mead. Since I have exactly 5 gallons, this step will be super easy.
Do any of you have any advice for sweetening a mead? If, in your experience, you’ve found a better way to do it, feel free to chime in! Cheers!
————————————————————————————————————-
 My name is Leigh Erwin, and I am a brand-spankin’ new home winemaker! E. C. Kraus has asked me to share with you my journey from a first-time dabbler to an accomplished home winemaker. From time to time I’ll be checking in with this blog and reporting my experience with you: the good, bad — and the ugly.
Leigh Erwin: Beginner Winemaker: Part 29 – A Fermenting Mead
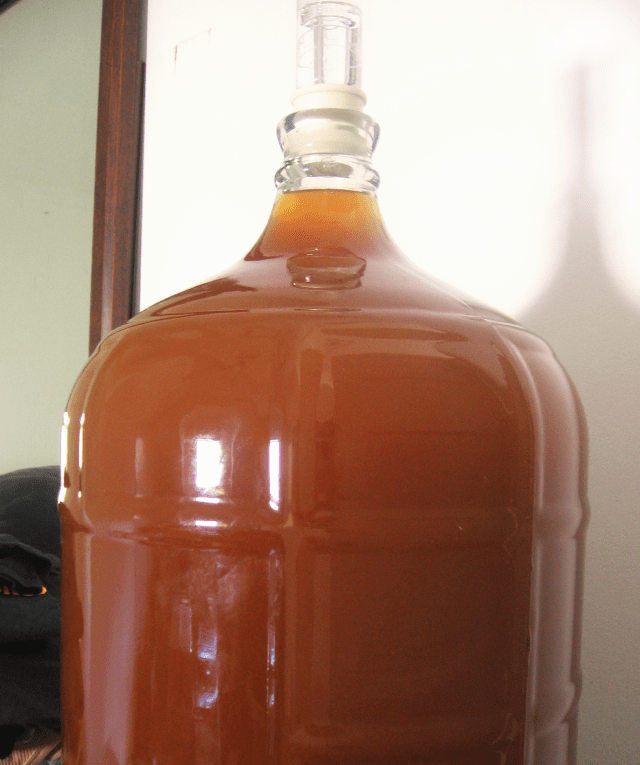
 Hi everyone! I’m sitting here smelling the sweet smells of fermentation right now, and just pondering how it’s going to all turn out! In case you forgot or did not read my previous entries, I am attempting to make my first mead at home after trying grape kits for a little while.
Fermentation seemed to get off to a great start—it was doing it’s thing by 24 hours after adding the yeast, which is exactly what I expected based upon the mead recipe I had. I’m a little nervous; however, as the smell of this particular fermentation is not as “nice” as the smells of the other fermentations I’ve done in the past. Of course, I’m using a completely different product (honey as opposed to grape juice), so I would expect the mead fermentation to smell a little different, however, since I’ve never made mead before, nor have I ever smelled honey fermentation, I’m not sure if what I’m smelling is normal or if what I’m smelling means bad news bears.
Now, it basically smells like fermentation, but with a little bitter-like tinge to it. I don’t know if bitter is quite the proper word to describe it, but it definitely smells a lot different than when I fermented with grape juice. I’m probably just being paranoid and the mead is fermenting along its merry way just as it is supposed to, but I’m just a teeny bit nervous anyway! It kind of reminds me of the smell my fiancé’s “wine” made when he just threw a bunch of things together without following any kind of instructions. I’m hoping my honey wine will continue to develop along a more palatable path than my fiancé’s wine did. Continue reading
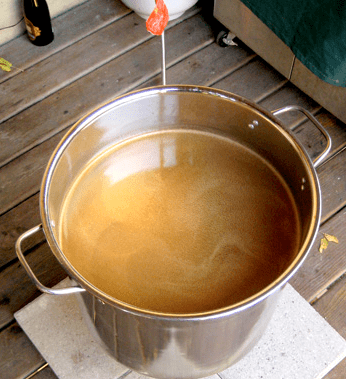
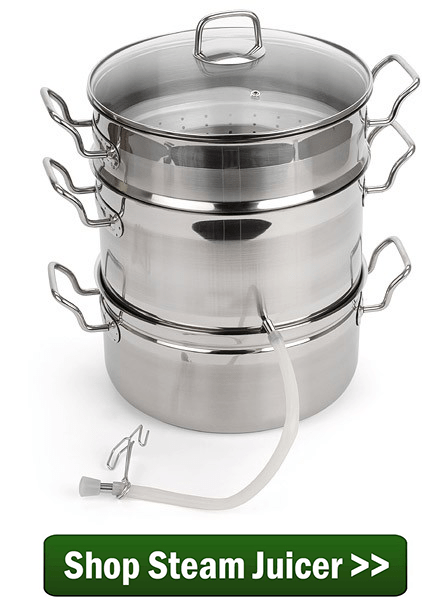
Wine Recipe For Making Wine With A Steam Juicer
 I have started using a steam juicer with my fresh fruit. Most of the wine recipes that I find call for whole fruit with pulp. Can you recommend a wine recipe using the fruit juice? Should I be able to use a wine recipe that calls for fruit concentrate?…
Name: Missy H.
State: Mississippi
—–
Hello Missy,
For what ever reason, almost all wine recipes you run across will call for the fruit in pounds not in ounces of juice.
The reason for this is that normally you would have the wine recipe in hand before getting the fruit. This makes pounds of fruit the most beneficial form of information at that point. If you where going to the market to get some raspberries to make some wine and your wine recipe calls for 1 gallon of raspberry juice to make 5 gallons, that wouldn’t be very helpful when trying to figure out how much fresh raspberries you need.
Your situation is the reverse and the least common scenario. You have the juice that you extracted with your steam juicer and now have decided to make some wine. It normally works the other way around.
Another reason wine recipes call for the fruit in pounds is because wine recipe directions instruct that all the fruit is to be added to the wine must, pulp and all. It is simply crushed and added. The reason the pulp is added is because a lot of a fruit’s flavor qualities are in the skin and fiber. During the fermentation the fruit is broken down by the wine yeast, releasing all its goodness.
 While you can make a perfectly good wine with the juice only, it will be a crisp-tasting, lighter-boded wine. The perfect type of wine for drinking in the hotter summer months or before dinner. If you want to utilize your steam juicer to make a fuller-bodied wine, you will want to save the fruit pulp after juicing and add it to the wine must as well.
Missy, you also mentioned using a wine concentrate recipe and using your fruit juice from the steam juicer in place of the concentrate. This is not a viable option either. Concentrated juices are much more concentrated than what your steam juicer is producing. What is coming out of the steam juicer should be consider to be fruit juice, no different than if the fruit had been crush then pressed in a wine press. Actual concentrates are 3 to 5 times more concentrated than what is coming out of your steam juicer.
So in the future if you want to make wine with the juice from you steam juicer, you will want to weigh the fruit first. This is the only way you will be able to use any wine recipes you come across.
Best Wishes,
Ed Kraus
—————————————————————————————————————–
Ed Kraus is a 3rd generation home brewer/winemaker and has been an owner of E. C. Kraus since 1999. He has been helping individuals make better wine and beer for over 25 years.
Leigh Erwin: Beginner Winemaker: Part 28 – Starting A Mead
 Hi everyone!
I’m excited to be starting a new batch of wine today! In case you missed it, my new batch of wine is going to be honey wine (a.k.a. Mead). I ordered 15 pounds of honey online (the mead recipe called for 13 lbs, so I’ll have a little left over in case I want to sweeten it at the end), and also purchased the few wine making ingredients required that I did not have already (mainly the yeast and the yeast energizer).
For this next batch of wine, I made a fresh batch of sanitizing solution (with the Campden powder) and sterilized all my wine making equipment. I downloaded and printed the Mead Wine recipe instructions from Homebrewing.org and launched right into it!
For the first step, I basically had to mix together everything except for the wine yeast. Since I was adding Campden powder (same as crushed Campden tablets), I was required to wait 24 hours in order for the gas to have ample time to leave the container. If I had added the wine yeast at the same time as adding the Campden powder, then I would have run the risk of killing the it right then and there.
I measured out 13 pounds of the honey by determining how many cups of honey are in a pound, and added that many cups. I ended up with a couple of pounds left over, since I originally ordered 15 pounds, so if I decide at the end that I’d like to sweeten the mead up a little bit, I have the perfect ingredient to do it!
After mixing all the ingredients, I covered the primary fermenter with a thin towel. Now, since I have inquisitive animals milling about my apartment, I made sure to securely fasten the town to the fermenter using duct tape, so as to avoid any accidental “sampling”.
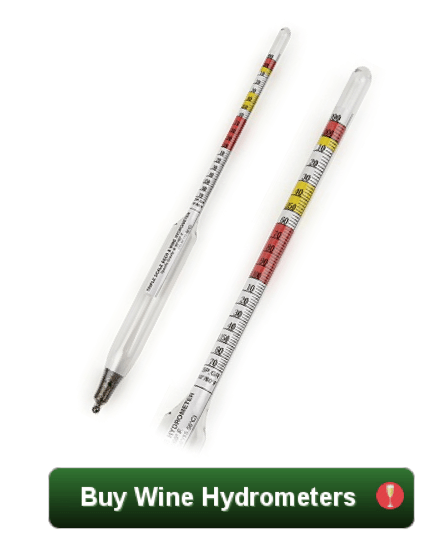 According to the instructions, I was to wait 24 hours for the sulfur gas (from the Campden powder) to dissipate, and then add the yeast. Right before I added the yeast, however, I measured the specific gravity with my wine hydrometer, even though the instructions did not tell me to do so. I figured it would be a good bit of information to have, so as to better monitor the progress of the fermentation, and for later on when I attempt to calculate the approximate alcohol content of the finished mead. So, after measuring the specific gravity right before adding the yeast, it came out to be 1.096. Right about where it should be, based on my very limited experience!
After adding the yeast, I secured the thin towel back over the primary fermenter and put it to bed for 5-7 days! I could tell the next morning that there were tiny signs that fermentation was about to begin, and sure enough, by the 24 hour mark, the mead was fermenting at full force (as predicted by the instructions)!
I’m looking forward to the next phase of this homemade Mead wine, and I’m crossing my fingers it all turns out yummy!
————————————————————————————————————-
My name is Leigh Erwin, and I am a brand-spankin’ new home winemaker! E. C. Kraus has asked me to share with you my journey from a first-time dabbler to an accomplished home winemaker. From time to time I’ll be checking in with this blog and reporting my experience with you: the good, bad — and the ugly.
What's The Difference Between Apple Wine And Apple Cider?
 What is the difference between apple wine and apple cider? Is the recipe different? Is the manufacturing procedures different?
Name: Clifton C.
State: Texas
—–
Hello Clif,
Apple wine, apple cider and hard cider are sometimes used to mean the same thing by some people. There is no difference as to how some people use these terms. One person may say apple cider, meaning apple wine; someone else may say apple cider, meaning hard cider. And to make it more convoluted, sometimes apple cider means just plain ole apple juice.
So just what is the difference between apple wine and apple cider? The information below should help to clear this up:
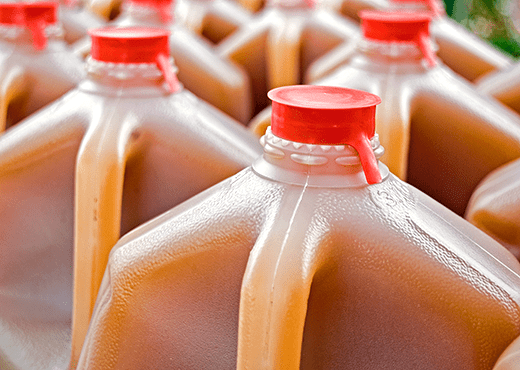
- Apple Cider:
In the United States, it means the same as apple juice. You can go to some markets in parts of the country and see apple juice and apple cider side by side. Some areas of the U.S. will make the distinction that apple juice has gone through filtration and pasteurization whereas apple cider has not. It is straight, raw apple juice. - Hard Cider:
This is apple juice or apple cider that has been allowed to ferment. The natural sugars in the apple juice ferment to an alcohol level that runs somewhere around 3% to 6%. It is interesting to note that in most English-speaking countries — other than the U.S. — hard cider is just called apple cider. It is assumed that if you have raw apple juice it has probably gone hard. Hard cider is very easy to make and can even be sparkled in beer bottles. - Apple Wine:
This is a hard apple juice as well, but it is much higher in alcohol. It is essentially apple juice that has gone through the same process as you would making wine. The acidity is adjusted. Nutrients are used. And, it is bottled and aged. But, most significant of all is sugar is added to the fermentation to bring up the final alcohol level of the apple wine. Most are around 10% to 12%. Try making apple wine yourself.
It is also helpful to understand that there is a difference between how apple wine and apple cider keep and age.
Hard cider needs to be consumed more quickly than apple wine. The lower level of alcohol makes it less stable. The use of sulfites and maybe even constant refrigeration will help in this regard, but even at that you will discover that apple cider is a drink that is to be consumed in weeks and months, not years.
Apple wine on the other hand is more stable. It has a higher alcohol content which makes it less susceptible to spoilage and general flavor deterioration. Having said this, you should still use sulfites when making it — just like you would with any other wine you make. And just like most wines, you will find that it will taste a little harsh at bottle time. It needs time to age out its harshness. Typically, an apple wine will be very drinkable at around 3 months of aging and at its best at around 9 months.
So, that’s essentially what the difference is between apple wine and apple cider. I hope this clears things up for you and that this was the information you was looking for.
Happy Winemaking,
Ed Kraus
———————————————————————————————————
Ed Kraus is a 3rd generation home brewer/winemaker and has been an owner of E. C. Kraus since 1999. He has been helping individuals make better wine and beer for over 25 years.
How Do I Make My Wine More Peppery?
 How can I get more of a peppery taste in my wine kit?
Name: Anthony B.
State: TN
—–
Hello Anthony,
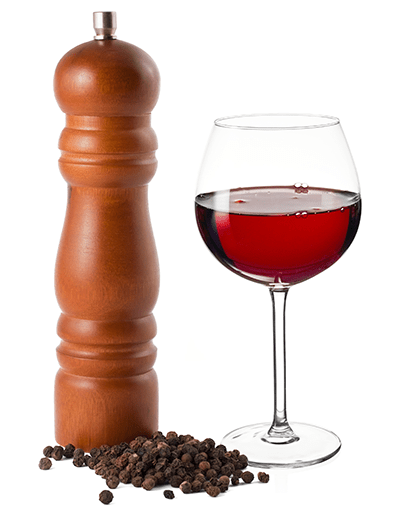
Having a peppery taste or flavor in a wine is something that comes from the grape itself. It has little to do with the yeast you select, the temperature at which you ferment, and all the other little subtleties that can be played with during the winemaking process. It’s all about the grape.
Pepper is normally a note you will find in a Cabernet Sauvignon. This is a varietal wine meaning Cabernet Sauvignon is an actual grape variety. You can get hints of pepper in other wines — a Shiraz for example — but most wine drinkers will associate a pepper taste with a Cabernet Sauvignon.
Some Cabs are more peppery than others. This has to do with where the Cabernet Sauvignon grape was grown. The ground and climate both play a distinct role in how the grapes flavor profile develops. The French refer to this as the terroir.
For example, Cabs grown in the Old World such as France and Italy tend to produce Cabernet Sauvignons deep, earthy characters. The pepper flavor of these wines lean more towards an herbaceous, green pepper flavor. Their counterparts from the United States and Australia tend to be a little more fruity with the peppery leaning more towards black pepper. Of course there are many examples to the contrary, but this is what you can expect in general.
Another factor that can play into this for the home winemaker is time. Some flavors just need time to develop. By allowing your wine time to age, it may very well enhance the peppery flavors you are seeking. Unfortunately, this is not likely to be any help if the wine kit you made is not a Cabernet Sauvignon. There has to be something there to build upon for the aging to help you in this regard.
 Anthony, I would suggest that you take a look at a couple of different wine kits we offer. They are both known to have great pepper flavor profiles. The first one is the Cabernet Sauvignon wine ingredient kit grown in Walla Walla Washington state. Not only does this one have a solid note of black pepper, it also has a complex layer of anise and coffee that balances well with it’s fruit-forward flavors.
The other wine ingredient kit is the Legacy brand Cabernet Sauvignon. It has a good peppery character, but not quite as fruity as the Walla Walla version — not quite as assertive. It more laid-back and rich.
One wine kit is not necessarily better than the other. It’s more a matter of personal preference. For example, many wine drinkers do not like a pepper taste in their wine at all. Others want their homemade wines to be bold and spicy. Just learn what you like and go with it.
Happy Wine Making,
Ed Kraus
———————————————————————————————————
Ed Kraus is a 3rd generation home brewer/winemaker and has been an owner of E. C. Kraus since 1999. He has been helping individuals make better wine and beer for over 25 years.
Adding Sugar To A Sweet Reserve Wine Ingredient Kit
 I usually use a wine sweetener or conditioner but with the kit I got today it has a sweet reserve bag, can I still use the conditioner or will this make it too sweet
Name: Al W.
State: KY
—–
Hello Al,
A sweet reserve is included when a wine ingredient kit is making a style of wine that is normally as some sweetness. In other words, when you buy this particular type of wine at the store it is known to have some sweetness and is expected to be as such. Examples of this would an Ice Wine or a German Gewurztraminer. Either of these may come with a sweet reserve pack, but the amount of sweetness added can very greatly.
The fact that the wine ingredient kit you have in front of you has a sweet reserve pack means that some sweetness will be added to the wine, but whether or not it is enough sweetness for your personal taste is another question.
 I would suggest to you that you make the wine ingredient kit as directed. Follow the instructions that came with it step for step. When it comes time to bottle the wine, taste it and see what you think. Based on your own personal tastes, do you need to add more sugar to wine ingredient kit? You are the only one how can tell, because it’s all about making the wine the way you like it.
If you would like to make the wine sweeter it is just a simple matter of adding more sugar. It can be wine conditioner, or it can be cane or corn sugar. Whichever you choose, just remember that it should be in a simple syrup form before adding so that you are sure the sugar is dissolved and not just settling to the bottling of your fermenter.
You do not need to add anything else to guard against a re-fermentation. Wine ingredient kits that have a sweet reserve pack already come with ingredients for preventing this. If you followed the instructions it should already be in the wine.
I hope this information helps you out. Just be assured that there is absolutely nothing wrong with adding more sugar to a sweet reserve wine ingredient kit. Add sugar syrup to taste; it’s as simple as that!
Best Wishes,
Customer Service at E. C. Kraus
—————————————————————————————————————
Ed Kraus is a 3rd generation home brewer/winemaker and has been an owner of E. C. Kraus since 1999. He has been helping individuals make better wine and beer for over 25 years.
Leigh Erwin: A Beginner’s Wine Making Journey: Part 27
 Hey everyone! How are all your batches of homemade wine coming along? This is the first time in a few months where I don’t actually have any wines fermenting or otherwise hanging out in a carboy. I’ve now completed and bottled three different wines – a Pinot Grigio, a Pinot Chardonnay, and my first red, a Carmenere. My life is also starting to get extremely busy and will remain so for the next few months with a move and a marriage, so whatever I do next I need to be OK with if I screw it up due to me being mentally preoccupied with other things. By the fall, things should be much more relaxed and laid back, which will be time when I up my output and starting buying more winemaking toys…er, um…I mean, equipment! Priority #1 come this fall is the wine filtering system. Gotta get one this year!
So, what the heck am I going to make during the next few months that I won’t necessarily care about if I screw it up? Well, I do want to make the best wine that I can every time, but I do need to realize and accept the fact that things might not always be peaches and cream. That being said, I want to minimize my financial input for this next batch of wine, that way if I screw it up somehow during the milieu that is my upcoming wedding, honeymoon, and potential move across country, I won’t be losing as much money than as if I purchased a quality winemaking kit. That and I want to try to make different kinds of wine! Diversity is the spice of life!
 I recently discovered a really cool resource on the ECKraus website, and that is the Wine Recipes page. If you go to the page, you can select whatever type of wine you wish to make, click “find recipe”, and you’ll be provided with wine wine recipes based on that particular product and will let you know exactly what you need to buy in order to get it done! Additionally, you can just click on whatever item(s) you don’t already have and purchase them right then and there! It’s probably the easiest way to get the right wine making ingredients for the wine you want to make! The actual wine recipe with step-by-step instructions can be found by clicking the “download PDFs” link on that same page.
I asked my fiancé what type of wine he would be interested in trying next, and he reminded me that we do enjoy drinking Mead (honey wine) from time to time. Perfect! I’ll try to make Mead!
I was able to find bulk honey online—15 pounds of it for $45. Not too bad, in my opinion!
In terms of the other ingredients, I have yeast nutrient, acid blend, grape tannin, and sodium bisulfite. The only ingredients I seem to be missing are the yeast energizer and Pasteur Champagne wine yeast. I have other wine yeast, but I decided I wanted to follow the wine recipe as closely as possible, particularly since this will be the first time making Mead and I want to try and make the best Mead I can with the recommended wine making ingredients.
Time to put in a little order, it seems! I’m so excited—and partially scared—this might get a little sticky 😉
————————————————————————————————————-
My name is Leigh Erwin, and I am a brand-spankin’ new home winemaker! E. C. Kraus has asked me to share with you my journey from a first-time dabbler to an accomplished home winemaker. From time to time I’ll be checking in with this blog and reporting my experience with you: the good, bad — and the ugly.