 As homebrewers, we spend lots of time cleaning and sanitizing our home brewing equipment to make sure nothing will ruin our beer. I often joke that our job is essentially that of a glorified janitor.
But for all the effort we put into caring for our beer and the items it touches, it’s important to never overlook the small details that can ensure a well-made beer. Among the finishing touches of our brew days, as we push, pull or gently place our carboys and buckets into a resting spot for fermentation, is popping in that airlock.
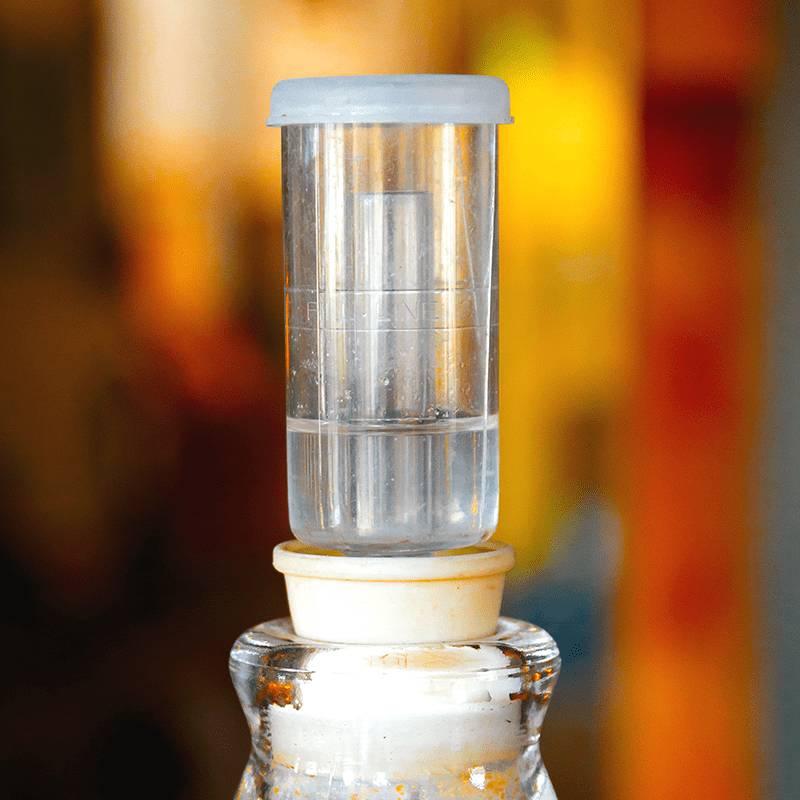
It may seem trivial, but how we care for our beer’s ability to “breathe” during its fermentation can be the difference between beer in our glass or down the drain. That is essentially what an airlock does. For that reason here’s some info on choosing the right type of homebrew airlock and using a homebrew airlock.
Choosing the Right Home Brewing Airlock
Whether at your local store or online, you’ve probably noticed the array of airlocks available for brewing. Here at Adventures in Homebrewing, there are six home brewing airlocks to choose from! They all perform the same essential job – acting as a barrier between the air and your beer – but they can also serve different purposes. Just make sure you’re filling your home brewing airlock up with sanitized water or a strong alcohol like vodka to act as a barrier against airborne nasties.
A three-piece airlock can be ideal because it’s easy to clean. Disassembling this type of airlock means rinsing or hand washing is simple. It’s also ideal for primary fermentation because if you’ve got an overly active brew during the first few days and some wort “overflows” into the airlock, you won’t have to worry about buying a new one. Different versions of these brewing airlocks are useful for batches all the way up to 50 gallons.
The s-shape airlock or triple ripple airlock can’t be taken apart to be cleaned, but are still handy for small batches during primary fermentation and are ideal for secondary fermentation because of the decreased risk of heavy fermentation. Both these types of airlocks are also great for tracking slow-moving fermentations, so as your beer nears its final gravity, you’ll have an easy time following the escaping CO2 so you know when to pull a sample to see if your beer is done. For this reason I have both types of brewing airlocks on hand.
Protecting Your New Beer
One extra precaution I like to take after filling up my carboy with fresh wort is using a blow off tube for the first few days before using a homebrew airlock. It gives me peace of mind know that there’s very little risk of a strong fermentation causing an airlock to fly off the top of my carboy.
I sanitize my blow off tube just as I would any other airlock and after placing one end in the carboy, put the other end in a container of sanitized water. After the most active first few days of fermentation, I’ll take off the blow off tube and pop on an s-shape airlock until I move my beer to a secondary carboy.
Troubleshooting with Airlocks
One important step to remember when making homebrew is to cool your wort to its specified temperature after boiling. For lagers, that may initially be around 60° F. and around 70° F. for ales. If you don’t get the wort down to its correct temperature and slap a home brew airlock on your carboy, the difference between CO2 trying to escape, volume of liquid and temperature will create a pressure difference and cause reverse suction – meaning the carboy will start sucking liquid from your airlock into the wort.
Always make sure to cool your wort to its suggested temperature. This is one little tip on how to use an airlock that I learned the hard way.
Another common issue when using a homebrew airlock is having an airlock or bung fall into a carboy. If this happens, don’t worry. As long things are sanitized correctly, your beer will end up just fine nearly every time. It’s one of those “Relax. Don’t worry. Have a homebrew.” moments which Charlie Papazian’s quote helps us get through.
If properly sanitized, just leave the airlock and/or bung in the carboy and fish it out after you’ve racked your homebrew out of the vessel.
This is the basics of choosing an airlock and the “how-to’s” of using a homebrew airlock. As you can see it’s fairly straight forward. There are different home brewing airlocks to use for different reasons, and keeping them sanitized is a must.
—–
Bryan Roth is a beer nerd and homebrewer living in Durham, North Carolina. You can read his thoughts on beer and the beer industry on his blog, This Is Why I’m Drunk, and send him suggestions on how to get his wife to drink craft beer via Twitter at @bryandroth.
