 Hi everyone!
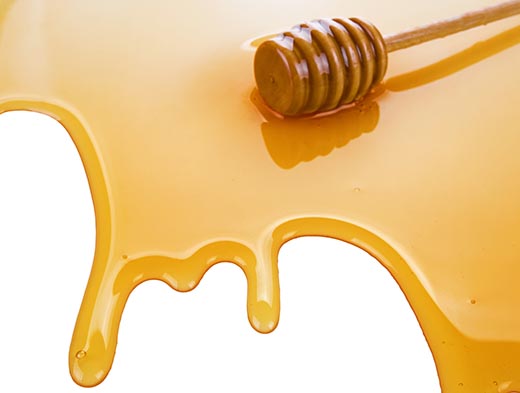
I’m excited to be starting a new batch of wine today! In case you missed it, my new batch of wine is going to be honey wine (a.k.a. Mead). I ordered 15 pounds of honey online (the mead recipe called for 13 lbs, so I’ll have a little left over in case I want to sweeten it at the end), and also purchased the few wine making ingredients required that I did not have already (mainly the yeast and the yeast energizer).
For this next batch of wine, I made a fresh batch of sanitizing solution (with the Campden powder) and sterilized all my wine making equipment. I downloaded and printed the Mead Wine recipe instructions from Homebrewing.org and launched right into it!
For the first step, I basically had to mix together everything except for the wine yeast. Since I was adding Campden powder (same as crushed Campden tablets), I was required to wait 24 hours in order for the gas to have ample time to leave the container. If I had added the wine yeast at the same time as adding the Campden powder, then I would have run the risk of killing the it right then and there.
I measured out 13 pounds of the honey by determining how many cups of honey are in a pound, and added that many cups. I ended up with a couple of pounds left over, since I originally ordered 15 pounds, so if I decide at the end that I’d like to sweeten the mead up a little bit, I have the perfect ingredient to do it!
After mixing all the ingredients, I covered the primary fermenter with a thin towel. Now, since I have inquisitive animals milling about my apartment, I made sure to securely fasten the town to the fermenter using duct tape, so as to avoid any accidental “sampling”.
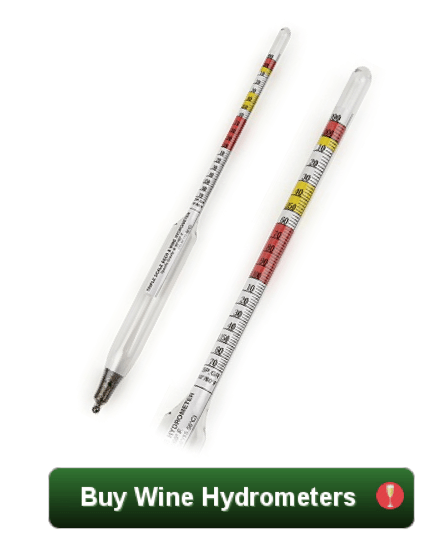
 According to the instructions, I was to wait 24 hours for the sulfur gas (from the Campden powder) to dissipate, and then add the yeast. Right before I added the yeast, however, I measured the specific gravity with my wine hydrometer, even though the instructions did not tell me to do so. I figured it would be a good bit of information to have, so as to better monitor the progress of the fermentation, and for later on when I attempt to calculate the approximate alcohol content of the finished mead. So, after measuring the specific gravity right before adding the yeast, it came out to be 1.096. Right about where it should be, based on my very limited experience!
After adding the yeast, I secured the thin towel back over the primary fermenter and put it to bed for 5-7 days! I could tell the next morning that there were tiny signs that fermentation was about to begin, and sure enough, by the 24 hour mark, the mead was fermenting at full force (as predicted by the instructions)!
I’m looking forward to the next phase of this homemade Mead wine, and I’m crossing my fingers it all turns out yummy!
————————————————————————————————————-
 My name is Leigh Erwin, and I am a brand-spankin’ new home winemaker! E. C. Kraus has asked me to share with you my journey from a first-time dabbler to an accomplished home winemaker. From time to time I’ll be checking in with this blog and reporting my experience with you: the good, bad — and the ugly.

Leigh
You find when you dump your wine skins in to the primary fermentation without the wine bag your filtering will be become much harder or will take my more time and become more involved and will take longer.
Is it true that you cannot transport homemade wine accross state lines ev en for your own use?