 While kegging your homebrew may be less time consuming than bottling, it offers its own set of challenges. In particular, it’s important to know how to go about fixing a leaky keg: how to locate and detect where it’s leaking gas: pressure relief valve, etc. Otherwise, you’ll have a very hard time carbonating your homebrew, and may well waste a good deal of money filling your CO2 tank.
The first step in fixing a leaky keg is to determine where the leak is. Follow the steps below to test your homebrew keg system for leaks:
- Assemble your home brew keg. Pull the lid into place by pulling up on the bail (clasp), but allow the CO2 pressure from step 2 to help you get a good seal.
- Connect your CO2 regulator to the CO2 tank and attach the gas-in hose to the gas-in post on the keg.
- Apply 10-20 psi of pressure to your keg. Seal the lid by pushing the bail into place.
- Listen for any sounds of gas escaping.
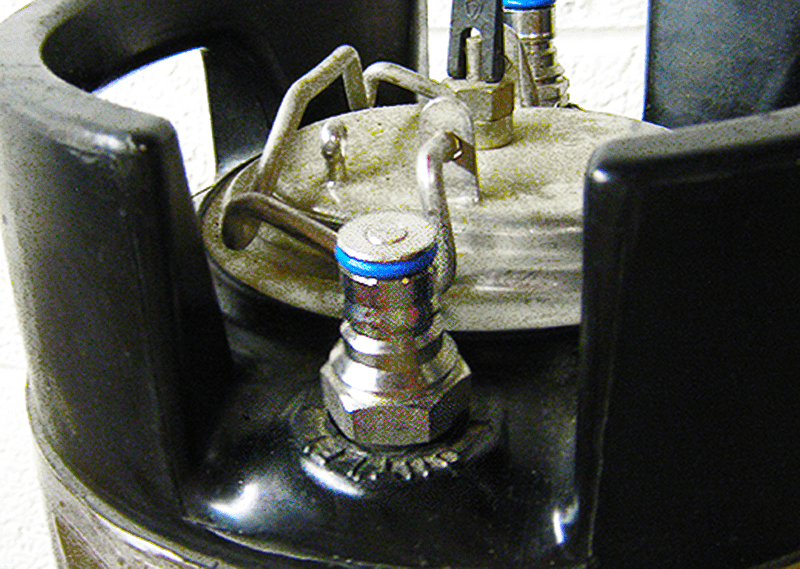
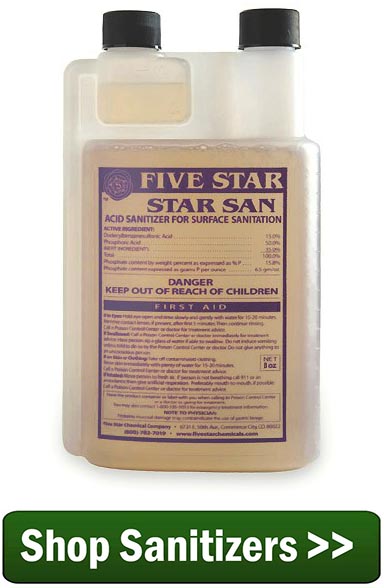
 Use a spray bottle filled with soapy water or a Star San solution to spray around some of the common leak points: the lid, the posts, the poppets, the pressure release valve, the quick disconnects, and the hose connection points. If you see bubbles, you have a leak.
If you can’t find any leaks in your homebrew keg system, congrats! You’re in good shape for the time being. If you do find a leak, it’s time to take action and fix it. Here some common steps for fixing a leaky keg.
- Turn off the gas at the regulator.
- Vent pressure from the keg by pulling up on the pressure release valve. Don’t skip this step!
- Take apart the keg or fitting at the source of the leak and inspect for damage or wear. Keep in mind that the posts and pressure relief valve can unscrew from their positions.
- Sometimes a part may just need to be cleaned. Clean the fitting and reassemble the keg, making sure all fittings are tight.

Repeat the test for leaks as described above.
- If you still have a leak, apply a thin layer of keg lube around the problem fitting to see if it fixes the leak.
- Reassemble the keg and repeat the test as described above.
- If you still have a leak, you probably need to replace the part, whether it be the o-rings, the post, the pressure relief valve, or the tubing. Replace the part and repeat the leak test to make sure your keg holds pressure.
 Keeping your homebrew keg system free of gas leaks is important, but it’s not difficult. Consider keeping a selection of spare keg parts on hand for fixing a leaky keg. You’ll be glad you did when an emergency arises.
Have you ever had trouble with a leaky keg? Share how you fixed leaks in your homebrew keg system in the comments below!
———————————–
David Ackley is a beer writer, brewer, and self-described “craft beer crusader.” He holds a General Certificate in Brewing from the Institute of Brewing and Distilling and is founder of the Local Beer Blog.
