 Using a yeast starter when making your beer is simple way to improve your fermentations. Here you will find a yeast starter recipe and instructions for using one to have a healthier, more-thorough homebrew fermentation.
What is a beer yeast starter?
A beer yeast starter is a volume of yeast that’s pitched into wort, usually prepared a day or more in advance of brew day. Homebrewers and commercial brewers alike use yeast starters to ensure that there are plenty of healthy yeasts cells to quickly, cleanly, and completely ferment a batch of beer. In other words, a yeast starter provides an opportunity for yeast cells to grow and multiply prior to being pitched into a batch of beer.
Preparing a yeast starter for your beer has several benefits:
- Improved attenuation, i.e., a more complete fermentation and lower final gravity
- Shorter lag time, i.e., fermentation starts more quickly
- Cleaner tasting beer
- More effectively ferment high gravity beers
- Proof the yeast, making sure that it is active and viable
Yeast starters are typically only made from liquid yeast cultures. Dry yeast packets, assuming they have been stored properly, should contain enough cells to ferment an average homebrew, but even making a yeast starter with dried yeast will result in some remarkable improved fermentation
Experienced homebrewers recommend a starter containing about 200 billion yeast cells to ferment the typical 5 gallon batch of homebrewed ale, and 400 billion yeast cells to ferment a lager. Since most liquid yeasts contain about 100 billion cells, we need to grow these cultures in order to achieve an optimal fermentation. (Explore this link for more advanced pitching rate calculations.)
Beer Yeast Starter Recipe
Yeast starters require very little equipment, most of which you probably already have on hand:
- a saucepan or pot
- 1 gallon glass jug or large glass flask
- light dried malt extract

- liquid yeast
- drilled stopper
- airlock
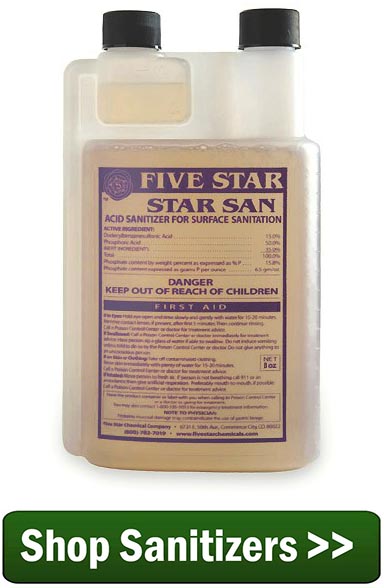
- sanitizer
Yeast Starter Instructions
Making a yeast starter for beer is an easy way to improve the quality of your homebrew. While lagers and high-gravity beers will require more advanced pitching calculations, these steps will guide you through the basic process of preparing a yeast starter for the typical 5 gallon batch of homebrewed ale:
- At least 24 hours prior to brew day, fetch a large glass jug or flask and clean and sanitize thoroughly. Sanitation is extremely important, otherwise your yeast starter may become contaminated!
- For an average homebrewed ale, boil 2 liters water to 200 grams (roughly 1.5 cups) light dry malt extract. This is will provide the environment for yeast to feed and multiply.
- After a boil of 10-15 minutes, this starter is sterile. Cover with a sanitized lid or bung and chill to pitching temperature.
- Pour the cooled wort into a sanitized container through a sanitized funnel.
 Pitch yeast into the starter container. Make sure that both wort and yeast are at an appropriate pitching temperature (and within 10°-15°F of each other), so as not to shock the yeast.
- Attach a drilled stopper and air-lock. The yeast starter should begin bubbling within 6-12 hours.
- On brew day, pitch the starter directly into your batch of wort.
Making a yeast start for your beer is an easy way to improve on your brewing process. Follow the recipe and instructions above see if you can tell a difference.
—–
David Ackley is a beer writer, brewer, and self-described “craft beer crusader.” He holds a General Certificate in Brewing from the Institute of Brewing and Distilling and is founder of the Local Beer Blog.
